8 Healthy Ninja Creami Recipes My Family Loves.

Jump to Recipe Print Recipe

This post include multiple healthy Ninja Crami recipes. Jump to the flavor you fancy or scroll down to explore all of them:

Strawberry | Vanilla | Coffee | Banana Choc | Cookies & Cream | Pistachio Cranberry | Lemon Date & Peanut Butter

Here you will find my top healthy Ninja Creami recipes that I have created over the years. These are made to replicate traditional ice cream flavors and creamy texture, but are made without refined sugar or unhealthy additives. Indulgent homemade ice cream that is actually good for you, and doesn’t cost a fortune. You will be happy to give your family a second serving of these!

Scoops of vanilla ice cream in a bowl
Scoops of strawberry ice cream in a pink bowl
Scoops of chocolate ice cream in a bowl

Why I Created These Healthy Ninja Creami Recipes

I genuinely think I need a separate freezer just for our Ninja Creami obsession.

Ice cream has become such a normal part of life in our house that my 7-year-old knows exactly how to use the Ninja Creami machine. If she’s home, it’s her job. She clicks the pint in, locks it, presses the ice cream button, and announces when it’s time to use the re-spin function. I just freeze the ingredients now — apparently that’s my role.

And honestly? I’m completely fine with that, because I know what’s in it.

These healthy Ninja Creami recipes are for families like mine and may be yours. Families with a sweet tooth who eat ice cream often. Families who want dessert to feel fun and comforting — without feeding their kids ultra-processed junk every night.

This is healthy, creamy ice cream for a health-conscious person who wants the best of both worlds. 

Here Is What You Will Need To Make This Homemade Ice Cream

Ninja Creami Machine Of course:

You might already have the Ninja Creami ice cream machine, but if you don’t and are considering getting one, here it is on Amazon. It’s worth every penny in my opinion.

Extra Pint Containers, If You Are a True Ice Cream Lover:

With all the exciting flavors I always want to try, I found that the three pint containers it comes with is often not enough, so I stocked up with a few more.

Now I can have multiple flavors in the freezer, so I can grab whichever one I feel like at the time and don’t have to wait for 24 hours to freeze another batch. See the link below where you can get genuine Ninja Creami Pints. Genuine ones are the best, cause not all compatible containers fit very well, so watch out.

Ingredients to Make Perfect Healthy Ice Cream:

And last, but not least, a few ingredients that will make your healthy Ninja Creami recipes rich, creamy and taste like real store-bought ice cream, check them out below.

I have added a few recommendations of sweeteners that I use for you below, just click on the image of the sweetener you want to try and it will take you straight to where you can buy in on Amazon.

Choose one type of sweetener you prefer. If you love the taste of honey and don’t mind your ice creams have that little touch of honey sweetness, go for honey. If you prefer a more classic taste and do not want the honey to overpower the ice cream, then raw, unrefined sugar or coconut sugar is the way to go.

Raw sugar or coconut sugar are my preferences as they don’t clash too much with ice cream flavors.

And if I want to create a low-sugar recipe altogether, then I use organic allulose. This is perfect if you want low-carb ice cream or are watching your sugar intake. Many of my clients with diabetes make ice creams with allulose and love them. It’s natural, and has no bitter or weird aftertaste. 

Bottom line is, you don’t need all of these sweeteners; just choose one that you think will work best for you and you can use it in pretty much all of the flavors below. For the exception of date and peanut butter one, cause that one is sweetenerd with dates so doesn’t need any sugar at all.

These natural sugars are unrefined and unbleached, unlike typical white sugar found in commercial ice creams.

It is a healthier natural alternative that adds a bit of delicious flavour and complements the ice creams. However, this is not completely sugar-free. It’s just better for you.

If you prefer, instead of sugar, you can try natural sweeteners like maple syrup or honey. These will change flavor slightly as they have their own flavor, but to many recipes, this can be a tasty addition.

I like using maple syrup in combination with bananas or pistachio flavors. Honey also works well with these.

Although I made Ninja Creami ice cream with all kinds of natural sweeteners, allulose is my top choice because it’s completely sugar-free and low in carbs, it’s still natural, and behaves like real sugar in ice cream. It doesn’t have any weird aftertaste and helps create volume and creaminess. 

If you want to learn more about allulose, you can read more about it in my low-sugar sweetener guide

Naturbell Allulose sweetener from Amazon

Below are the ingredients I use to create a perfect ice cream texture naturally, just like store-bought ice cream, but without artificial or synthetic thickeners.

Yes, you can skip these, but your ice cream might not turn out very creamy without them, or the milk and cream can sometimes split or stay icy even after multiple spins.

A little goes a long way. See more info below to understand how they work and what they are.

As an Amazon Associate, I earn from qualifying purchases. This means that if you click on an Amazon link and make a purchase, I may receive a small commission at no additional cost to you. I only recommend products I genuinely believe in and personally use or have thoroughly researched.

🌱

Let’s be clear — this is not diet ice cream.

I’m not trying to convince my family that frozen fruit tastes like gelato. I want real ice cream texture, real sweetness, and real enjoyment — just made with simple ingredients instead of a long list of additives.

On this page, healthy means:

  • No refined white sugar
  • No artificial sweeteners
  • Lighter fat balance without sacrificing creaminess
  • We use fresh, real cream and milk (no pudding mixes full of additives). If you need dairy-free options, I have a Plant-Based Ninja Creami Flavors HERE
  • Natural ingredients only
  • Family-friendly ice cream without protein powder, but I do have a collection that does have protein powder, see below ⬇️


If you want to see my Ninja Creami protein ice cream recipes, I have a collection with 8+ different high-protein ice cream flavors for you to try, including the popular Chunky Monkey protein ice cream. In those recipes, I use clean protein powder without artificial additives. Check them out here: Ninja Creami Protein Ice Cream Recipes. And they are way cheaper than the store-bought protein ice creams. 

Ingredients for vanilla healthy Ninja creami recipe
These are the ingredients I use for my basic vanilla healthy ice cream.

Ice cream needs to be sweet. I’m not trying to retrain anyone’s taste buds — these recipes are meant to taste like proper ice cream, just made with better choices. And a fraction of the cost of commercial ice cream.

Here’s how I approach sweetness in this collection and why different recipes use different sweeteners.

When I use pure maple syrup, it usually stands on its own. It’s naturally sweet, well-balanced, and works especially well in coffee, chocolate, and nut-based flavours.

Just make sure it’s 100% pure maple syrup (from a tree). “Maple-flavoured syrup” is usually made from refined sugars and flavouring and isn’t the same thing.

Dried dates are fruit, and when used properly, they can sweeten an entire pint on their own. They add natural sweetness, richness, and a subtle caramel flavour, which is why date-based recipes don’t need any extra sugar. I use organic pitted Medjool dates; I find they have the perfect texture to thicken the ice creams. 

Fruit adds flavour and creaminess, but on its own, it’s often not quite sweet enough to feel like ice cream.

For fruit-based Ninja Creami recipes, I usually pair fruit with:


That way the ice cream still tastes indulgent and familiar.

Because my family eats ice cream often, I prefer using small amounts of real sugar or a natural low-sugar alternative like allulose rather than artificial sweeteners that can cause gut health problems later down the track.

It’s all about balance — and peace of mind.

Ninja Creami vanilla ice cream in a bowl with creamy texture

Store-bought ice cream gets its texture from stabilisers, gums, and emulsifiers. I wanted that same creamy texture — without the ingredient list. This is one of the main reasons why I bought the Ninja Creami ice cream maker afterall. 

Here’s how I do it at home:

Instead of using a full cup of heavy cream, I use:

  • ¼ cup fresh cream
  • fresh milk to fill the rest of the Ninja Creami pint (always add it as a last ingredient, as you might need a little less is some recipes and a little more in others to fill to that Max Fill line)


Using more fresh milk and a little less heavy cream keeps the ice cream lighter in saturated fat while still creamy and satisfying.

Coconut milk or cream can also be used, but I created a separate collection if you are looking for Dairy-Free Ice cream made with the Ninja Creami ice cream machine. Check them out here. Dairy Free Ninja Creami Recipes.

I tend not to use almond milk as I find it makes the ice cream not turn out very creamy and taste rather “diety” which is not what I am trying to achieve for these recipes.

One tablespoon of cream cheese helps:

  • smooth the texture
  • reduce iciness
  • add richness without extra cream
  • yes, you can use light cream cheese

It’s optional, but once you try it, you’ll understand why I use it so often.

Xanthan gum is natural, plant-based, and used in very small amounts. It helps create a smooth, creamy, perfect texture similar to store-bought ice cream, without needing multiple additives.

If you skip it, the ice cream will still work — it just won’t be quite as silky.

You might also notice that some of my recipes include a tiny amount of guar gum, usually alongside xanthan gum.

Guar gum is a natural fibre made from guar beans, and it’s commonly used in food to improve thickness and creaminess. It’s completely plant-based and suitable for dairy-free and vegan recipes too.

I like using guar gum together with xanthan gum because they do slightly different jobs:

  • Xanthan gum helps bind water and fat together, which reduces iciness and gives that smooth, scoopable texture.
  • Guar gum adds softness and elasticity, which helps the ice cream feel creamier and less brittle after freezing.


When you use them together, you get a more balanced texture — creamy, stable, and closer to real store-bought ice cream without needing artificial additives or pudding mixes.

That said, guar gum is very powerful, so a little goes a long way. I usually only use about ⅛ teaspoon at most. Too much and the mixture can become thick or gummy before freezing, which isn’t what we want.

If you only want to use one, xanthan gum is the priority. Guar gum is the supporting act, not the star.

I use a bit of both to get the best result.

Ok, now that we covered all this, let’s move on to our first recipe, Strawberry cream. 👇

strawberry healthy Ninja Creami ice cream in a glass jar with fresh strawberries

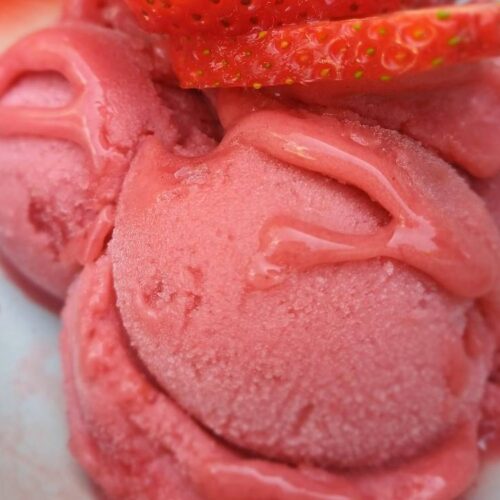
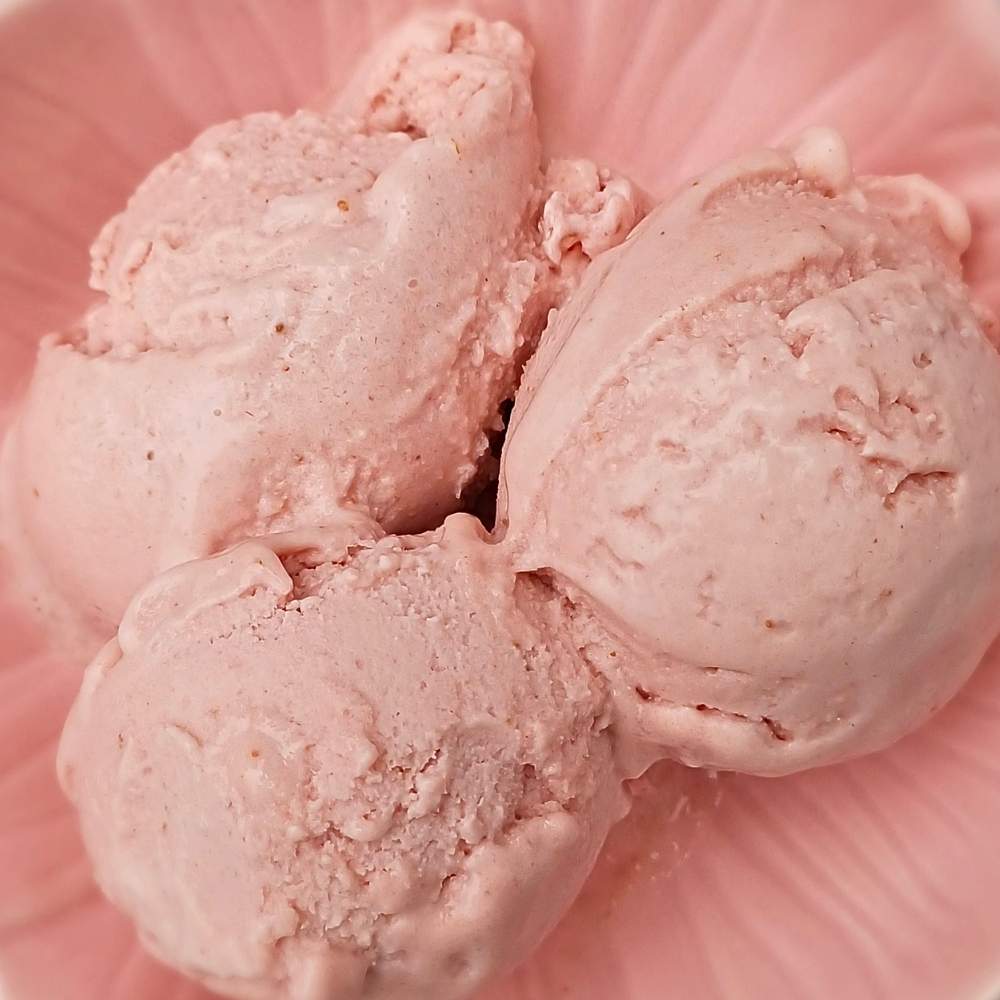
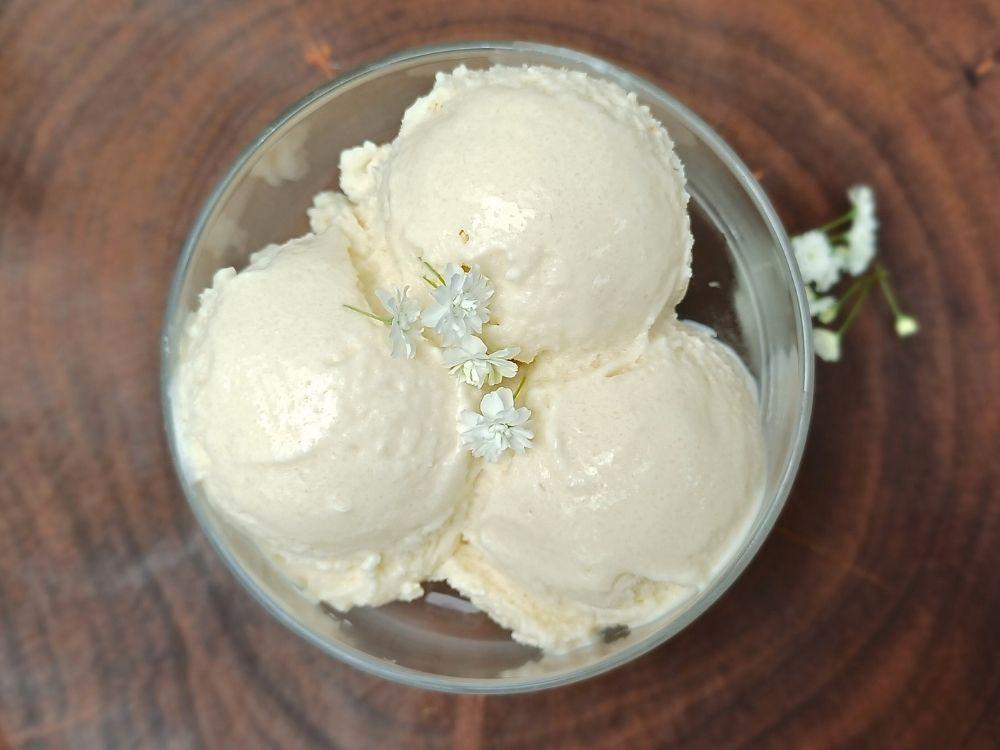
Strawberry Healthy Ninja Creami Recipe

Creamy Ninja Creami ice cream made with real strawberries, fresh cream, milk and no refined sugar. See more flavors below.
Prep Time 10 minutes
Freezing Time 1 day
Total Time 1 day 10 minutes
Course Dessert, Snack
Cuisine American, Australian
Servings 2 servings
Calories 210 kcal

Equipment

1 Ninja Creami Ice Cream Machine
1 Ninja Creami pint container
1 Immersions blender (stick blender) or regular blender
1 Hungry tummy that loves dessert

Ingredients
  

  • ½ cup whole fresh milk
  • ½ cup fresh cream
  • 1 cup strawberries fresh or frozen (thawed and liquid drained)
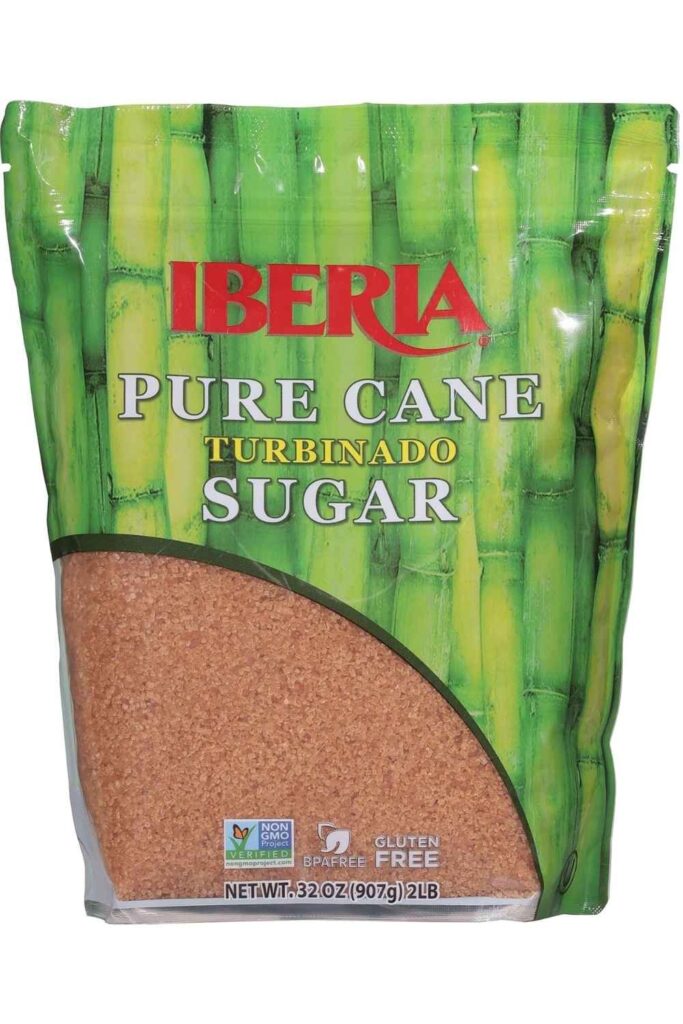
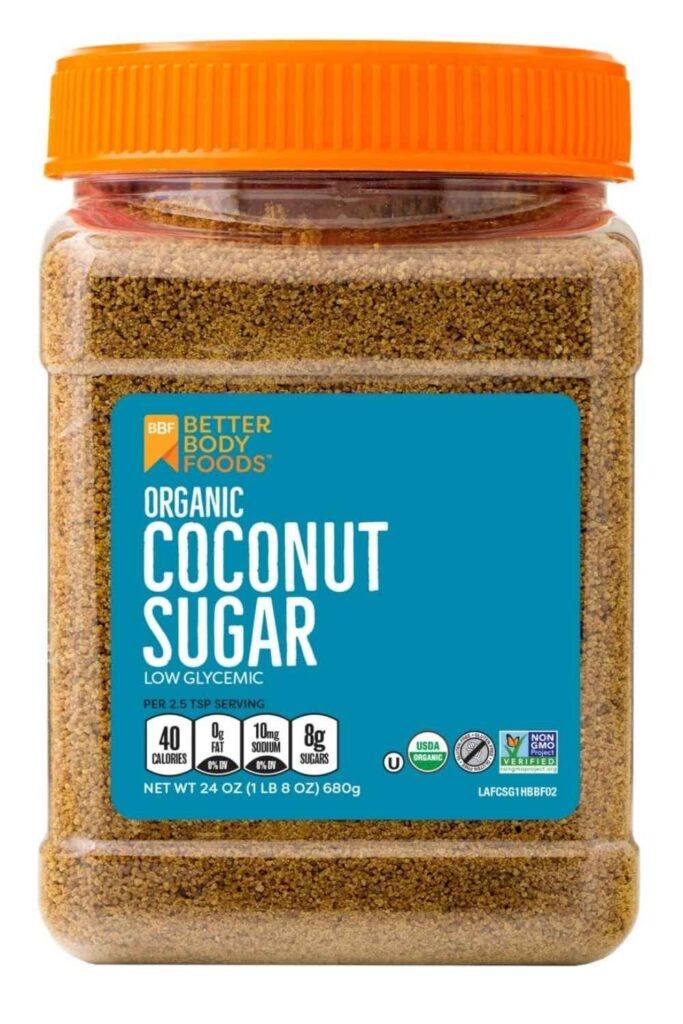
  • ¼ cup sugar raw/unrefined or organic coconut sugar
  • 1 tablespoon cream cheese softened
  • ½ teaspoon vanilla extract optional, vanilla actually goes really nicely with strawberries
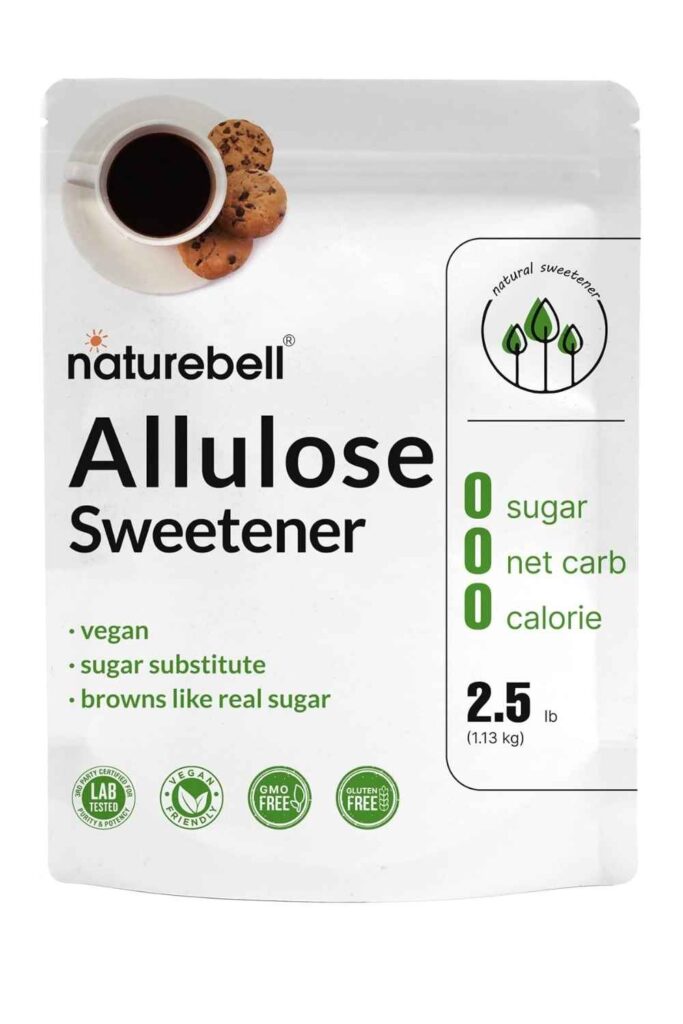
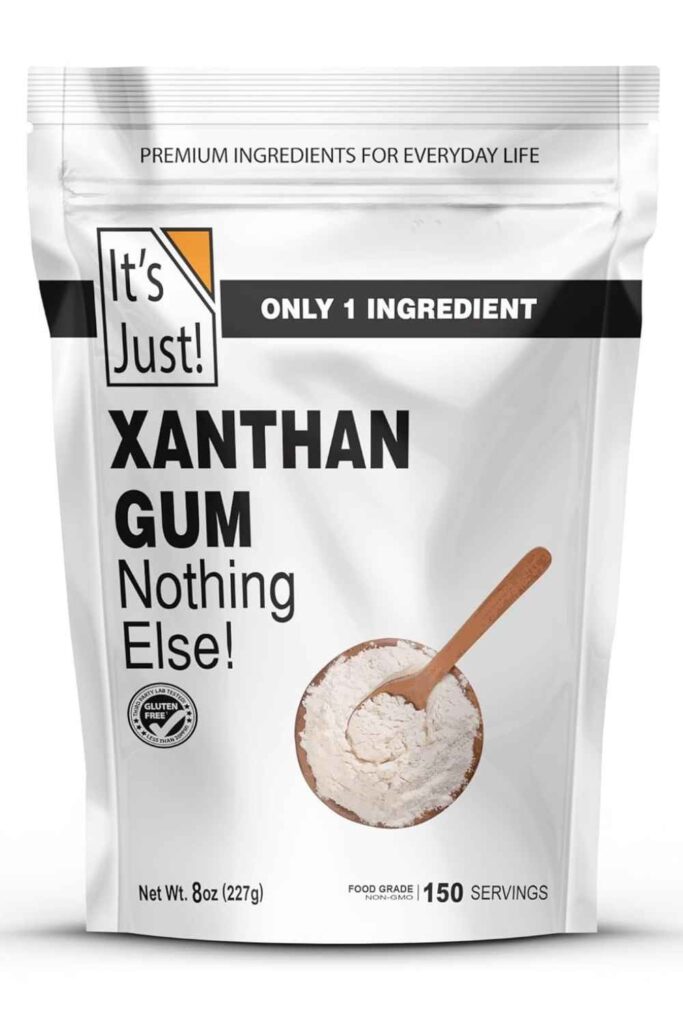
  • ½ teaspoon xanthan gum optional

Instructions
 

  • Add all ingredients to the Ninja Creami pint container.
  • Blend with an immersion blender until completely smooth and well combined. You can use a regular blender if that's what you have, just transfer the blended ingredients to a pint after.
  • Place the lid on the pint and freeze on a flat surface for approximately 24 hours.
  • Insert the frozen pint into the Ninja Creami and select the Lite Ice Cream setting.
  • After the first spin, check the texture and re-spin once if needed until creamy.

Notes

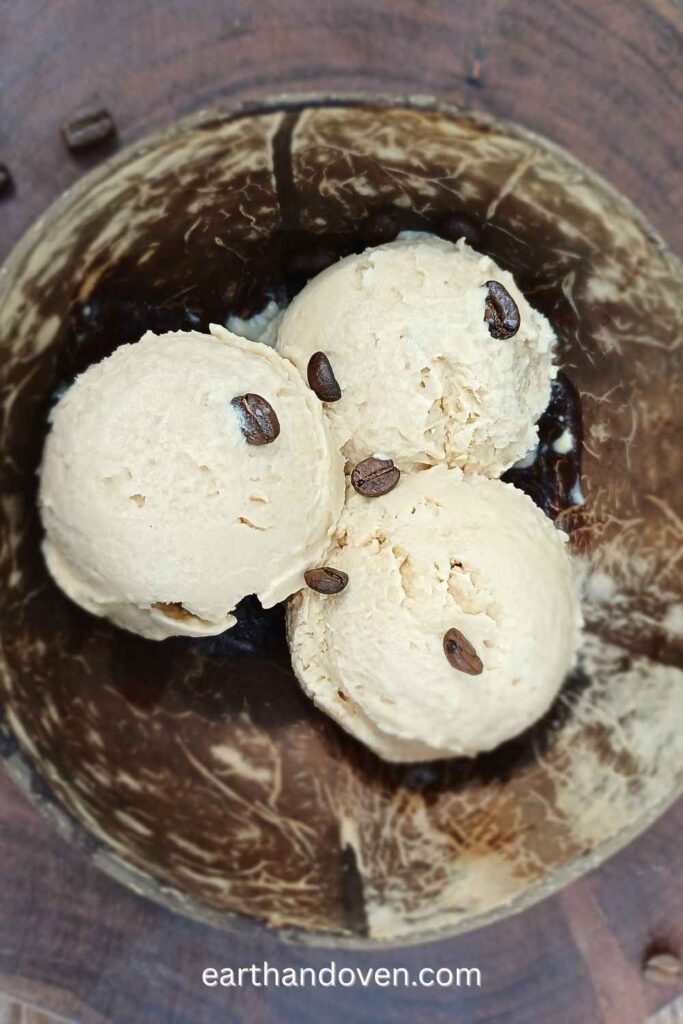
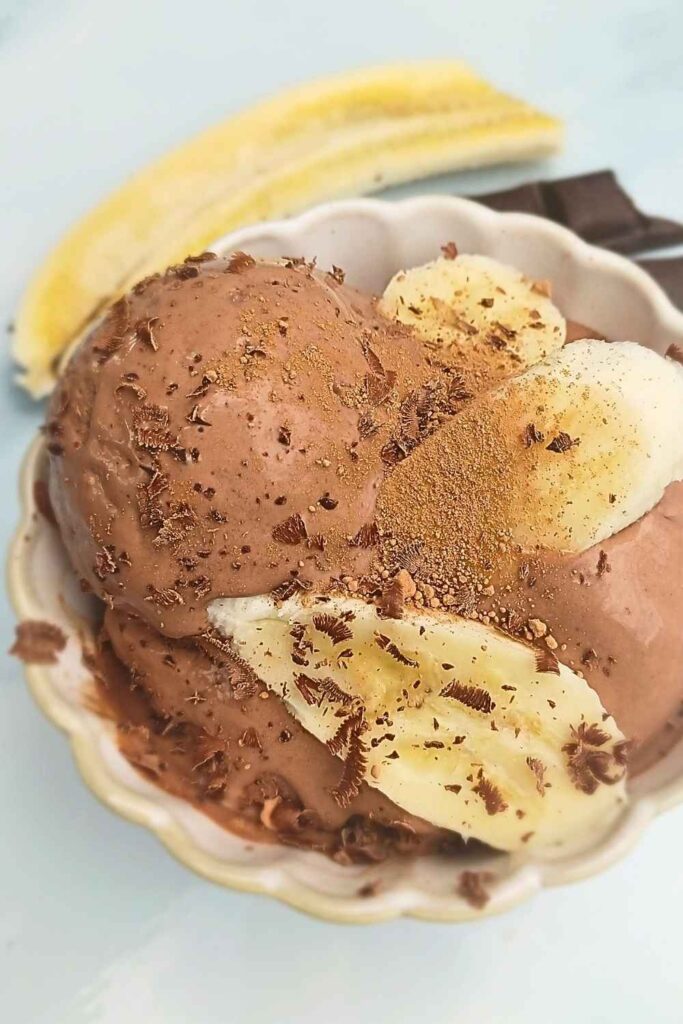
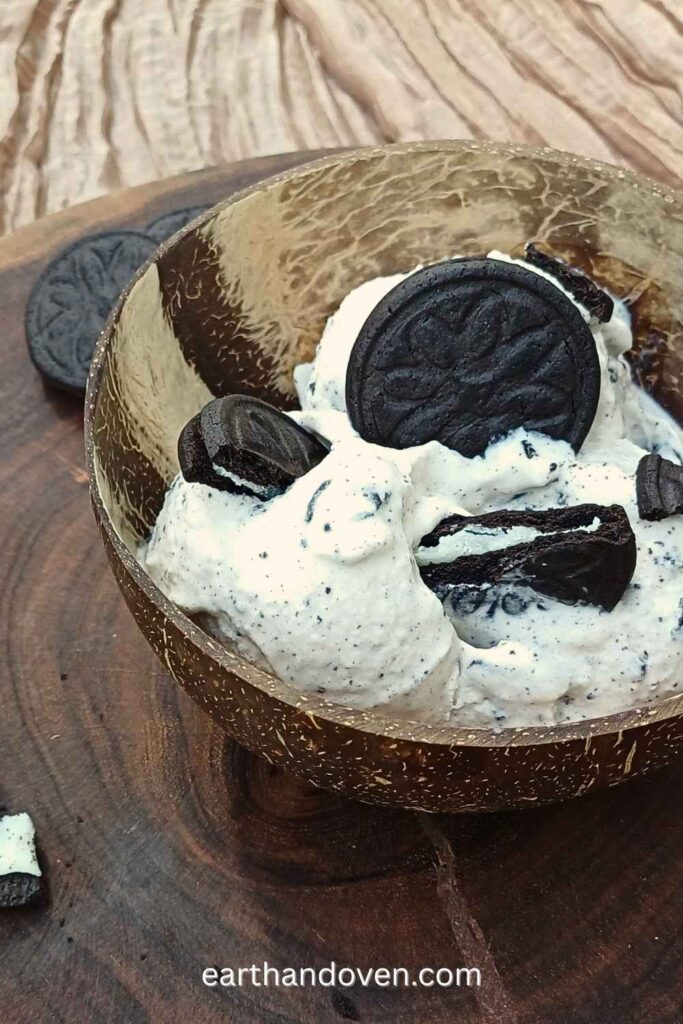
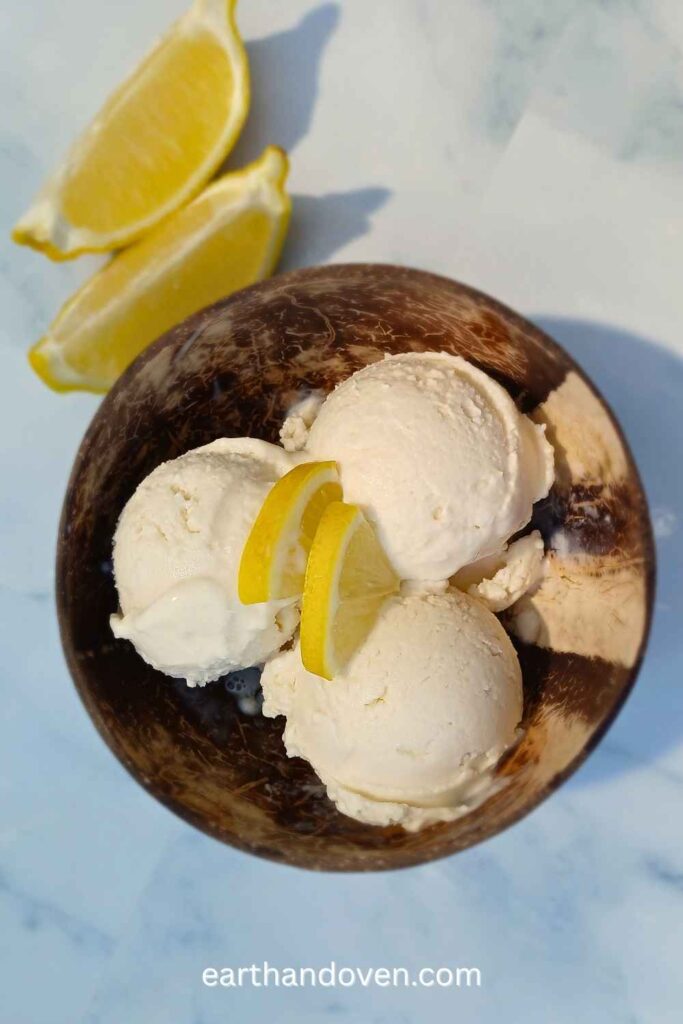
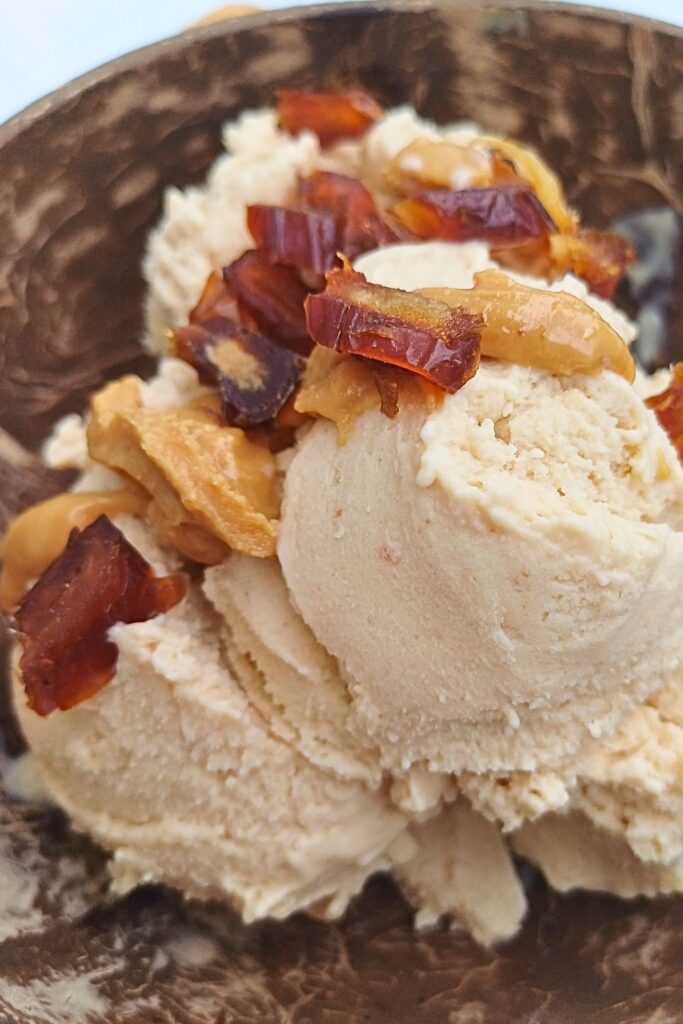
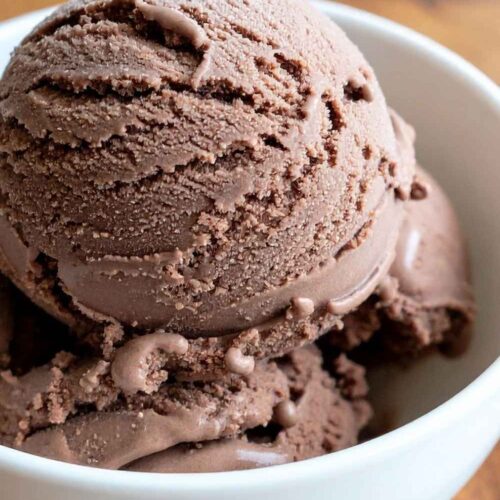
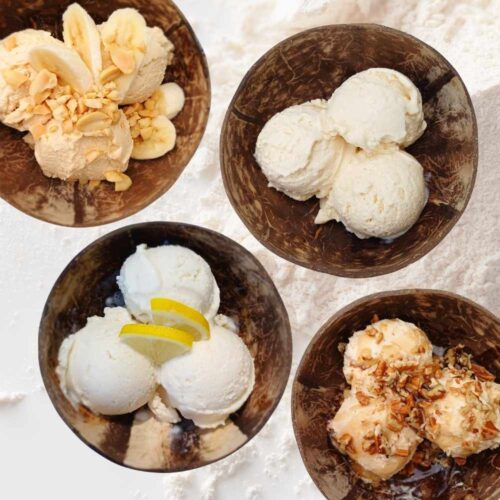
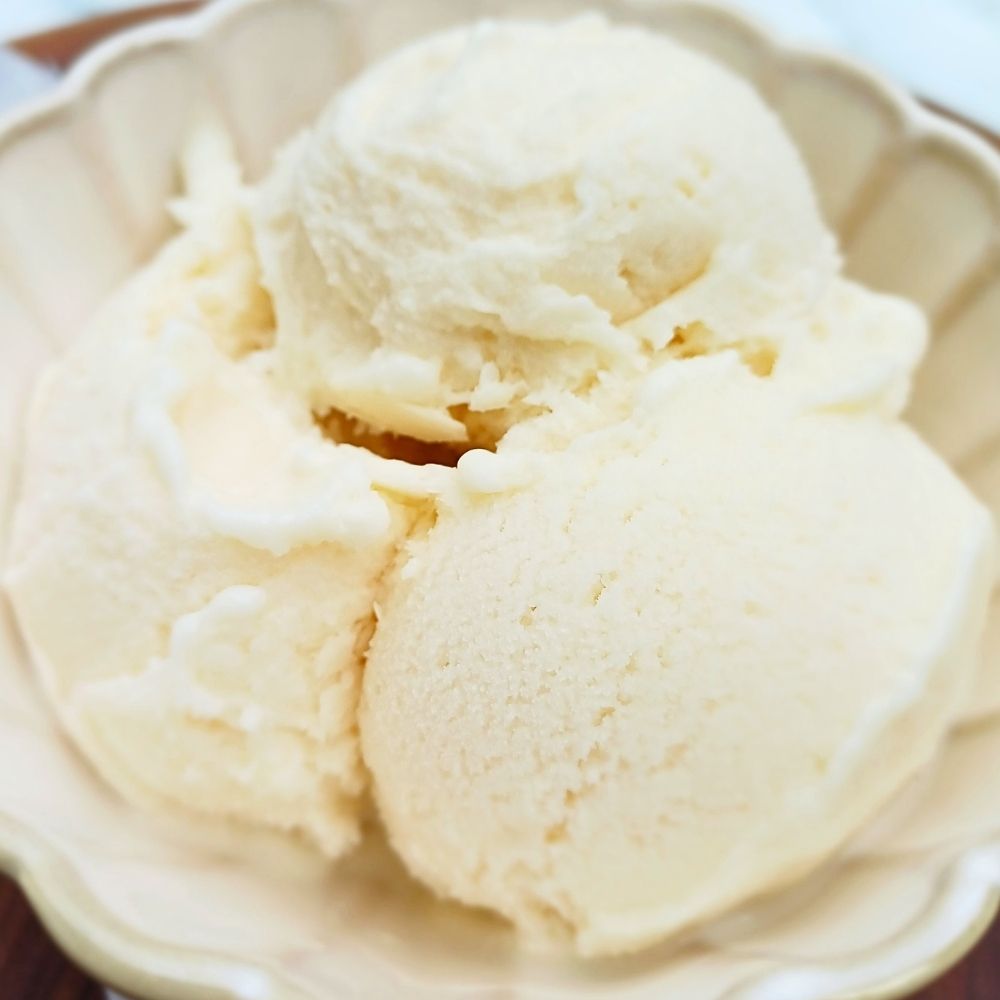
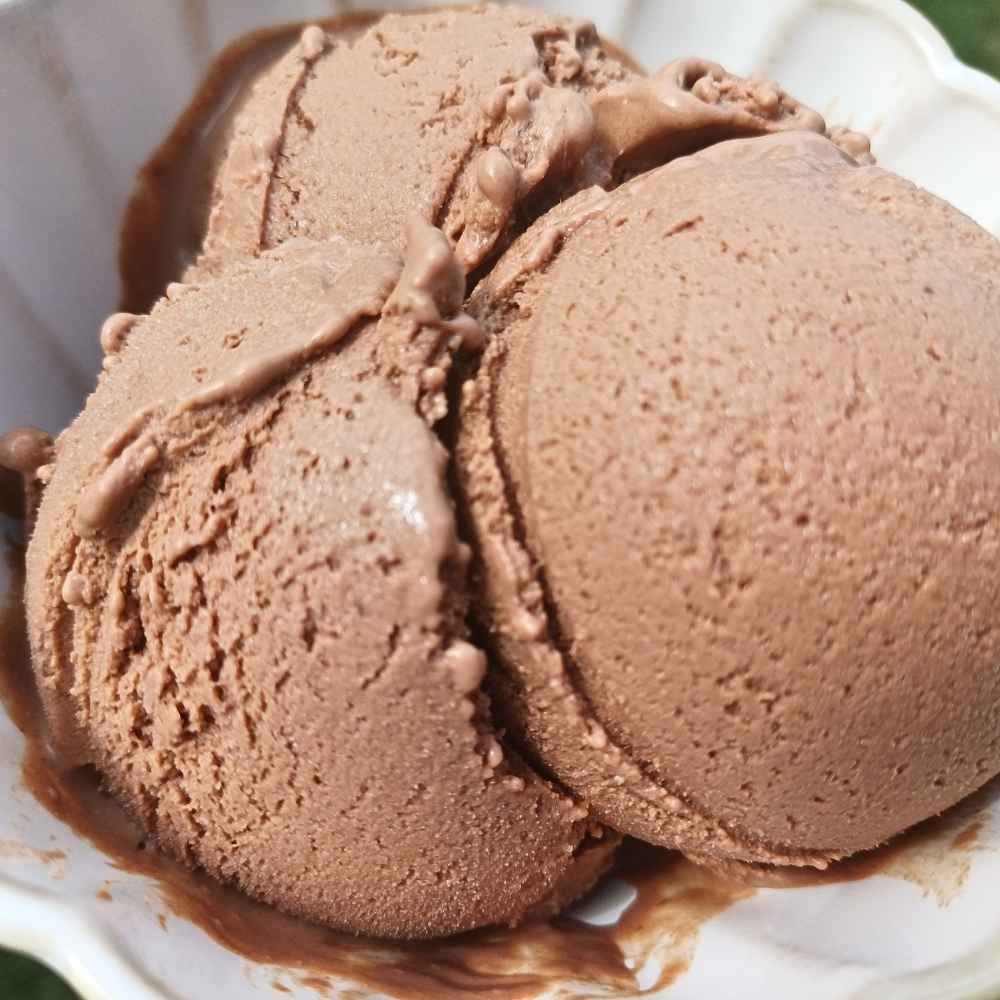
Don't forget to scroll down to see more full recipes for other flavors like vanilla, chocolate banana, coffee, lemon and more. 

Nutrition

Calories: 210kcalCarbohydrates: 22gProtein: 6gFat: 11gSaturated Fat: 6gCholesterol: 35mgFiber: 4gSugar: 18g
Keyword healthy Ninja Creami ice cream, strawberry healthy Ninja Creami Recipe

Strawberry Ninja Creami ice cream is just the beginning. I added all my favorite and popular flavors for you below. With full recipes included. 

vanilla healthy Ninja Creami ice cream in a coconut shell bowl

Vanilla is the foundation of so many Ninja Creami flavours, using healthy basic ingredients, so it has its own dedicated post with variations and tips.

👉 See the Healthy Ninja Creami Vanilla Ice Cream Base Recipe here

This flavor is so delicious and very grown up, so may be not for the kids. But you can enjoy it with a cup of coffee or instead of coffee. Totally up to you. 

coffee ninja creami ice cream

Ingredients

  • ½ cup freshly brewed coffee, cooled to room temperature
  • 1 cup whole milk
  • ¼ cup fresh cream
  • 2 tablespoons pure maple syrup or your choice of sweetener (you can make it sugar-free with allulose)
  • 1 tablespoon cream cheese, softened
  • ½ teaspoon vanilla extract
  • ½ teaspoon xanthan gum (optional)

Instructions

  1. Add all ingredients to the Ninja Creami pint container or blender.
  2. Blend until smooth and fully combined.
  3. Freeze for approximately 24 hours until solid in the pint container.
  4. Process using the Lite Ice Cream setting.
  5. Re-spin once if needed for a smoother texture.

Nutrition (per serving)

Calories: ~195
Protein: 5g
Carbohydrates: 18g
Sugar: 14g
Fat: 10g
Saturated fat: 5g
Cholesterol: 30mg

I always seem to have extra bananas hanging around in my fruit basket that no one wants to eat cause they are a bit too brown. So if you have that problem too, here is the solution: make banana chocolate Ninja Creami ice cream.

Banana chocolate home made Ninja Creami ice cream with chocolate chips and walnut mix-ins

Ingredients

  • 1 ripe banana (it can be fresh or super ripe and browning, but just not a very hard and green one)
  • 1 cup whole milk
  • ¼ cup fresh cream
  • 2 tablespoons pure maple syrup or natural unrefined sugar (cane or coconut)
  • 2 tablespoons organic cacao powder
  • 1 tablespoon cream cheese
  • 1 tablespoon dark chocolate chips for your mix ins (optional)
  • ½ teaspoon xanthan gum (optional)

Instructions

  1. Add all ingredients to the Ninja Creami pint.
  2. Blend until completely smooth using an immersion blender. Or you can blend in a regular blender and transfer to the pint.
  3. Freeze for 24 hours until solid.
  4. Spin on the Ice Cream setting.
  5. Re-spin once if needed.
  6. Enjoy your rich banana chocolate ice cream

Nutrition (per serving)

Calories: ~240
Protein: 6g
Carbohydrates: 26g
Sugar: 20g
Fat: 13g
Saturated fat: 7g
Cholesterol: 35mg

This one is creamy and crunchy all at the same time. It’s a must-try flavor in my opinion. You can use sugar-free cookies if you want to keep it completely low-carb and sugar-free. That’s what I do!

Cookies and cream Ninja Creami ice cream topped with dark cream filled cookies

Ingredients

  • 1 cup whole milk
  • ¼ cup fresh cream
  • 2 tablespoons coconut sugar or raw sugar (or use allulose if you want to make this sugar-free)
  • 1 tablespoon cream cheese
  • ½ teaspoon vanilla extract
  • 3–4 gluten-free, low-sugar cookies, chopped
  • ½ teaspoon xanthan gum (optional)

Instructions

  1. Add all ingredients except the cookies to the pint and blend until smooth with an immersion blender. Or you can use a regular blender and transfer the mixture into the pint after. 
  2. Freeze for approximately 24 hours until solid.
  3. Process using the Ice Cream setting.
  4. Create a small hole in the centre, add the cookies, and use the Mix-In function. You can add a few extra broken up cookies on top if you like.

Nutrition (per serving)

Calories: ~260
Protein: 5g
Carbohydrates: 28g (only 6g if using sugar-free cookies and allusloe)
Sugar: 19g (only 3g if using sugar-free options)
Fat: 14g
Saturated fat: 7g
Cholesterol: 40mg

If you are a pistachio fan, this one is for you. I use fresh pistachios, so I have a tip for you. I found grinding them with a coffee grinder helps create a smoother texture of the ice cream later. Otherwise, put them in a food processor and blend briefly, then add the other ingredients and blend again. 

pistachio cranberry healthy Ninja creami ice cream in a glass jar

Ingredients

  • ¾ cup whole milk
  • ¼ cup fresh cream
  • 2 tablespoons pure maple syrup or natural raw sugar like cane or coconut (see above where to get)
  • ¼ cup pistachios
  • 2 tablespoons reduced-sugar dried cranberries
  • 1 tablespoon cream cheese
  • ½ teaspoon xanthan gum (optional)

Instructions

  1. First, blend or grind the pistachios. Use a coffee grinder or food processor.
  2. Add all ingredients to the ground pistachios in the food processor. Or if grinding with a coffee grinder, then add the pistachios right into the Ninja Creami pint along with other ingredients. Except cranberries.
  3. Blend everything together with the food processor or stick blender directly in the pint.
  4. Freeze for approximately 24 hours until solid.
  5. Spin on the Ice Cream setting and re-spin if needed.
  6. Add chopped cranberries and spin again using the mix-in function. 

Nutrition (per serving)

Calories: ~275
Protein: 7g
Carbohydrates: 24g
Sugar: 17g
Fat: 16g
Saturated fat: 6g
Cholesterol: 35mg

FAQ: Can I use pistachio cream instead? 
Yes, you can, but keep in mind that often pistachio cream has additives and refined sugar, so make sure it’s pure pistachio cream/butter to keep it healthy.

Lemon Ninja Creami ice cream is one of the most popular flavors in my entire collection — and for good reason. I’ve had so many comments saying how delicious it is.

It’s creamy, but still light and refreshing, with just the right amount of tang.

I’ll be honest — I’m not usually a lemon ice cream person. But when I first made this, I had one of those moments like… oh, ok… this is actually really good.

There’s something about the combination of cream and lemon that just works. It reminds me of a light lemon cheesecake — smooth, slightly tangy, and really satisfying.

Dare I say, it’s actually a level up from my lemon sorbet version, from my Ninja Creami sorbet collection

Lemon healthy Ninja Creami Ice Cream in a coconut bowl with lemon wedges

Ingredients

  • 1 cup whole milk
  • ¼ cup fresh cream
  • 2 tablespoons raw or coconut sugar
  • Zest of 1 lemon
  • 4 tablespoons fresh lemon juice
  • 1 tablespoon cream cheese
  • ½ teaspoon vanilla extract
  • ½ teaspoon xanthan gum (optional)

Instructions

  1. Add all ingredients to the pint container and blend until smooth.
  2. Freeze for approximately 24 hours until solid.
  3. Process using the Lite Ice Cream setting.
  4. Re-spin once if needed.

Nutrition (per serving)

Calories: ~220
Protein: 5g
Carbohydrates: 24g
Sugar: 19g
Fat: 12g
Saturated fat: 6g
Cholesterol: 35mg

This one is completely different from the one above; it has a deep, indulgent flavor, and I personally think it’s even nice in winter. It has that cozy, satisfying feel to it. Medjool dates make this ice cream very rich and creamy. 

Date and peanut butter Ninja Creami ice cream close up

Ingredients

  • 1 cup whole milk
  • ¼ cup fresh cream
  • 6 medium Medjool dates (or 4 large ones)
  • 2 tablespoons natural peanut butter
  • 1 tablespoon cream cheese
  • ½ teaspoon vanilla extract
  • ½ teaspoon xanthan gum (optional)

Instructions

  1. Pit the dates if needed and then soak in warm water for 5 minutes to soften. 
  2. Drain the dates and add them to the pint with all remaining ingredients. 
  3. Using an immersion blender, blend until completely smooth. Or use a regular blender, then transfer to the pint container.
  4. Freeze for approximately 24 hours until solid.
  5. Spin on the Ice Cream setting and re-spin if needed.

Nutrition (per serving)

Calories: ~290
Protein: 7g
Carbohydrates: 30g
Sugar: 22g
Fat: 17g
Saturated fat: 5g
Cholesterol: 30mg

This healthy ice cream collection is only one collection of my Ninja Creami recipe hub, but I have more ways you can use the Ninja Creami machine.

Here are some of the other recipes you can find there:


You can click on the green text to go right to the recipes you like.

FAQs ❓

Can I reduce sugar in these recipes?

Yes. You can swap the natural sugars for monk fruit sweetener if needed. For recipes designed specifically for low-GI or sugar-free eating, check out my Healthy Keto Ninja Creami Recipes collection.

Are these low-calorie ice creams?

These are balanced homemade ice cream recipes, not diet desserts. However, if you use allulose instead of other sweeteners, this will reduce the calories a lot. You can also use light milk and cream, just be prepared that the texture may not be as creamy. 

Why does my ice cream look crumbly after the first spin?

That’s completely normal. A quick re-spin usually creates a smooth, soft-serve texture. Add a splash of milk before re-spinning if it’s still coming out crumbly. This depends a lot on the ingredients used. Some ice creams come out creamy from the first spin, others need a re-spin or two.

Final Thoughts from a Creami-Obsessed Mom 💕

This isn’t about perfection — it’s about peace of mind.

My family eats ice cream like it’s a lifestyle choice, and now I don’t stress about it. They enjoy dessert, sometimes go back for seconds, and then get on with their lives.

That’s the goal.

Real food. Real joy. Real ice cream, made at home! 🍦

5 from 1 vote (1 rating without comment)

Leave a Reply

Your email address will not be published. Required fields are marked *

Recipe Rating


Earth & Oven

Subscribe Now!

Latest Recipes

Free 7-Day High-Protein Low-Carb Meal Plan

Easy real-life meals for busy people who want more protein, less sugar, and simple healthy recipes that actually fit family life.