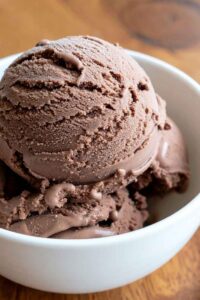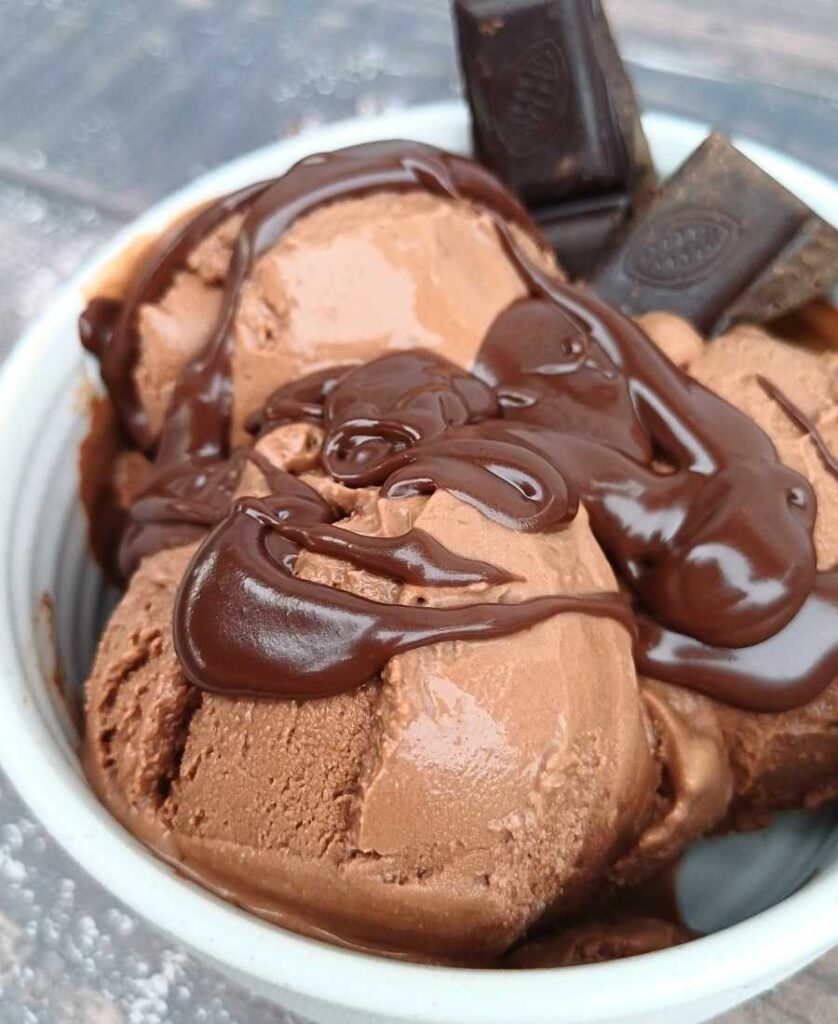

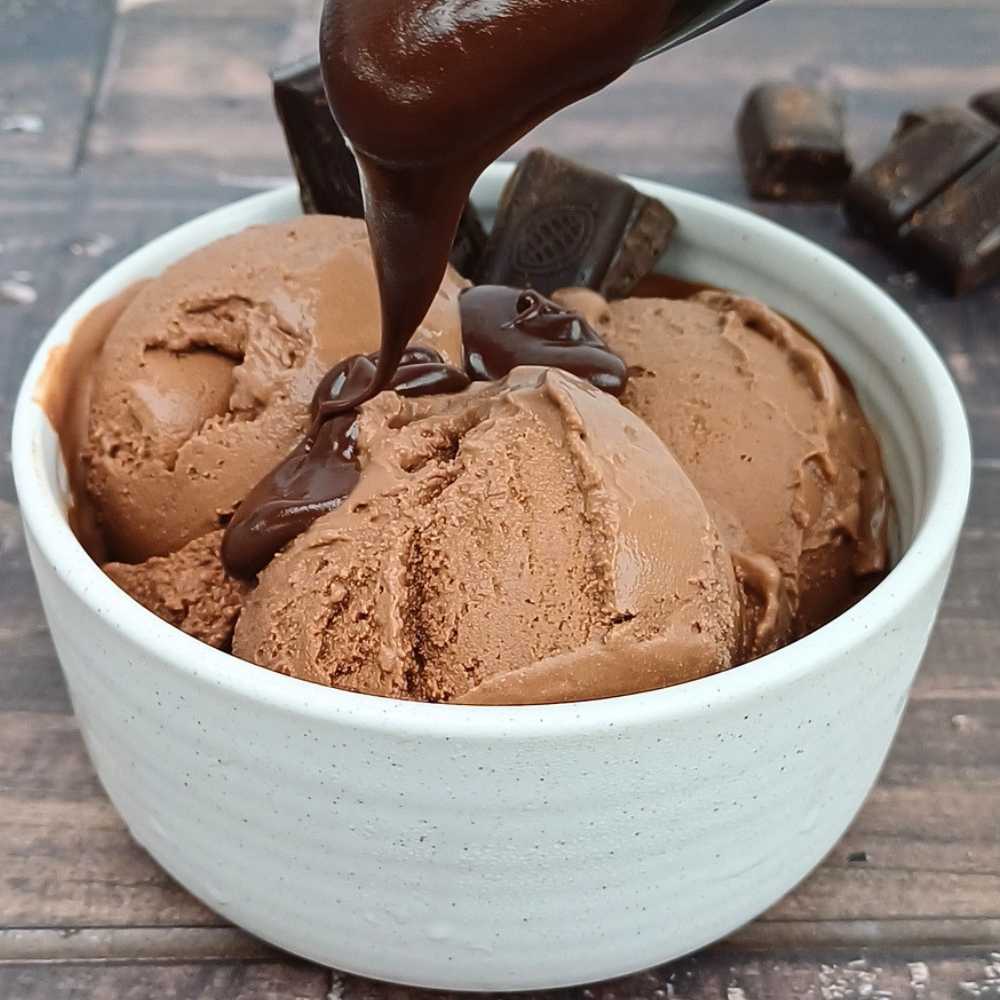
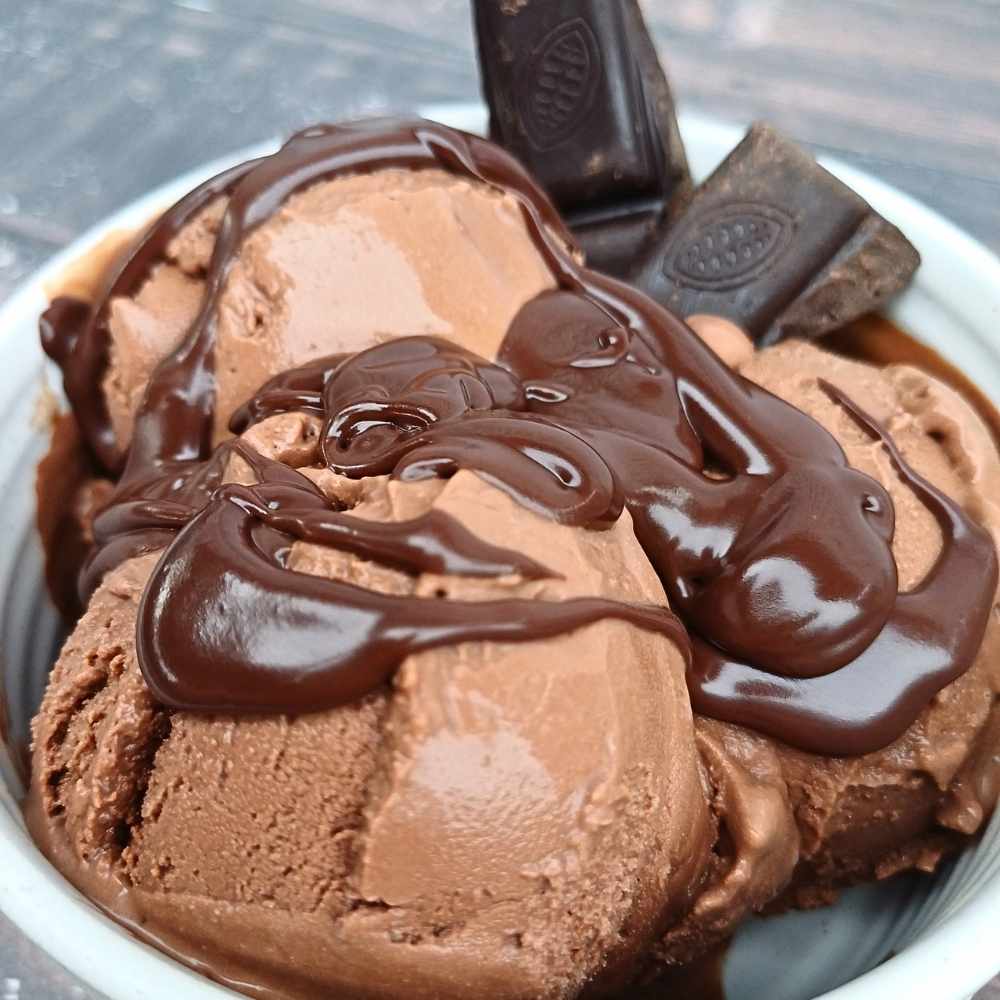
Ninja Creami Chocolate Ice Cream - With Real Chocolate
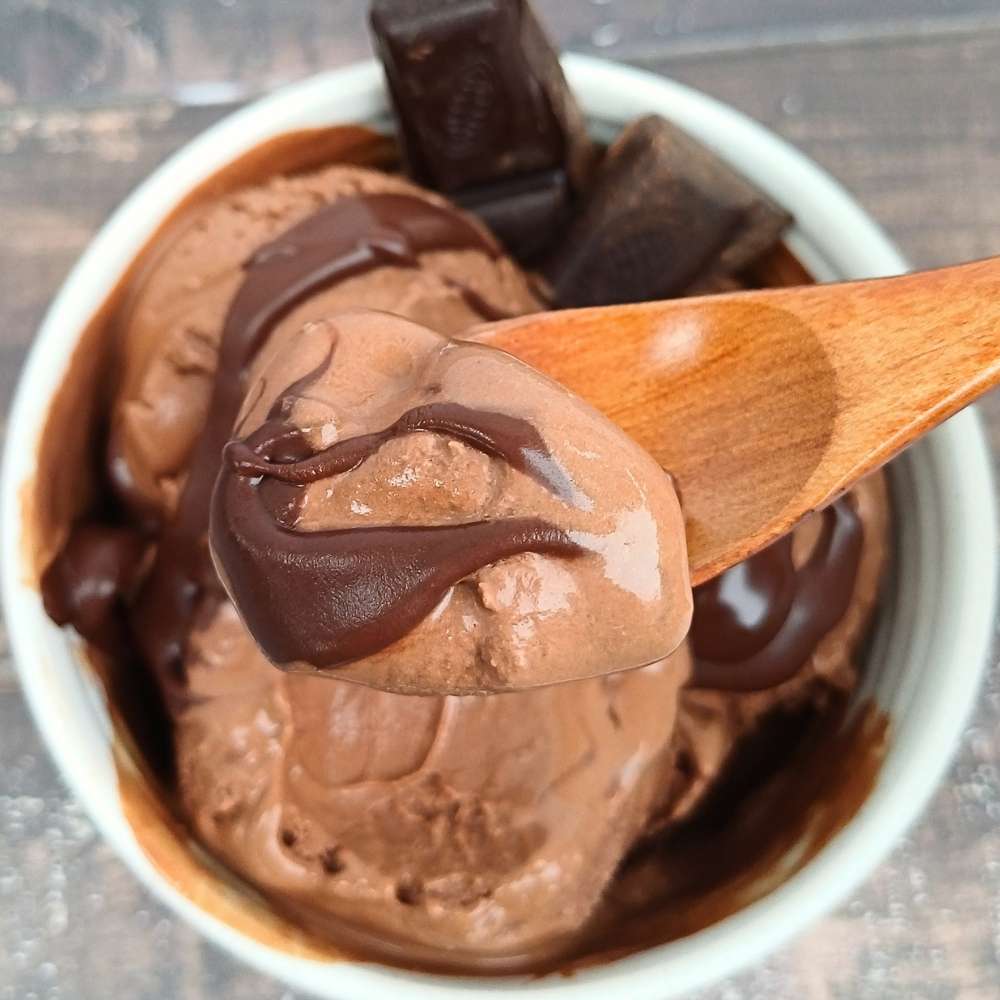
This Ninja Creami chocolate ice cream recipe is rich, creamy, and made with real dark chocolate for a deep chocolate flavor that tastes like premium ice cream, but with simple ingredients.Before starting, check the tips above to learn why I use both melted chocolate and cocoa powder, how to adjust the chocolate intensity, and why this recipe only needs a simple re-spin for the best texture.
Equipment
Ninja Creami Ice Cream Machine
Ninja Creami pint container with lid,
Stick blender or regular blender,
Microwave-safe bowl (medium size for melting chocolate),
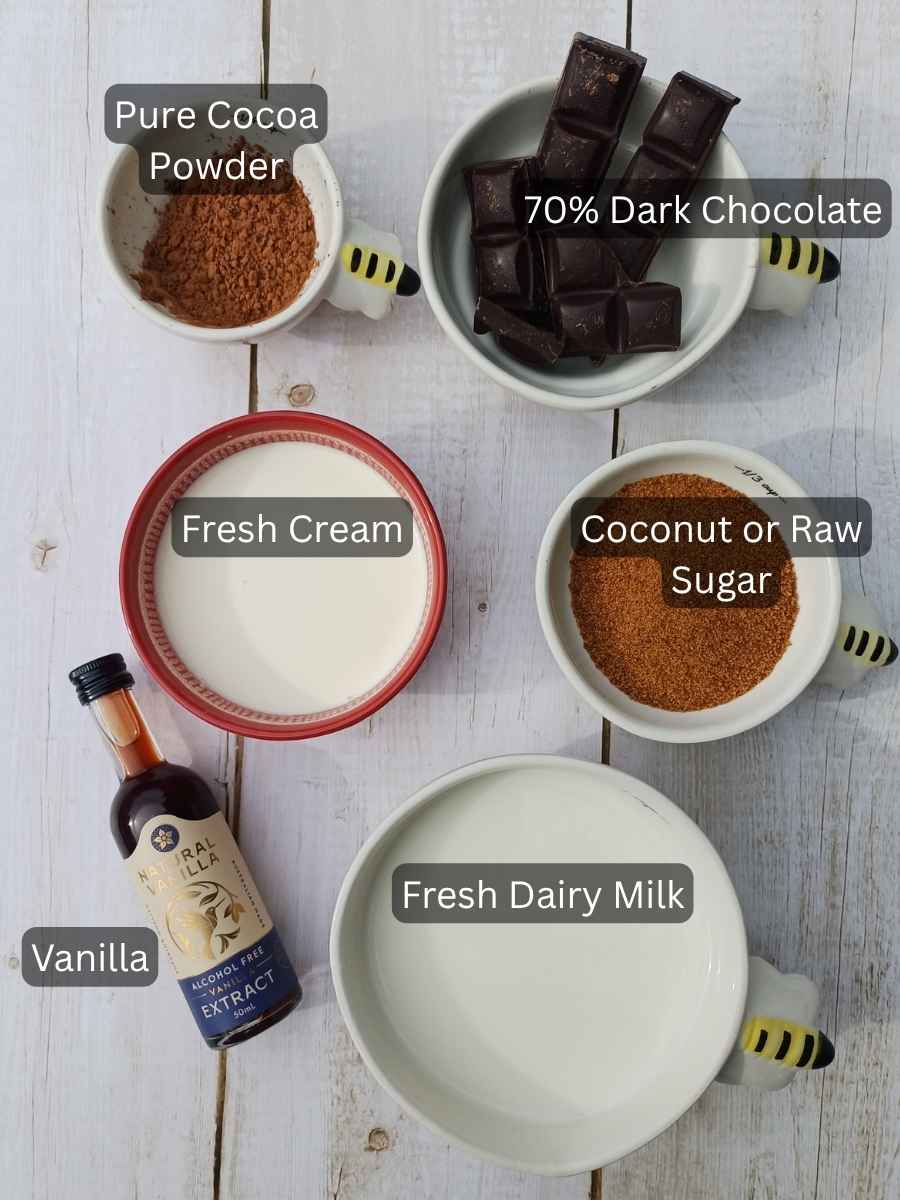
Ingredients
- 2.8 ounces 80g 70% dark chocolate
- 1 cup whole milk
- 1/2 cup regular cream (heavy cream can also be used, but not nessesary)
- 2 tablespoons unsweetened cocoa powder
- 1/3 cup coconut sugar
- 1 teaspoon vanilla extract
Optional for Dark Chocolate Lovers
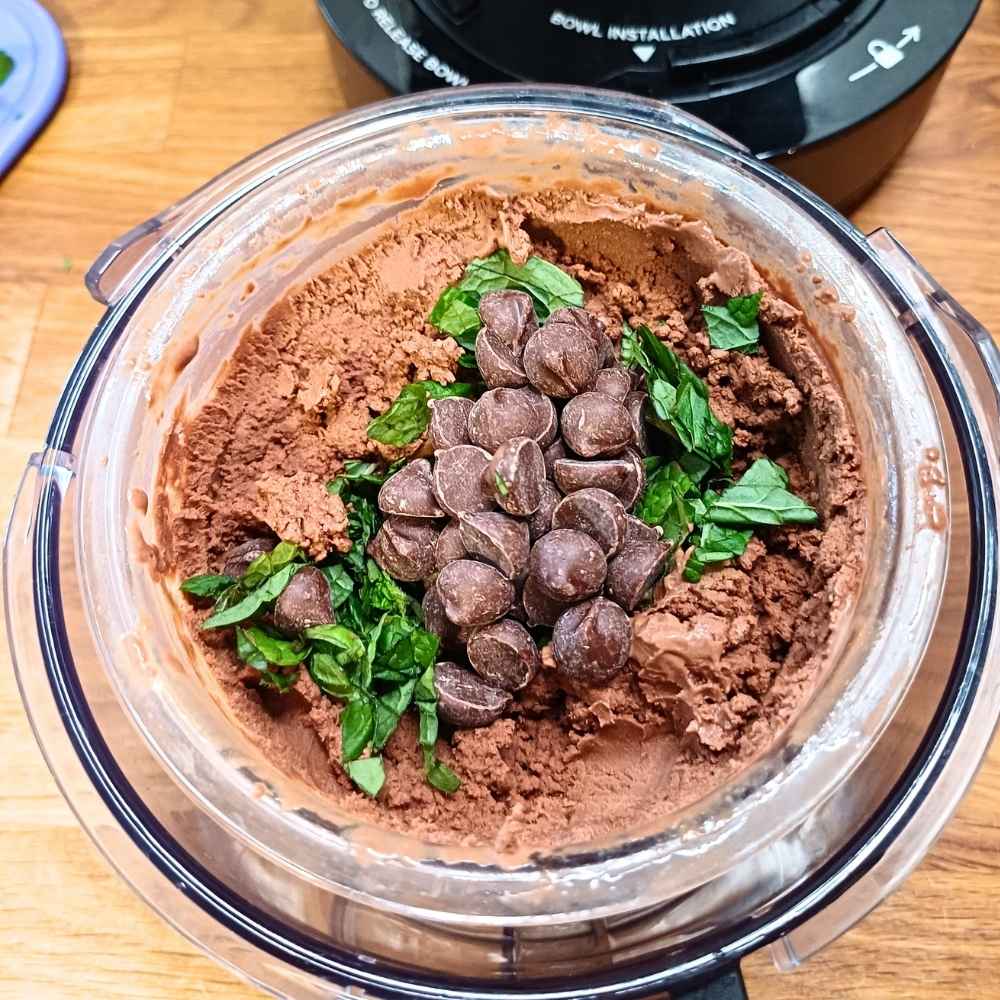
- Additional 2 tablespoons cocoa powder 4 tablespoons total, extra drizzle of melted chocolate or chocolate chips for mix in
Instructions
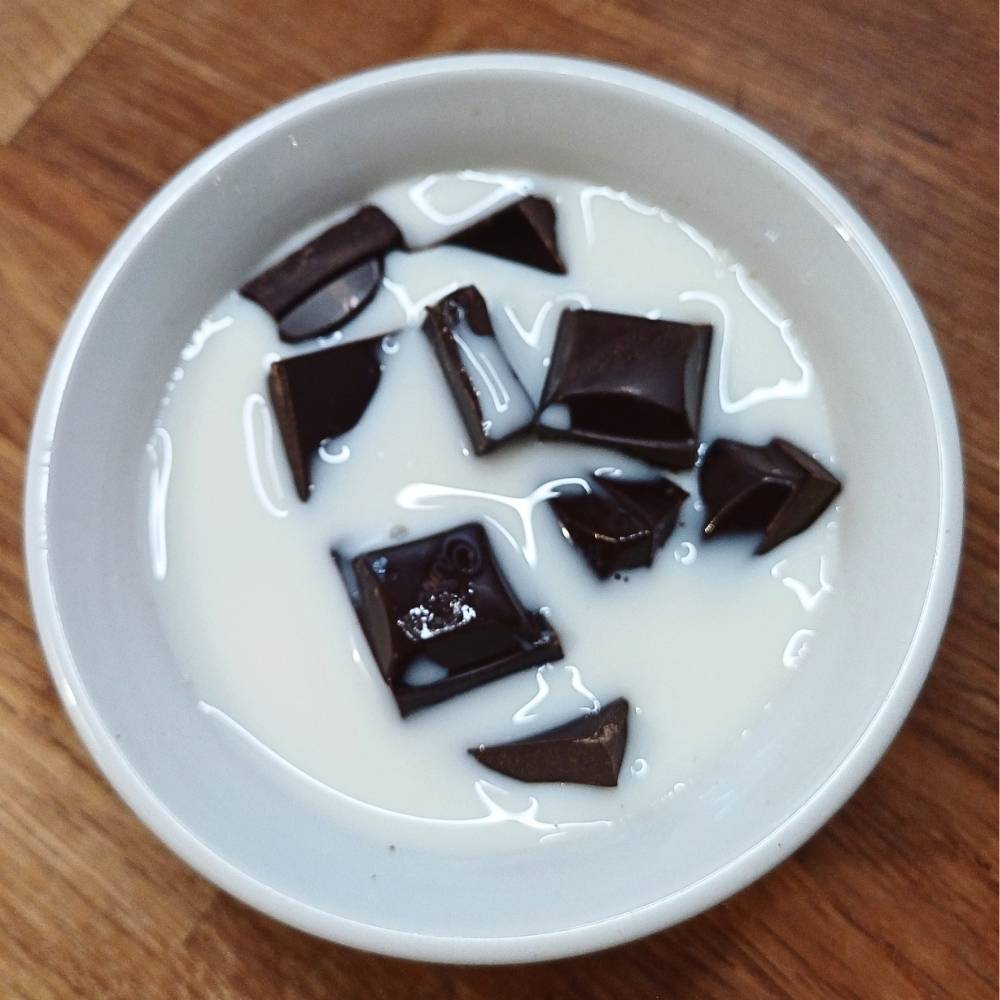
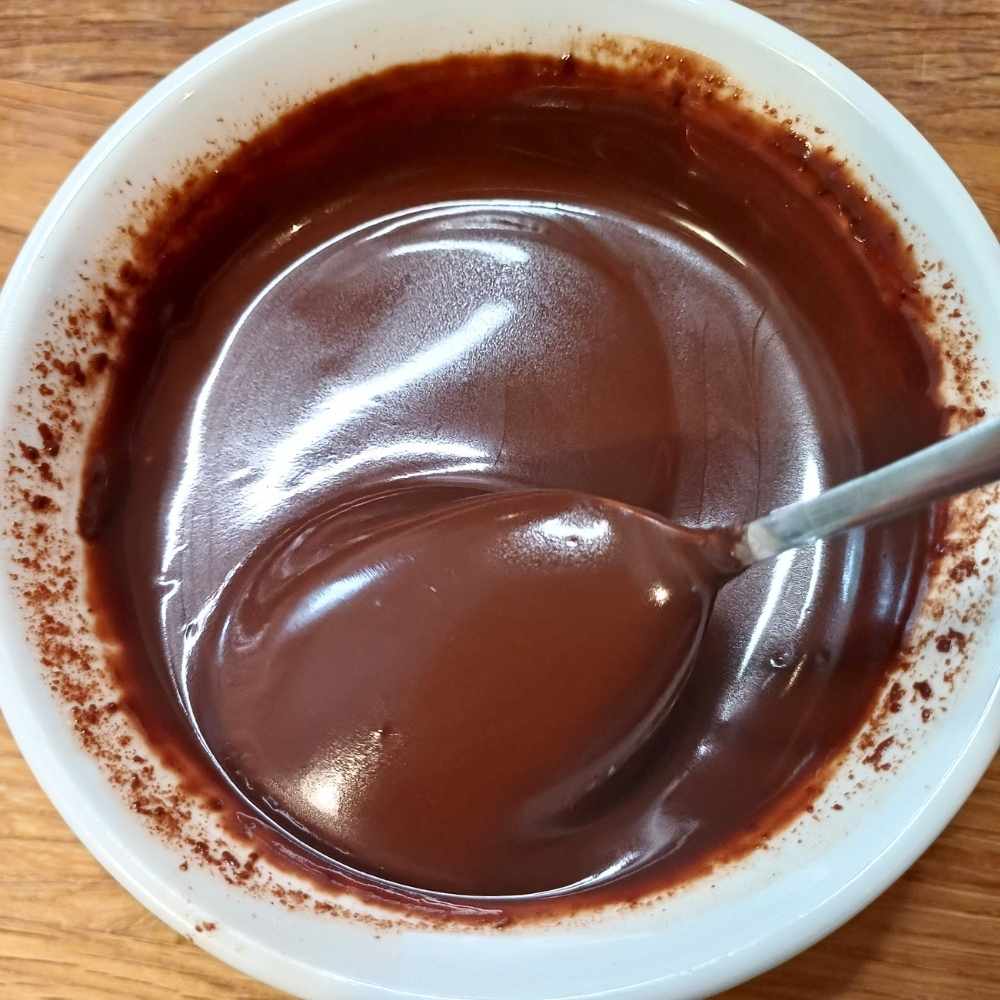
Step 1: Melt The Chocolate
- Melt the dark chocolate with a bit of milk, until smooth.
- You can use short bursts in the microwave or place a heatproof bowl over hot water.
- Allow it to cool slightly before mixing.
Step 2: Make The Ice Cream Base
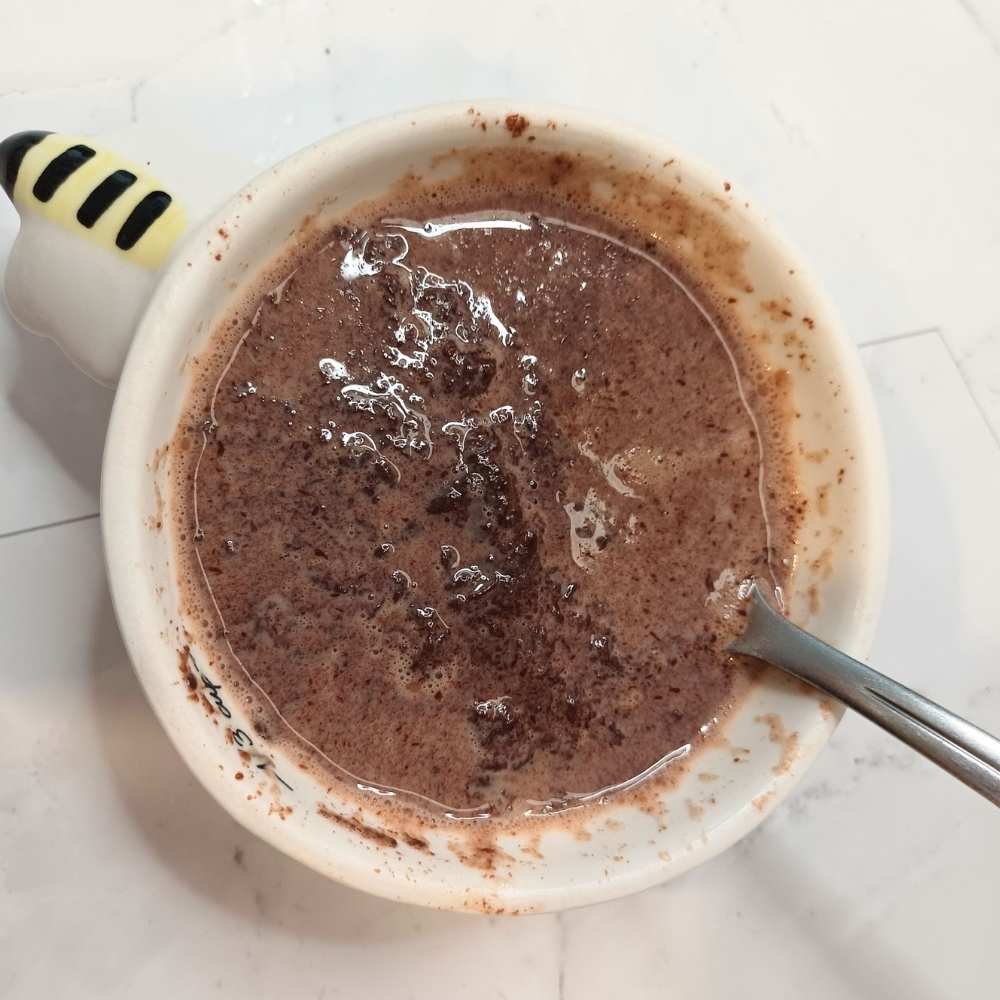
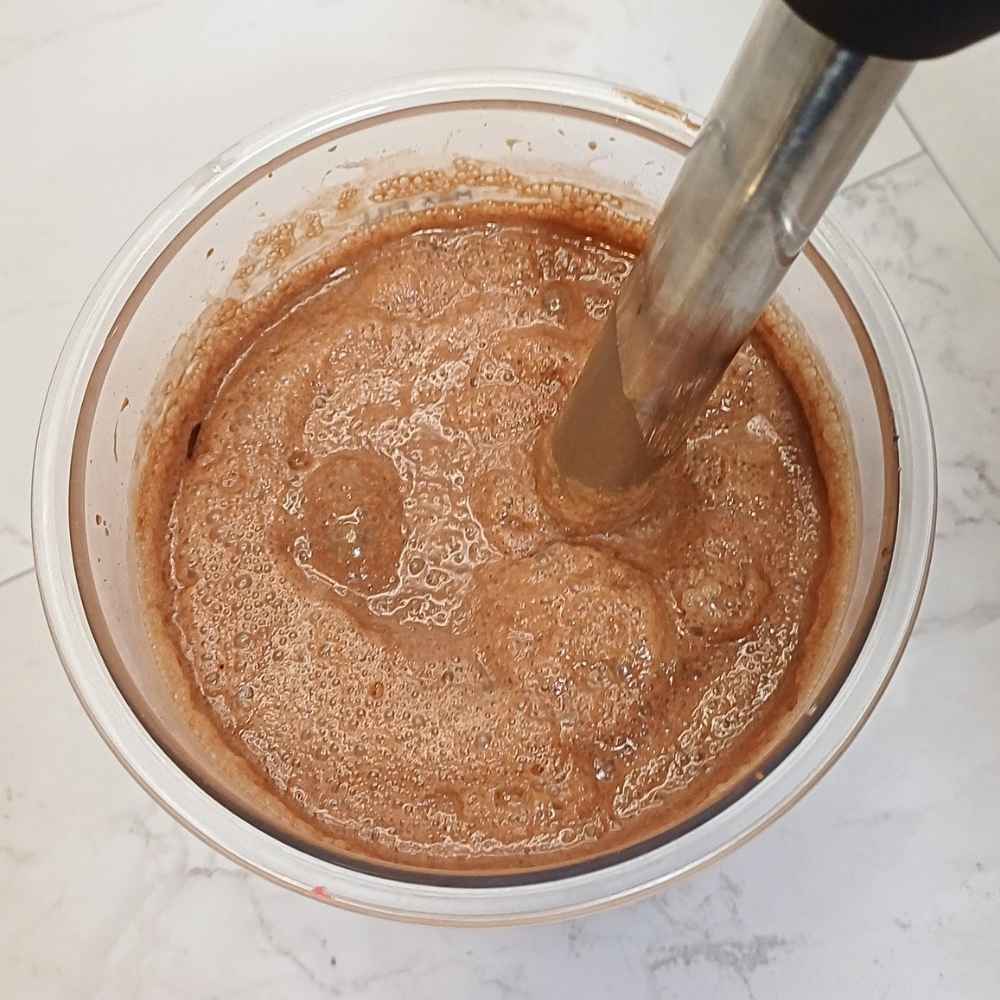
- Add the melted chocolate, whole milk, fresh regular cream, cocoa powder, coconut sugar, and vanilla extract to the Ninja Creami pint container.
- Blend until completely smooth.
- The mixture should look like rich chocolate milk.
- Make sure the mixture stays below the Max Fill line.
Step 3: Freeze
- Place the lid onto the Ninja Creami pint container.
- Freeze on a level surface for 18–24 hours or until completely solid.
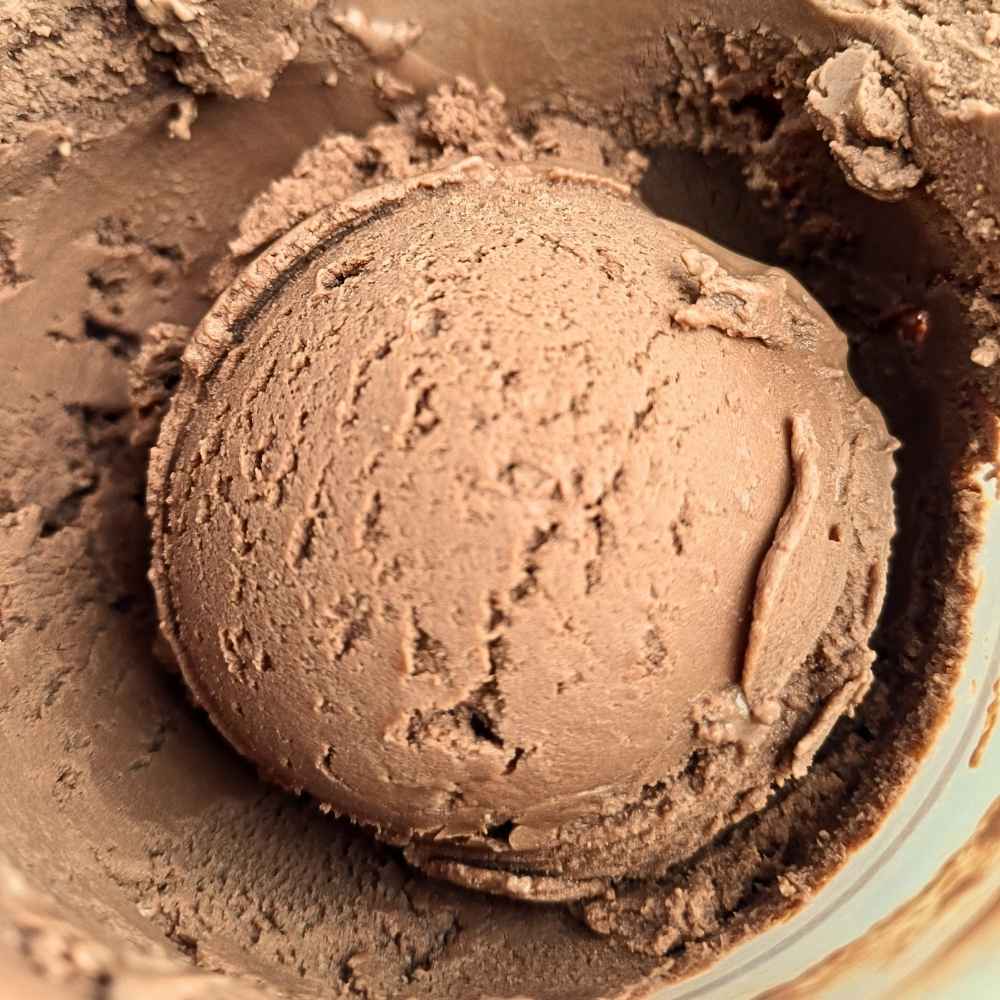
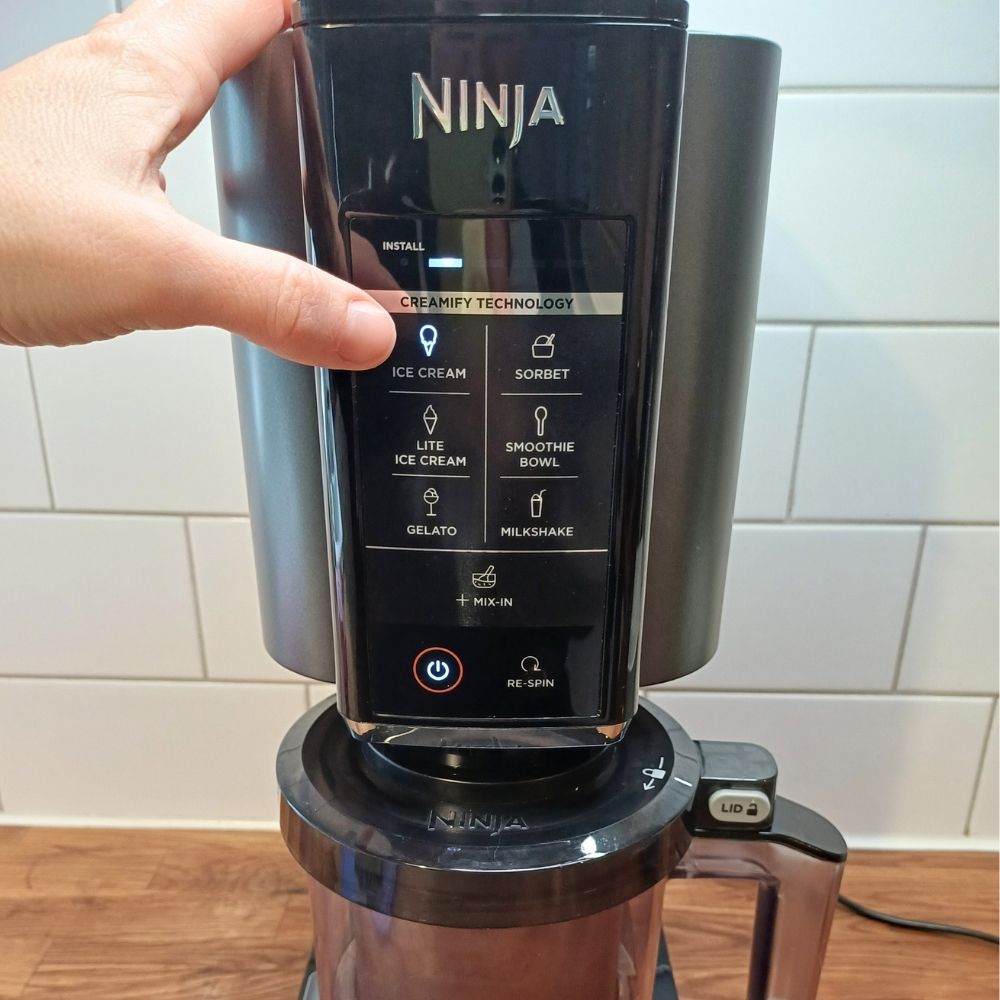
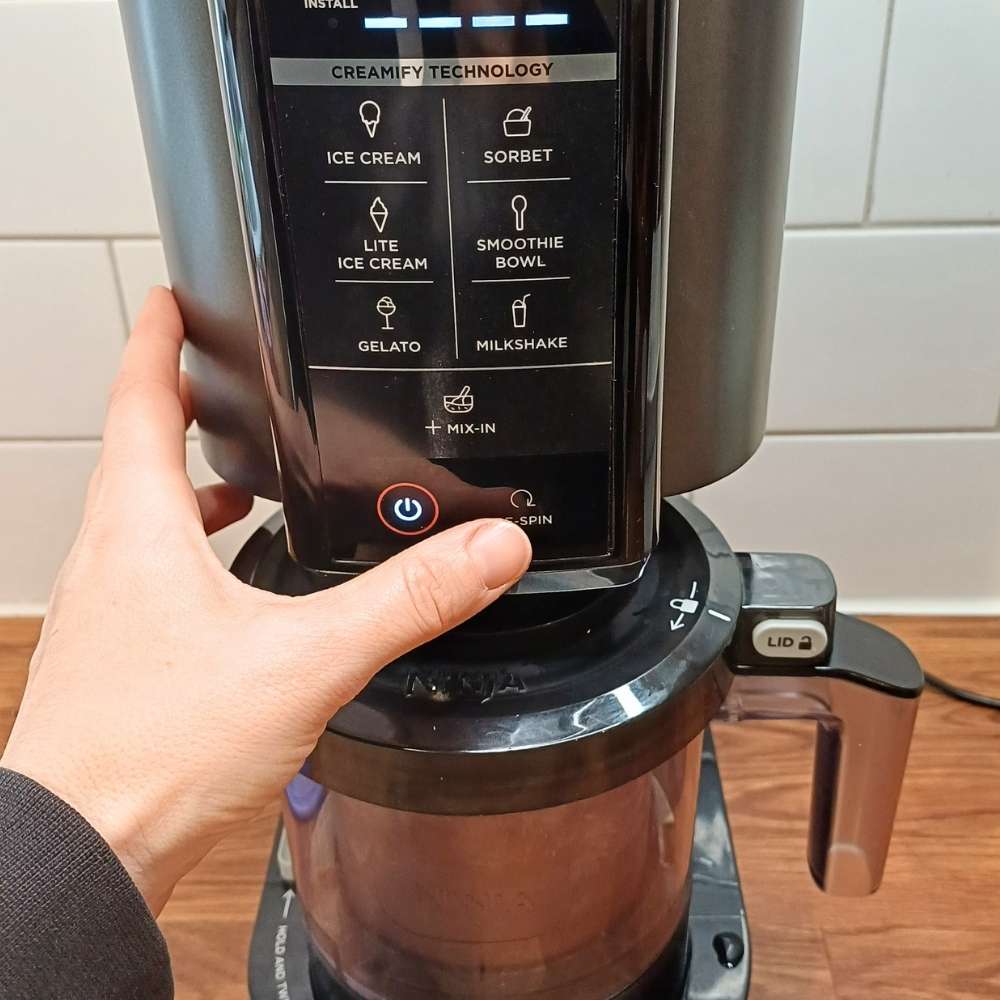
Step 4: Process
- Remove the lid.
- Place the pint into the outer bowl assembly and attach the outer bowl lid.
- Process using the Ice Cream button.
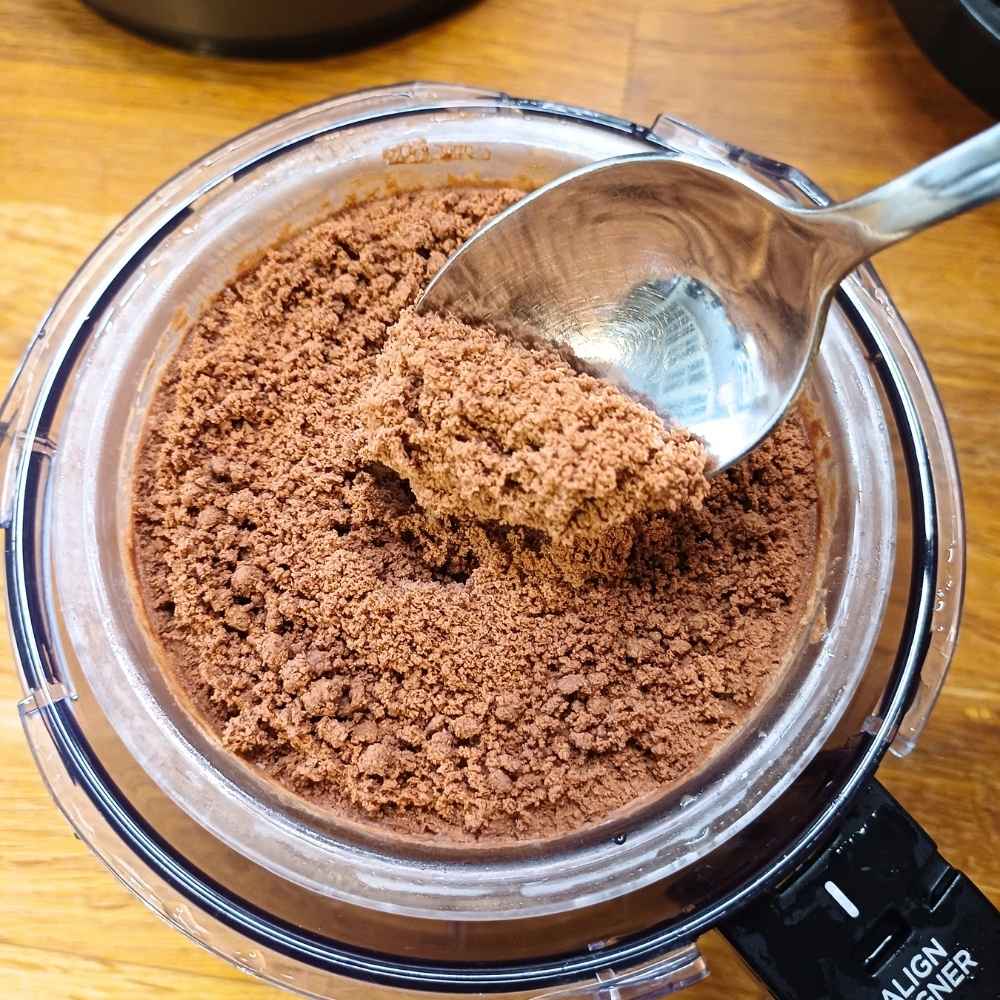
Step 5: Re-Spin
- After the first spin, the ice cream may look slightly crumbly.
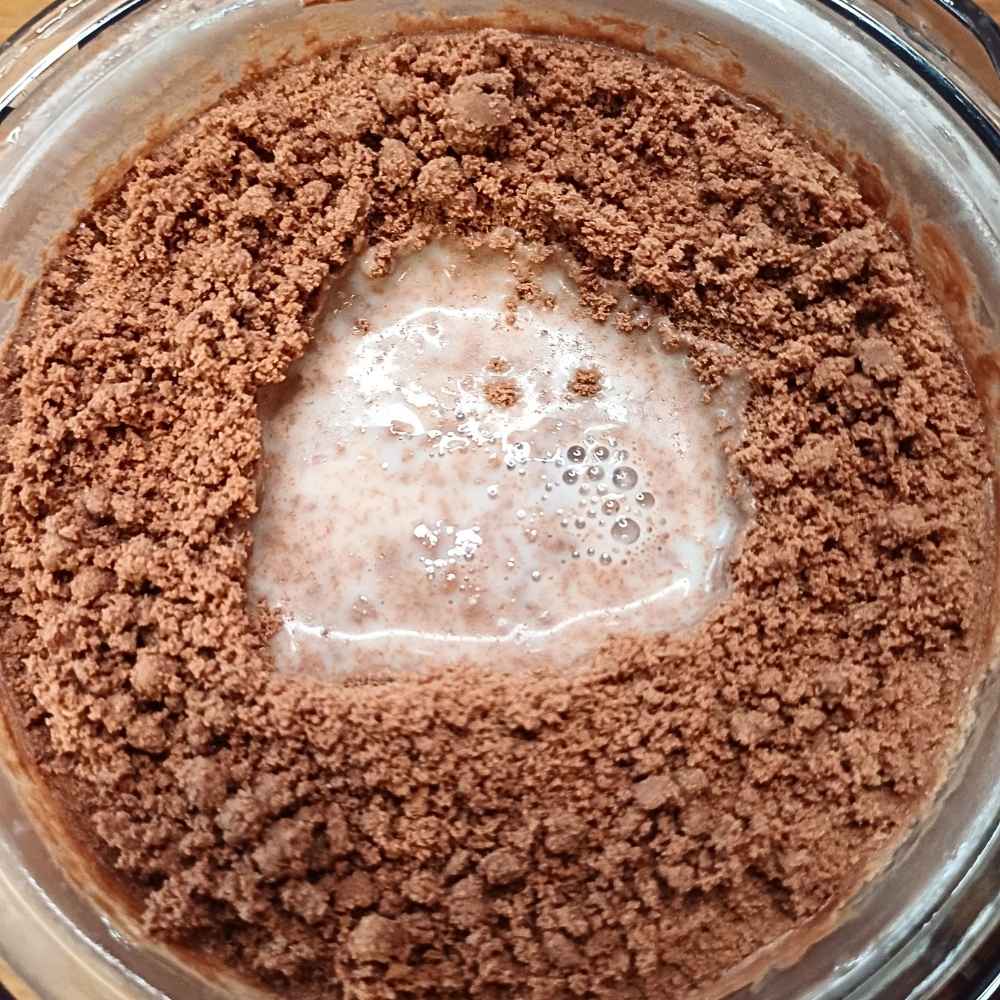
- Use the Re-Spin button once.
- If still crumbly, add a splash of milk and re-spin one more time.
Step 6: Scoop And Serve
- Serve immediately or return to the freezer for a firmer texture.
- Add your favorite toppings if desired.
Notes
Notes:
If you want more delicious Ninja Creami flavors, check them out below. I have a whole collection you can try.
Nutrition
Calories: 285kcalCarbohydrates: 26gProtein: 5gFat: 19gSaturated Fat: 11gSodium: 45mgPotassium: 260mgFiber: 4gSugar: 19g
Tried this recipe?Let me know how it was in the comments below.