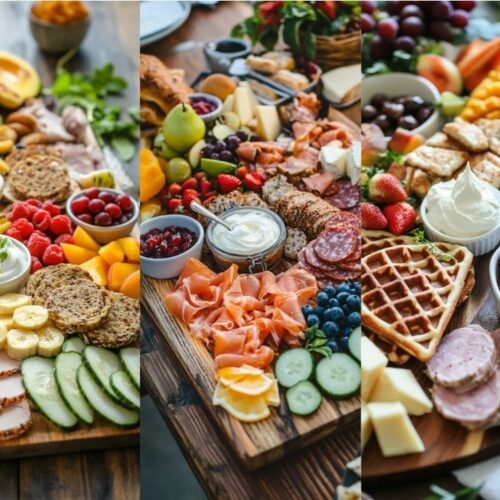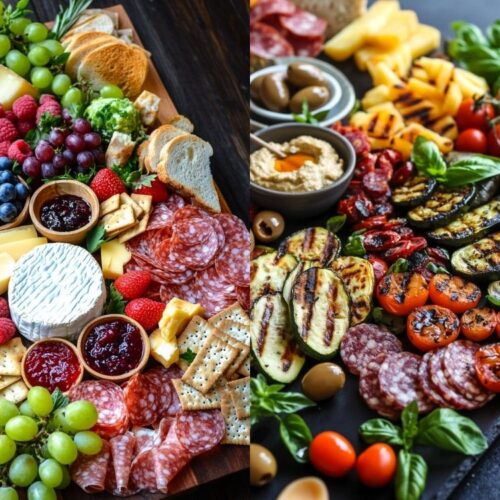
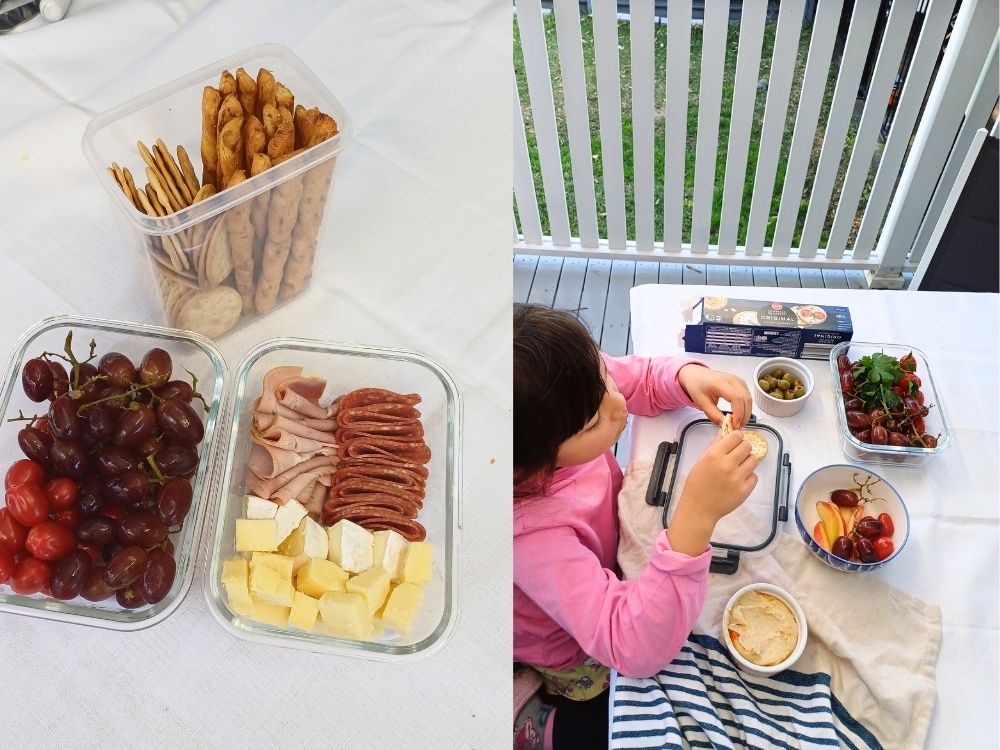
Do you ever scroll past those picture-perfect charcuterie boards and wonder, “Do people actually make those at home—or do they have a secret catering team stashed away?” Trust me, you don’t need a mile-long shopping list or fancy chef skills to pull off a beautiful, inviting spread. In fact, you can even get a seven-year-old to help you do it, like I did. Well, I had no coice as my daughter insisted in helping. And that is why we are missing half the grapes and bread sticks.
After a lot of experimenting (not to mention popcorn, brownies, and dips scattered across my kitchen), I’ve discovered the sweetest truth: the best simple charcuterie boards are easy, approachable, and totally doable—even on a weeknight.
Whether you’re hosting friends for drinks or assembling a grazing board for a cozy movie night, these simple charcuterie board ideas will have you covered. Today, I’m sharing my favorite go-to simple charcuterie board, plus I have found a few others for you that you might like to try as they look awesome.
If you’re just getting started with grazing boards, you’re in the perfect place. Once you’ve mastered these simple boards, why not branch out and explore some of my other crowd-pleasers?
I’ve created dedicated guides for a beautiful breakfast charcuterie board (perfect for brunch or Mother’s Day), a laid-back picnic grazing board (great for outdoor gatherings), and—if you ever land the “bring dessert” job—my standout dessert charcuterie board is always a hit. So make sure to click on the links later and check them out too.
What You’ll Find in This Blog Post: Everything You Need to Have Your First Board Made.
My Simple Charcuterie Board
Step-by-step guide with an ingredients card for easy shopping.
Quick Tips and Assembly Hacks
Lessons learned and “what not to do” advice for a stress-free setup.
Fun Finds from Other Board Enthusiasts
Extra inspiration from creative boards I discovered on Pinterest (with credits and links to each Pin).
Other Cool Board Ideas to Try
Affordable options and practical picks for presenting your charcuterie.
Serving, Storing, and Enjoying
Advice for making the most of your board—from parties to snack time.
As an Amazon Associate, I earn from qualifying purchases. This means that if you click on an Amazon link and make a purchase, I may receive a small commission at no additional cost to you. I only recommend products I genuinely believe in and personally use or have thoroughly researched.
Why Simple Charcuterie Boards Are a Host’s Real Best Friend
There’s something magical about spreading out a board and letting everyone dig in—no plating, no portioning, no stress. A good simple charcuterie board isn’t just a cheese board, it’s a combination of a variety of flavors and textures everyone can enjoy.
I’ve learned that guests love the “choose your own adventure” vibe, whether it’s a housewarming, a catch-up with the girls, or just a quiet night in. And honestly? The best grazing boards are never the most complicated ones. They’re the ones you actually put out, that get a little messy, and always get finished.
And the best part is, you can’t really mess it up. If you are one or even two ingredients short for your charcuterie board, it’s ok, you can get away with it, and no one will know, after all, it is a simple charcuterie board, so let’s keep it simple.
You can always sub things if you can’t find something on the list; it’s totally cool. And if you drop your popcorn on the floor while taking your board to the table, just like I did, it’s fine too, just keep calm and grab another handful.
Your Simple Charcuterie Boards are Within the Reach
Shopping List: Screenshot This!
Dips:
- Wholegrain mustard for ham.
- Classic hummus
Salty bits:
- Pitted green olive (small bowl)
Meats:
- Honey-smoked ham (6 thin slices)
- Mild salami (8–10 slices, folded)
Cheeses:
- Mild cheddar (6–8 cubes)
- Brie or Camembert (one small wedge)
Fruits:
- Grapes (small bunch, red or green)
- Medium red or green apple
- Cherry tomatoes, one punnet.
Crunch & Extras:
- Seeded crackers (one small pile)
- Breadsticks (a handful)
- Roasted almonds or walnuts (a small handful)
Creative Touch:
- Fresh parsley or basil leaves (optional for garnish)
Assembly Steps:
1. Prepare Bowls/Ramekins:
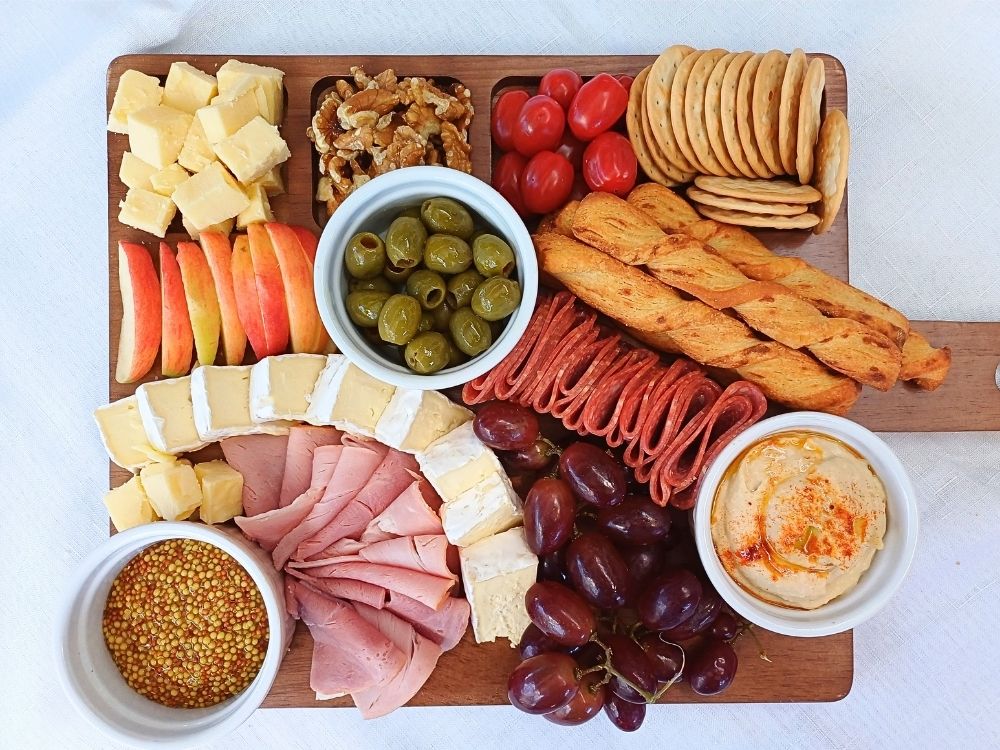
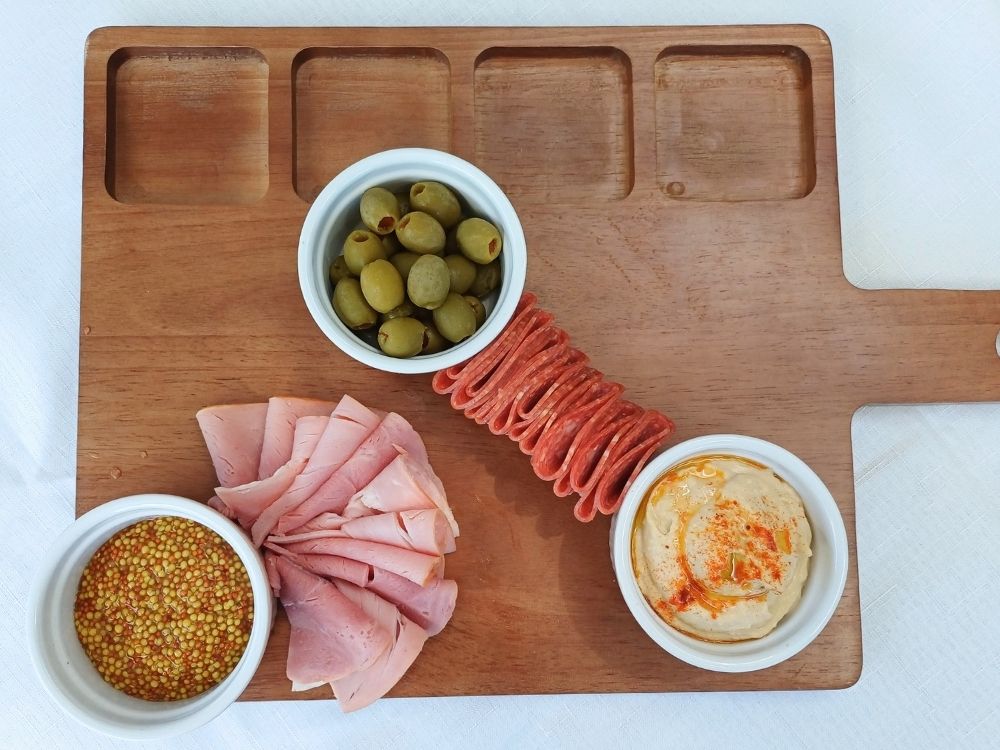
Fill three small bowls with pitted olives, hummus, and mustard. Drizzle the hummus with a little bit of olive oil and a pinch of smoked paprika (optional). It’s best to use ramekin-style bowls for a better grip.
2. Cut into Bite-Sized Pieces:
Cutting your cheeses and ham into bite-sized pieces will allow everyone to grab a small amount of everything. Often, people hesitate to grab a piece if it’s too large.
3. Start with Bowls and Meats:
Place the three bowls with olives, mustard, and hummus on three sides of the board.
4. Shape and Cluster Meats:
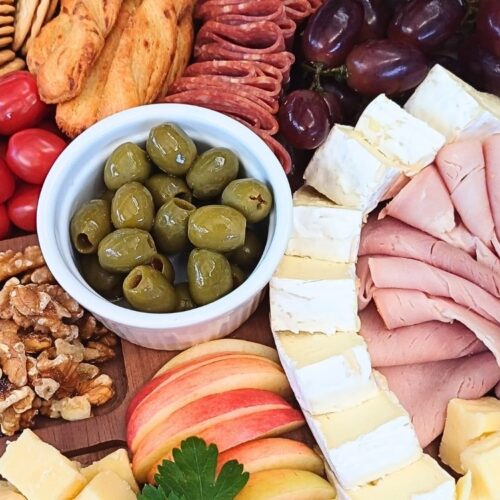
Fold the ham and salami and arrange them in little fan-shaped piles, placing the ham around the mustard bowl. Use the bowls to anchor the folded row of salami together like I did in the photo.
5. Add Cheeses:
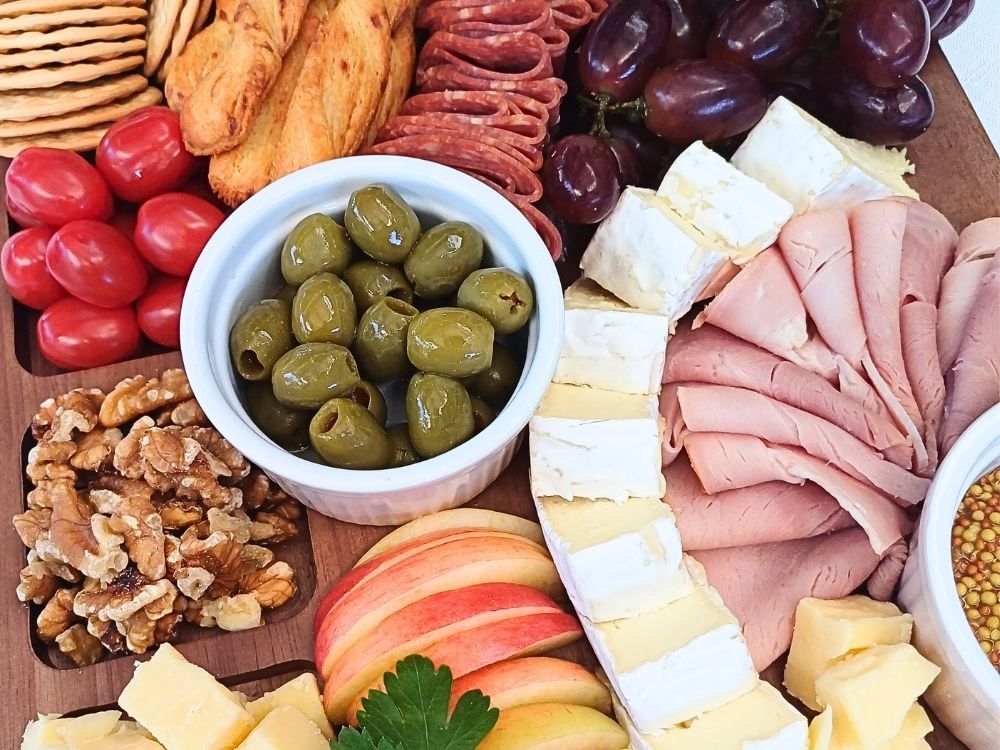
Cut the brie like a pizza into about 16 even triangles and stack each piece overlapping the other (minus a few that end up going into your mouth instead of the board). A good chef must taste test, right?
6. Add Fluits:
Add clusters of grapes and apple slices. Place a handful of cherry tomatoes into a stop where fits, perhaps next to the nut cluster like I did.
7. Build in the Crunch:
Add a pile of seeded crackers and tuck in breadsticks. Add nuts into a cluster near the cheese or into a grove in the board if you have one.
8. Add Finishing Touches:
Close any empty gaps with either cubes of leftover cheddar or walnuts. Add a few bunches of parsley or basil for decoration and a pop of green color.
9. Provide unensils:
Place a cup of small wooden forks or toothpicks so people can use those to pick up the charcuterie board items to place onto their individual plate.
Practical Tips for Simple Charcuterie Board Success
- Choose a smart board for your needs:
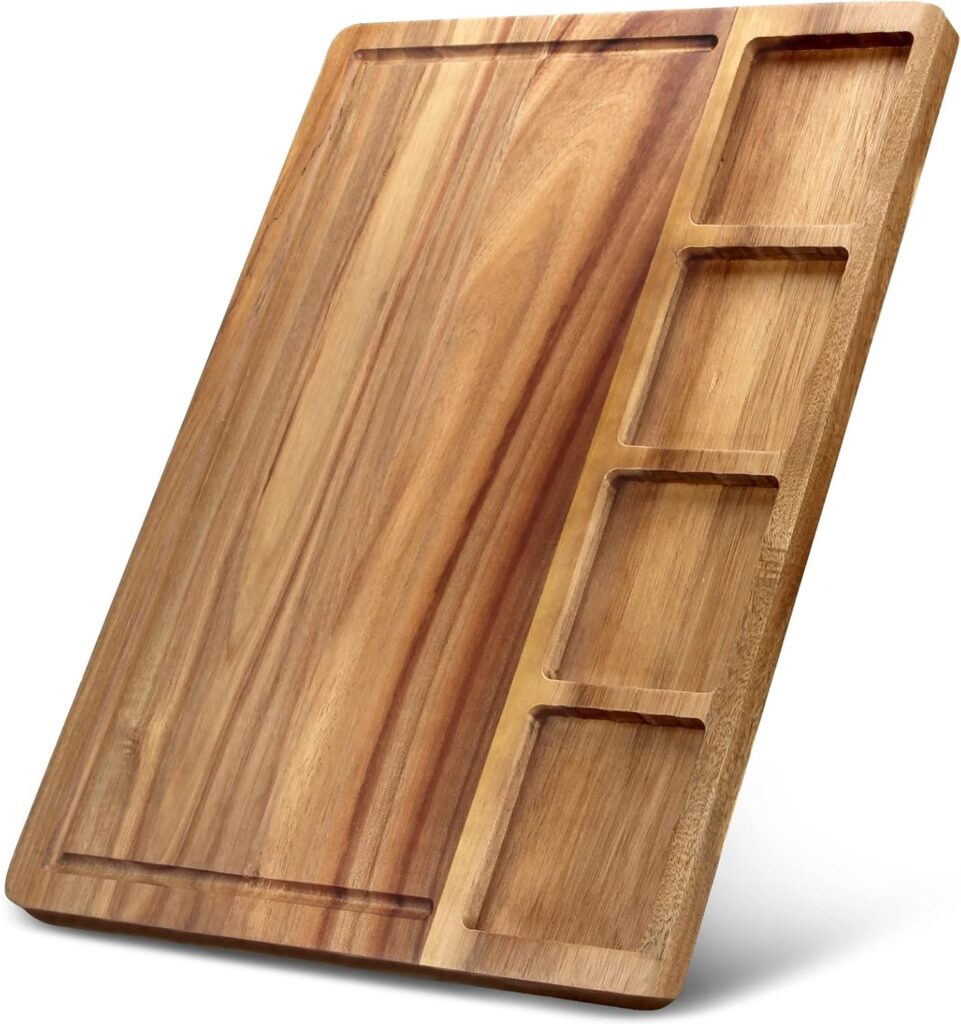
Charcuterie boards aren’t just wooden planks anymore! If you prefer everything neat and tidy, look for boards with built-in sections. This one below is simple, but has a few separate sections so things don’t slide around.
- Plan for hot weather or outdoors:
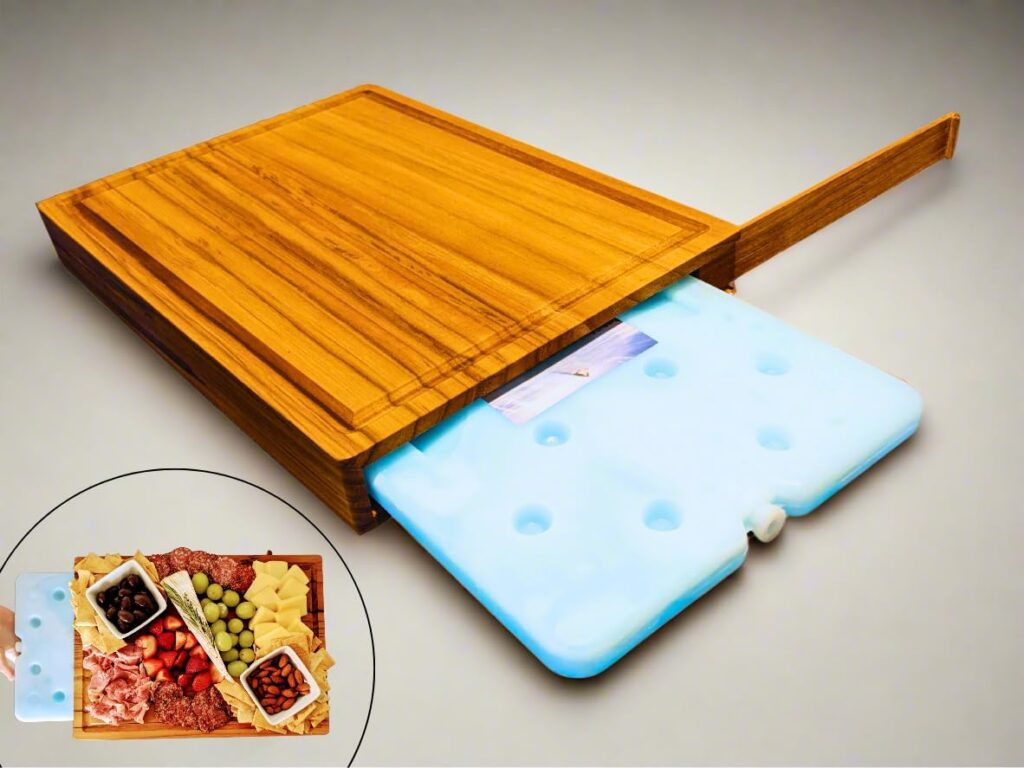
For summer gatherings or outdoor events in warm weather, some boards come with a hidden ice pack compartment underneath. These keep your cheese and fruit perfectly cool, even during a long backyard catch-up.
I always use this cool charcuterie board in summer, because there’s nothing worse than melted Brie and dehydrated-looking melon pieces on the board.
- Keep bowls in place with this easy hack:
If you’re working with a basic, flat board and those little bowls for dips or nuts keep sliding around, try popping a small dab of Sticky Tack or mounting putty underneath each bowl before setting them down. (That’s good ol Blu Tack in OZ) It keeps bowls steady, even if someone gives the board a gentle nudge, and saves you from chasing hummus across the table! - Don’t use store plastic containers:
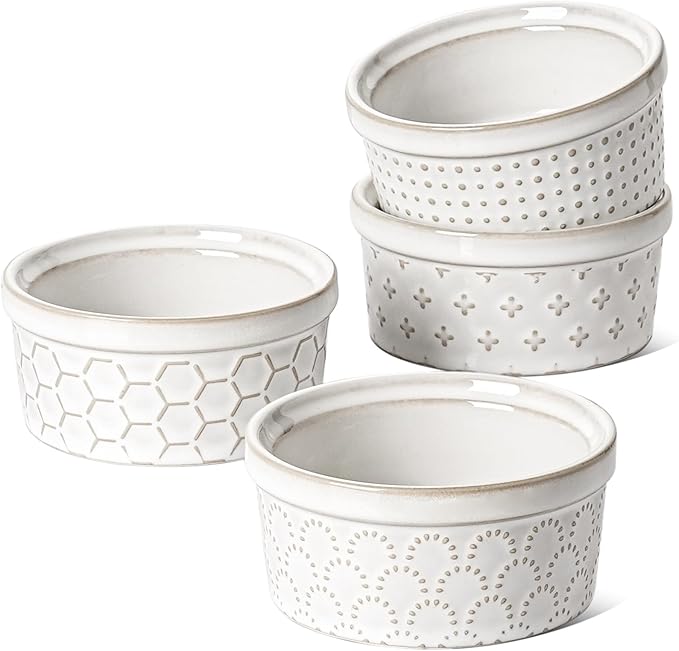
And please, I beg you for the sake of basic aesthetics, don’t just plonk ugly containers that dips came in from the store, make it a little more classy and place those dips into even just very basic white ramekins/small bowls. A little effort goes a long way. I love these bowls, they are so cute.
- Arrange for easy access and mixing:
Start by anchoring the board with your bowls and cheeses, then cluster meats, crackers, and fruits around them. Boards with sections or compartments also make it easier for guests to customize their snack selection and keep things tidy as people graze. - Don’t crowd your display:
It’s tempting to overfill, but a few thoughtfully arranged piles or clusters make your simple charcuterie board look bountiful without being overwhelming. Leave a little breathing room and simply top up as things disappear. - Herbs = optional wow-factor:
A few sprigs of fresh parsley, basil, rosemary, or thyme can lift the visual appeal and add subtle aroma, but they’re totally optional if you prefer to keep it minimal. - Stay cool and fresh:
If prepping ahead, slice fruit last and keep perishable items chilled until just before serving (unless you have a self-cooling board like the one above). - Effortless clean-up and storage:
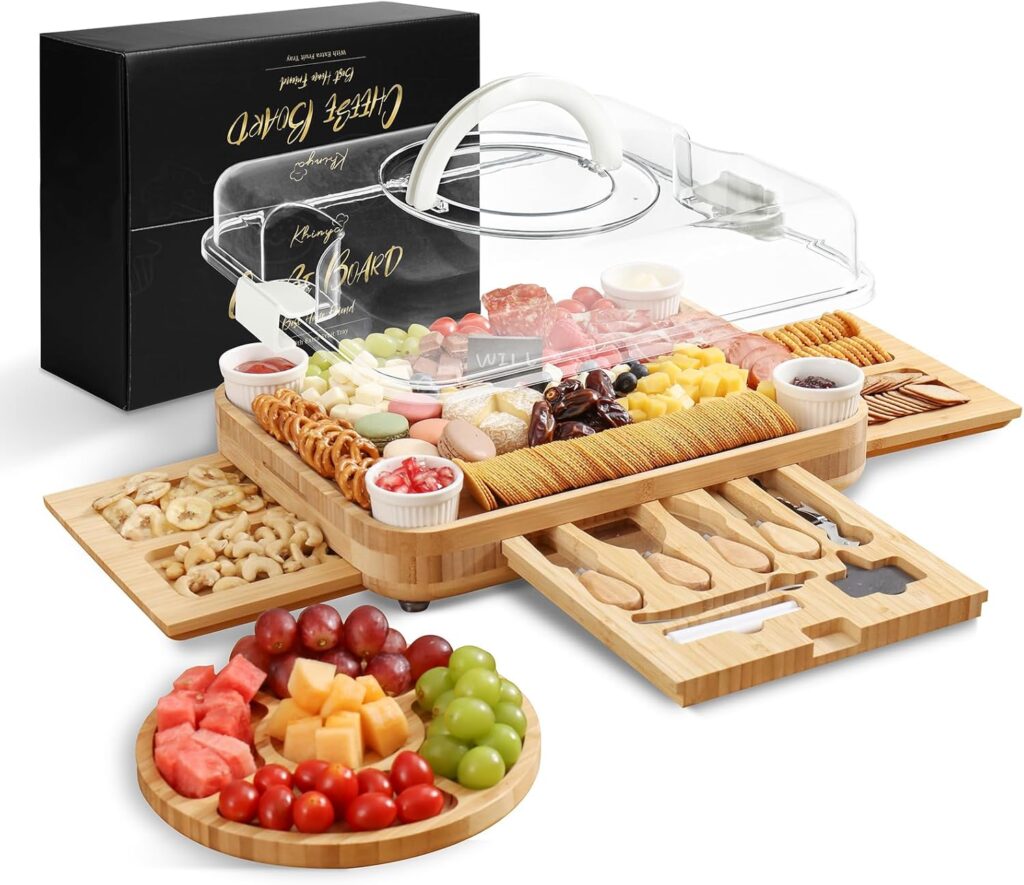
Boards with separate sections or drawers make cleaning and storing leftovers so much easier. Pop remaining items in airtight containers and save for tomorrow’s snacks. Or if you get a board with a lid, which is perfect for outdoor entertaining, especially in summer, this style of covered charcuterie board is awesome.
These practical ideas help you pick the perfect board for your style, cut down on clean-up, and keep your spread both pretty and genuinely functional—whether you love all the features or prefer to keep it simple with a little Blu Tack and creativity.
More Simple Charcuterie Board Ideas.
Check out this awesome Italian-style charcuterie board I found on Pinterest by James from Sip & Feast. It’s a bit more rustic and I love that the ingredients are just simple clusters of delicious food without too much arranging fuss. It’s so nice and easy for anyone to put this together.
This is another grat way to arrange those grazing board goodies. I tried something similar not long ago, inspired by Amy from Pinch Me Good and it turned out a treat.
Simple Charcuterie Board
Equipment
Ingredients
Ramekins (Dips & Olives):
- 1/2 cup pitted green olives
- 1/4 cup classic hummus drizzle with 1 tsp olive oil and pinch smoked paprika if desired
Condiment:
- Wholegrain mustard 2 tbsp
Meats:
- Honey-smoked ham 6 thin slices (cut bite-size)
- Mild salami 8–10 slices, folded
Cheeses:
- Mild cheddar 6–8 cubes
- Brie or Camembert one small wedge (cut into triangles)
Fruits:
- Grapes small bunch (red or green, about 1/2 cup)
- Medium apple sliced (red or green)
- Cherry tomatoes 1 punnet (about 1 cup)
Crunch & Extras:
- Seeded crackers small pile (6–8 pieces)
- Breadsticks handful (about 6)
- Roasted almonds or walnuts small handful (about 2 tbsp)
Creative Touch:
- Fresh parsley or basil leaves for garnish optional
Instructions
- Fill ramekins with mustard, olives and hummus. Drizzle olive oil onto the hummus and sprinkle a bit of paprika if using.
- Cut cheeses and ham into bite-sized pieces.
- Place ramekins evenly spaced on the board.
- Arrange folded ham slices around the mustard; place the row of folded salami pieces between the ramekins with hummus and olives.
- Stack the brie triangles overlapping in a neat row around the ham. Place a cluster of cheddar in one corner, leaving a few cubes to fill gaps later.
- Add clusters of grapes, apple slices, and cherry tomatoes to fill spaces.
- Add crackers, tuck in breadsticks, and cluster nuts near cheese or fruit.
- Fill any gaps with leftover cheese cubes or nuts.
- Garnish with parsley or basil leaves.
- Provide toothpicks or small forks for serving.
Notes
Nutrition
Real-Life Mishaps & Lessons Learned
After so many boards, not everything goes perfectly, and honestly, that’s half the joy of hosting. I still laugh about the time I piled popcorn a little too high and sent it flying across the kitchen (good story, better snack!).
Don’t worry about making your board look perfect—some of my most complimented boards were the most relaxed, with plenty of stories behind every bite. Mixing store-bought with local finds is not just acceptable, it’s encouraged!
Serving, Storing, and Enjoying
- Serve boards at room temperature (especially cheese—it gets its best flavour then).
- Prep ingredients in advance, but add fruit, nuts, and breadsticks just before serving for freshness.
- Store leftovers in airtight containers. Most items (cheese, nuts, cured meats) are perfect for next-day snacking. Or simply let your kids finish off the leftovers, I think they will be happy to help.
- Guests will mix and match—let them! Popcorn with goat cheese, salami and strawberries, cheddar and dark chocolate… every combo is fair game.
Are You Ready to Try Your First Simple Charcuterie Board?
A simple charcuterie board is the easiest way to spark joy around your table. There’s no need for fancy skills, just pick your favourite ingredients, cluster them up, and invite everyone to help themselves.
And once you’ve nailed these, be sure to check out my step-by-step guides for a delicious breakfast board, a crowd-pleasing picnic-style board, or my ever-popular dessert board if you land the “bring dessert” job.
Happy grazing—and don’t stress the little things. In the end, it’s all about sharing, laughter, and maybe a little popcorn where you least expect it.


