


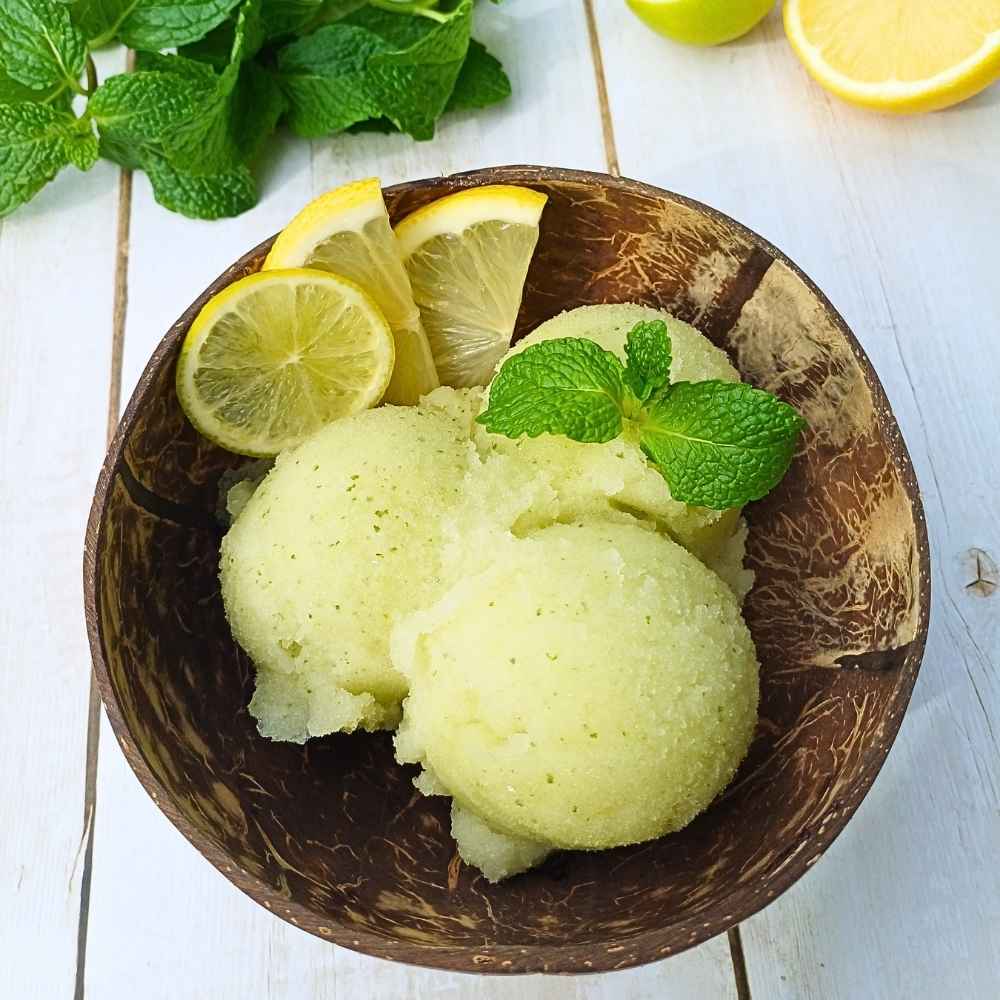
Lemon Lime Mint Sorbet Ninja Creami: Sugar Free
By Liv Banks • Published: June 2026 This Ninja Creami lemon lime mint sorbet takes my original Ninja Creami lemon sorbet

By Liv Banks • Published: June 2026 This Ninja Creami lemon lime mint sorbet takes my original Ninja Creami lemon sorbet
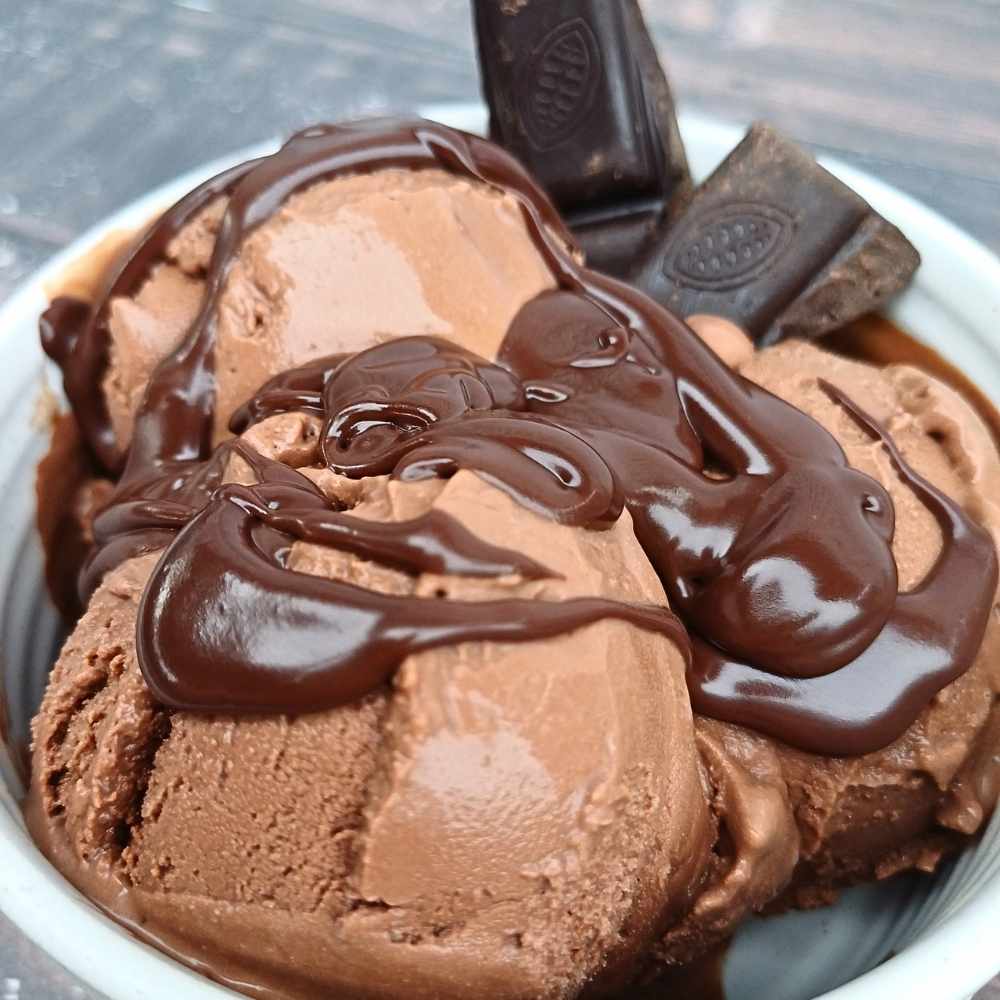
By Liv Banks • Published: June 2026 This Ninja Creami chocolate ice cream recipe is rich, creamy, and made with real

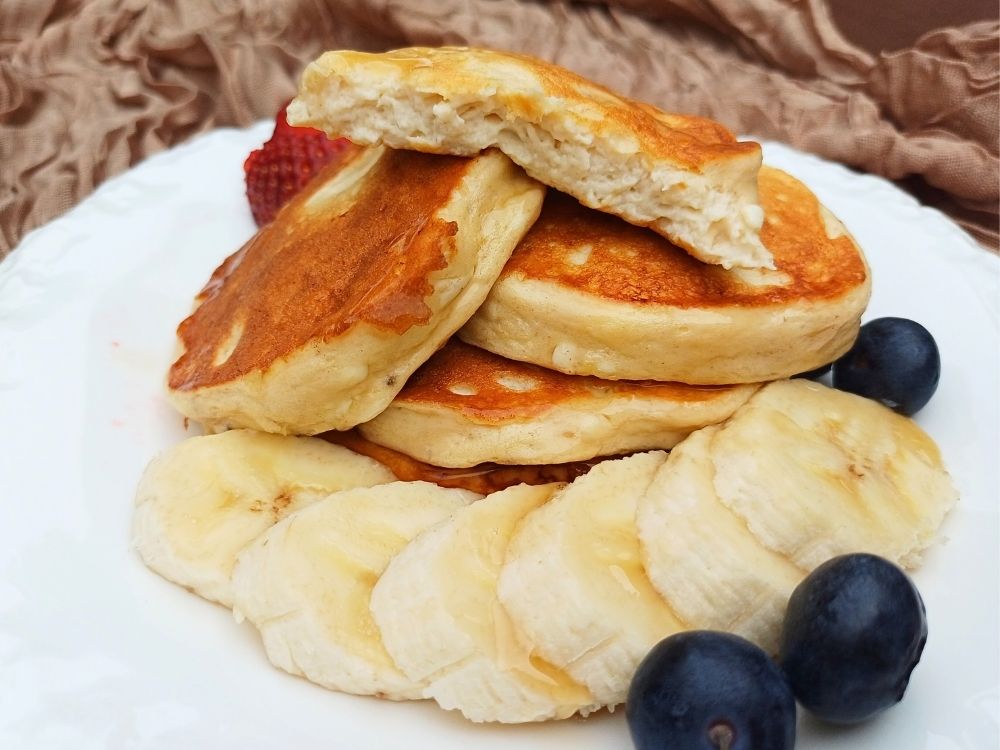
By Liv Banks • Published: June, 2026 I wanted a quick high-protein breakfast that didn’t require a muffin pan, baking sheet,