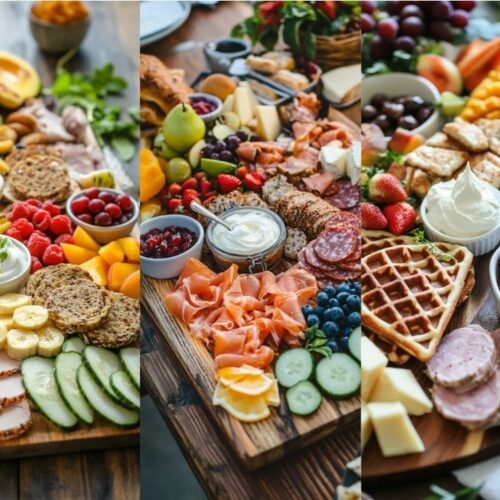
Simple Charcuterie Board
Ingredients and steps for a simple charcuterie board that you can follow.
Equipment
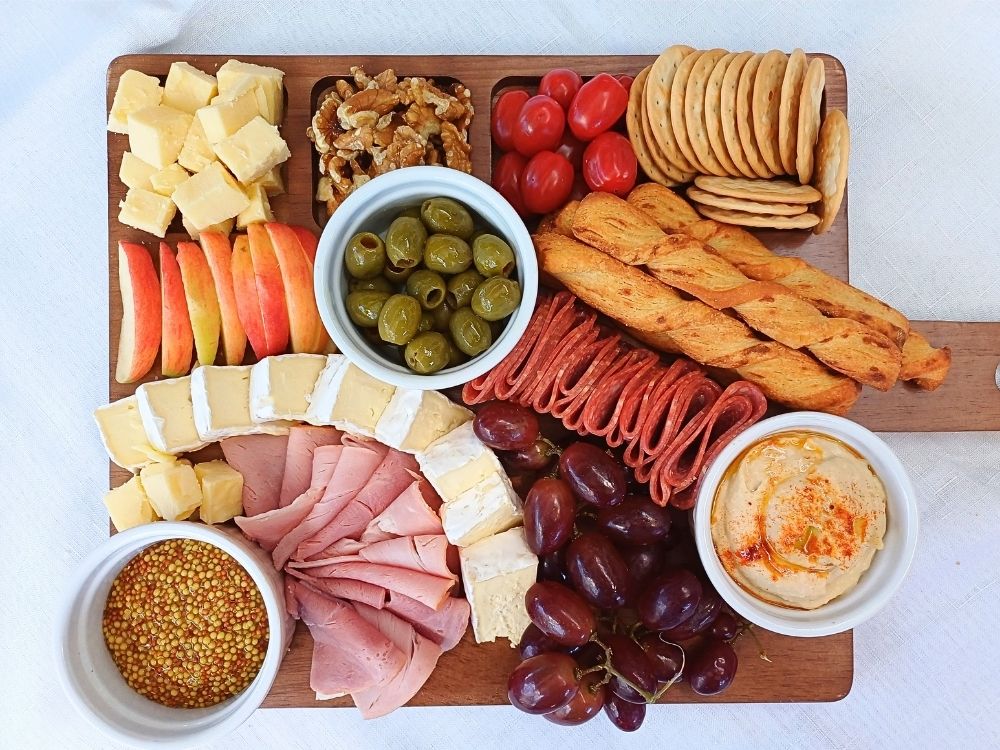
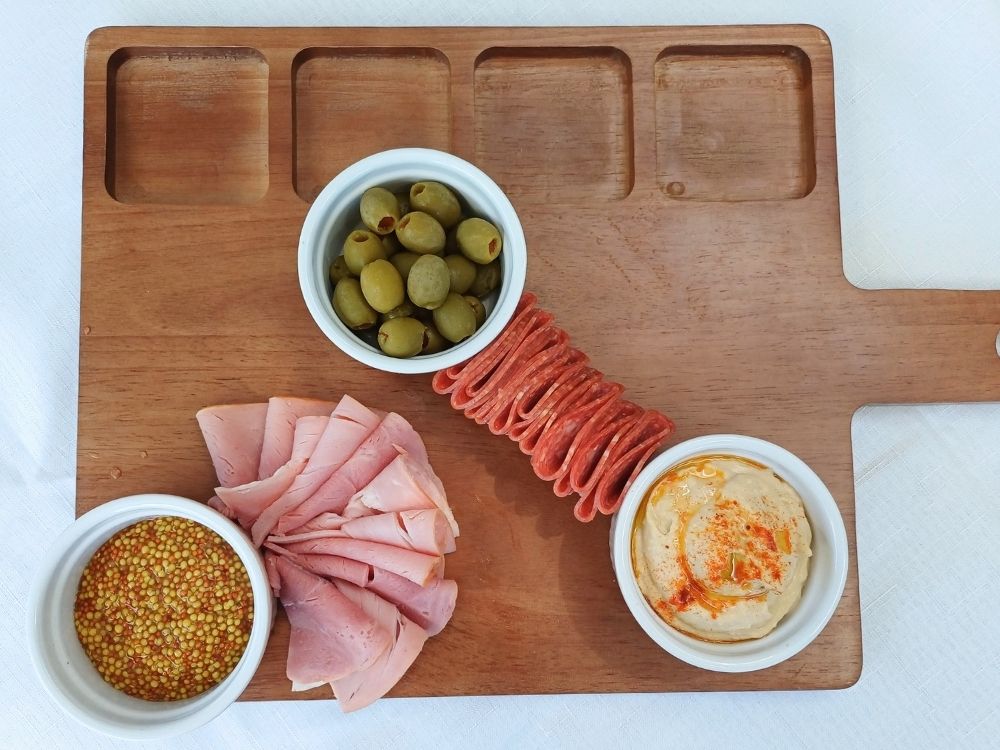
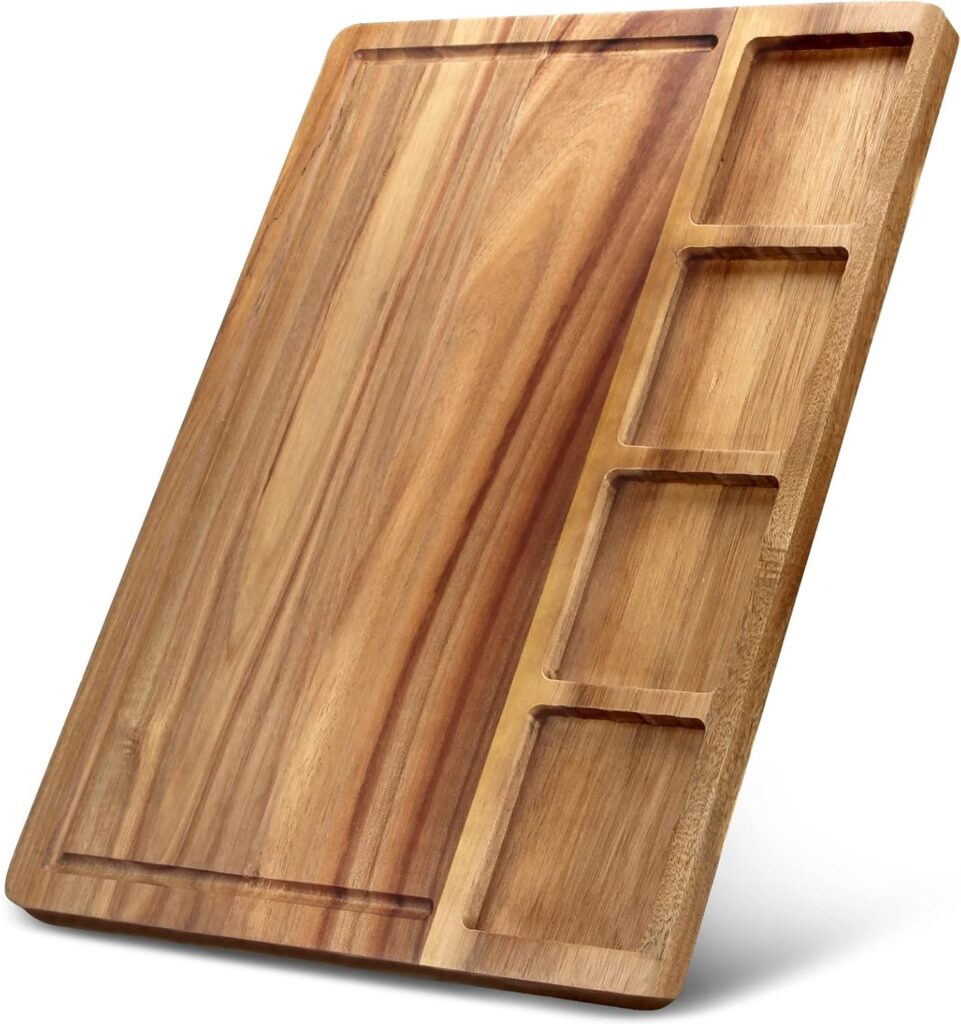
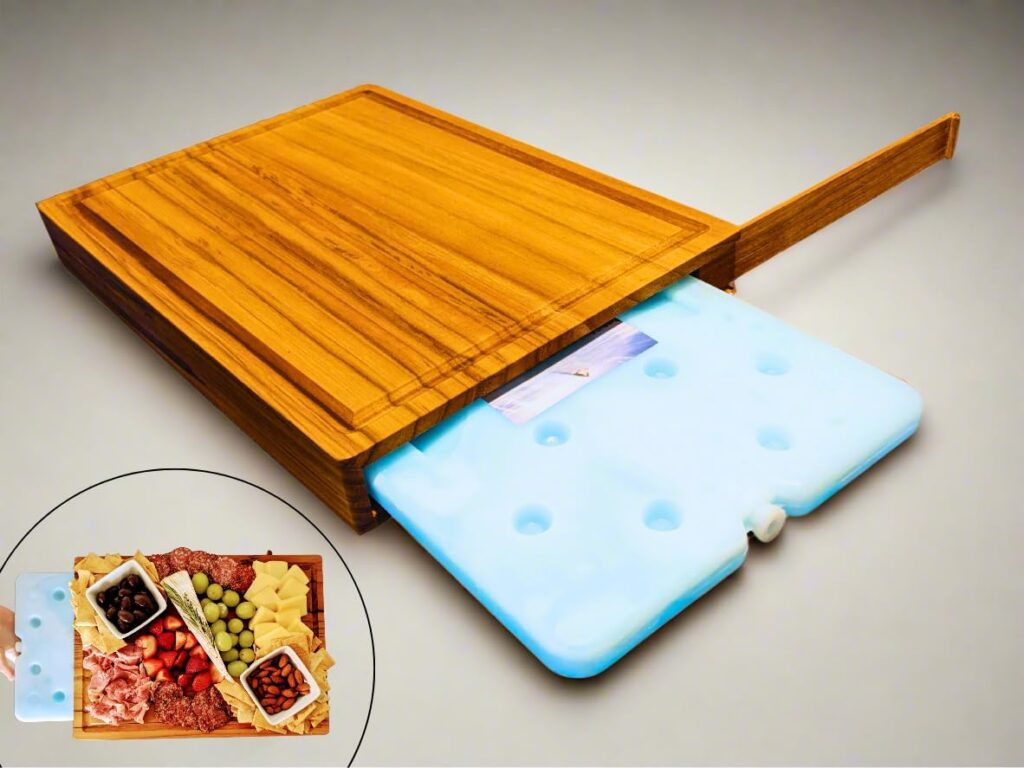
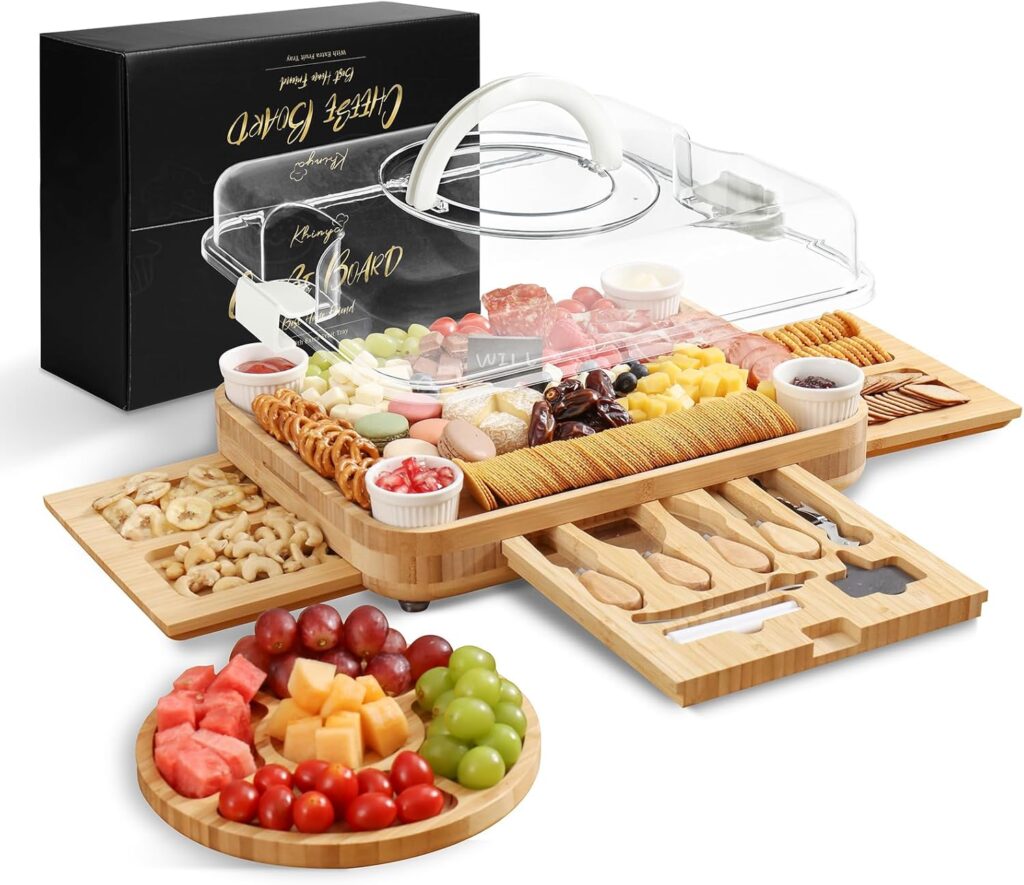
1 Medium size wooden board (17"L x 12"W approximately) Choose a simple board or a self-cooling board depending on the season and weather.
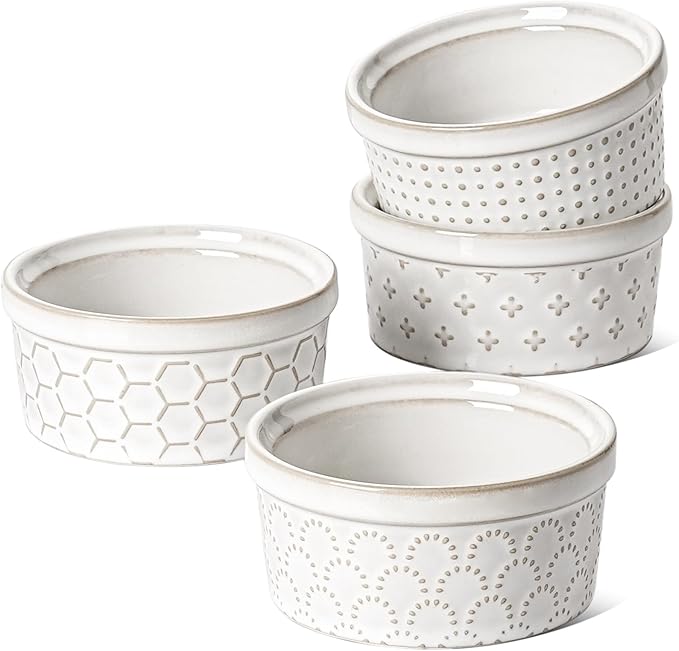
3 Ceramic ramekins Around 4 Oz or 3.8"
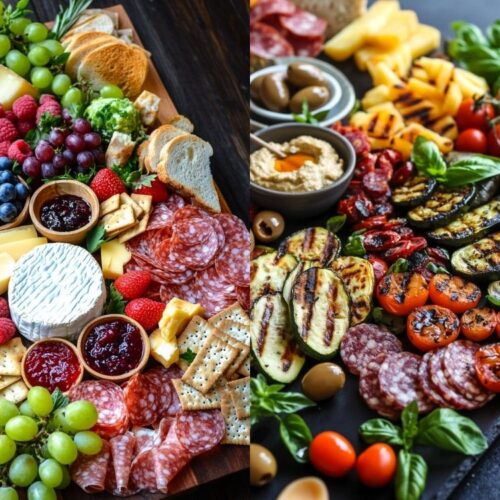
Ingredients
Ramekins (Dips & Olives):
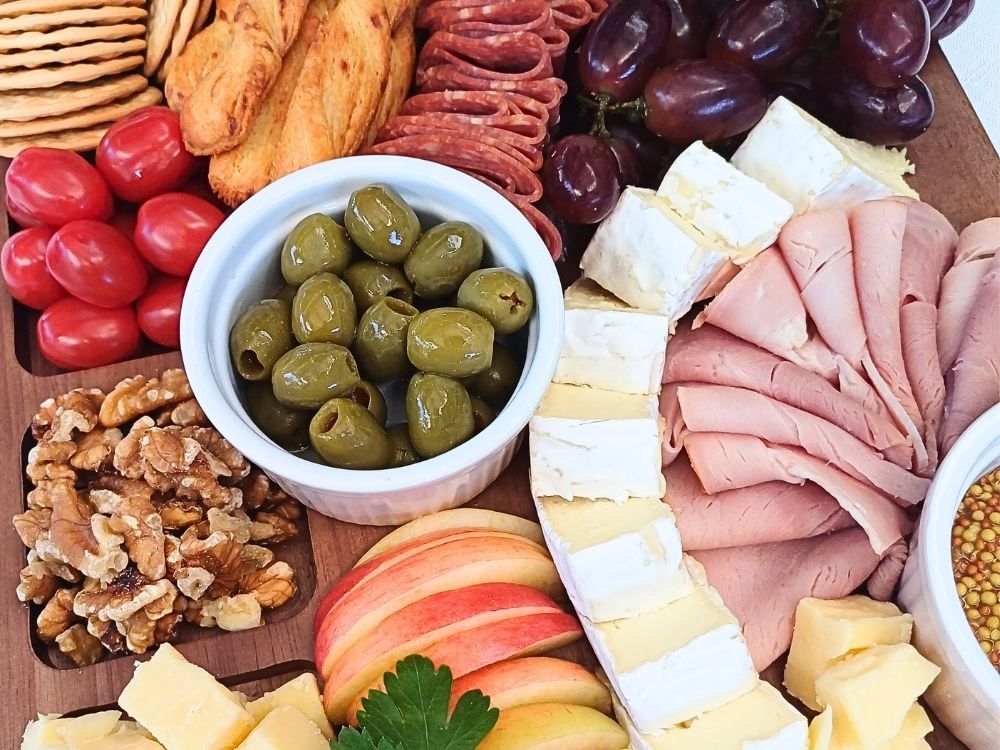
- 1/2 cup pitted green olives
- 1/4 cup classic hummus drizzle with 1 tsp olive oil and pinch smoked paprika if desired
Condiment:
- Wholegrain mustard 2 tbsp
Meats:
- Honey-smoked ham 6 thin slices (cut bite-size)
- Mild salami 8–10 slices, folded
Cheeses:
- Mild cheddar 6–8 cubes
- Brie or Camembert one small wedge (cut into triangles)
Fruits:
- Grapes small bunch (red or green, about 1/2 cup)
- Medium apple sliced (red or green)
- Cherry tomatoes 1 punnet (about 1 cup)
Crunch & Extras:
- Seeded crackers small pile (6–8 pieces)
- Breadsticks handful (about 6)
- Roasted almonds or walnuts small handful (about 2 tbsp)
Creative Touch:
- Fresh parsley or basil leaves for garnish optional
Instructions
- Fill ramekins with mustard, olives and hummus. Drizzle olive oil onto the hummus and sprinkle a bit of paprika if using.
- Cut cheeses and ham into bite-sized pieces.
- Place ramekins evenly spaced on the board.
- Arrange folded ham slices around the mustard; place the row of folded salami pieces between the ramekins with hummus and olives.
- Stack the brie triangles overlapping in a neat row around the ham. Place a cluster of cheddar in one corner, leaving a few cubes to fill gaps later.
- Add clusters of grapes, apple slices, and cherry tomatoes to fill spaces.
- Add crackers, tuck in breadsticks, and cluster nuts near cheese or fruit.
- Fill any gaps with leftover cheese cubes or nuts.
- Garnish with parsley or basil leaves.
- Provide toothpicks or small forks for serving.
Notes
The nutritional information is approximate and based on a 1/4 of a board with a bit of each ingredient selected. These values may vary depending on what each individual person picks off the board.
Nutrition
Calories: 320kcalCarbohydrates: 25gProtein: 18gFat: 35gFiber: 5gSugar: 13g
Tried this recipe?Let me know how it was in the comments below.