Looking for specific types of Ninja Creami recipes? Start here:
Healthy Ice Cream | Frozen Yogurt | Sorbets | Protein Ice Cream | Dairy-Free | Classic Vanilla | Tips & FAQs
If you’re looking for Ninja Creami recipes that taste like real, creamy ice cream (not sad frozen smoothies), welcome — you just found your new favorite page.
In our house, ice cream isn’t an occasional treat. It’s practically a hobby. On a hot summer day, my daughter can polish off an entire pint like it’s her job, my husband has a serious sweet tooth, and I’m the mom trying to keep the peace between “fun dessert” and ingredients I actually feel good about serving.
That’s exactly why I created this Ninja Creami recipe hub. It’s the master directory for all my Ninja Creami ice cream recipes — from classic flavors to healthier options for different needs. Whether you’re brand new to the Ninja Creami ice cream maker or already experimenting with different bases, mix-ins, and toppings, you’ll find the right place to start here.
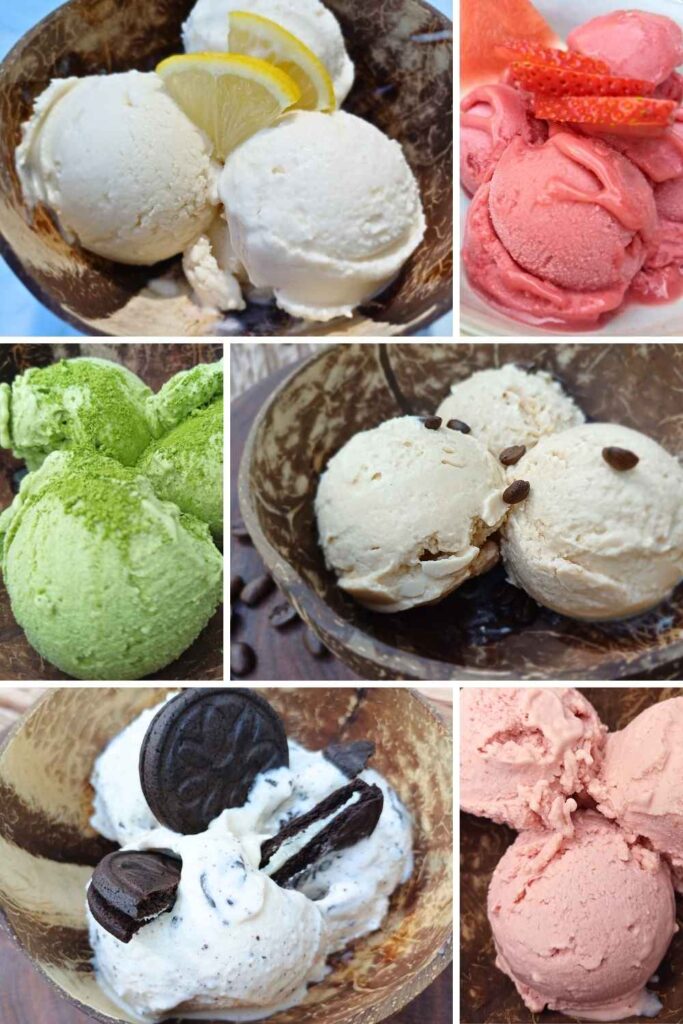
If you have a sweet tooth like me, my hubby, and my daughter, who constantly beg me to restock on ice cream. Or you love a frozen treat but want to stay away from sugar-loaded or artificially sweetened stuff; then my healthy Ninja Creami recipes will become part of your guilt-free post-dinner routine.
Yes, you can have it all: health, taste, and enjoyment all in one; check out all the yummy recipes below, from low-carb options to high-protein treats, all without any added sugar or artificial rubbish.
As a health coach and self-proclaimed foodie, I’ve always been wary of those “healthy, sugar-free, or high protein” ice creams lining the supermarket shelves. You know, the ones – that promise the moon but deliver a laundry list of artificial ingredients that would make your head spin.
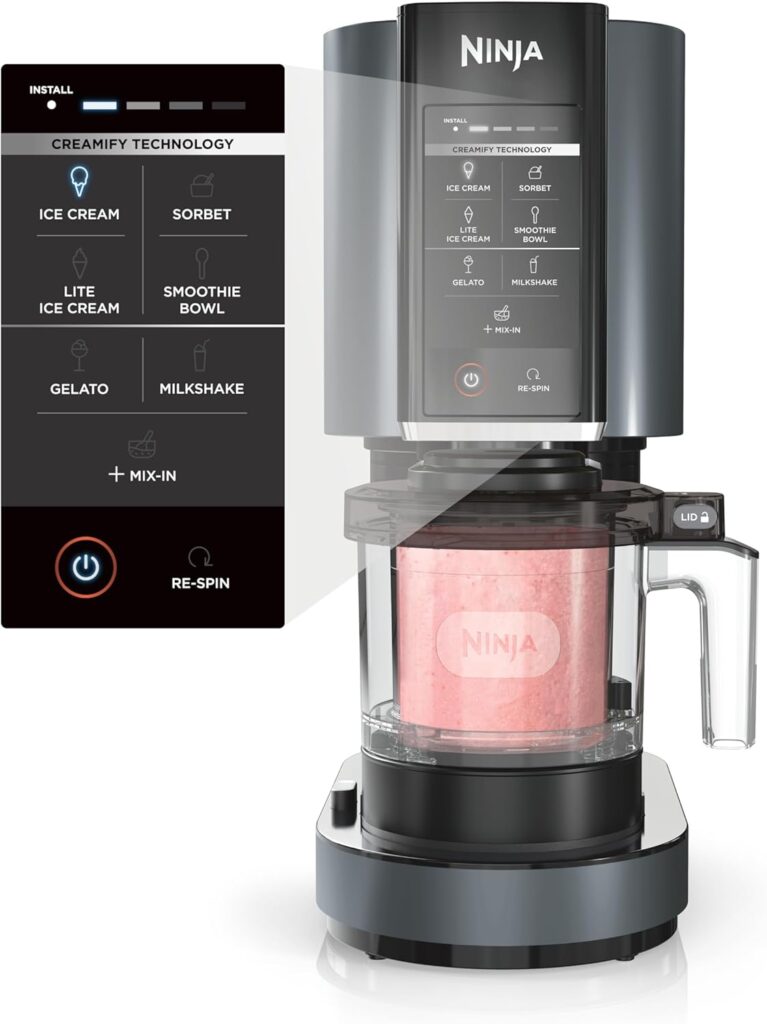
You’ll need a Ninja Creami ice cream maker to make these recipes.
I use mine constantly — especially in summer — and it’s hands down one of the best kitchen purchases I’ve made. It turns simple ingredients into creamy ice cream without the guesswork.
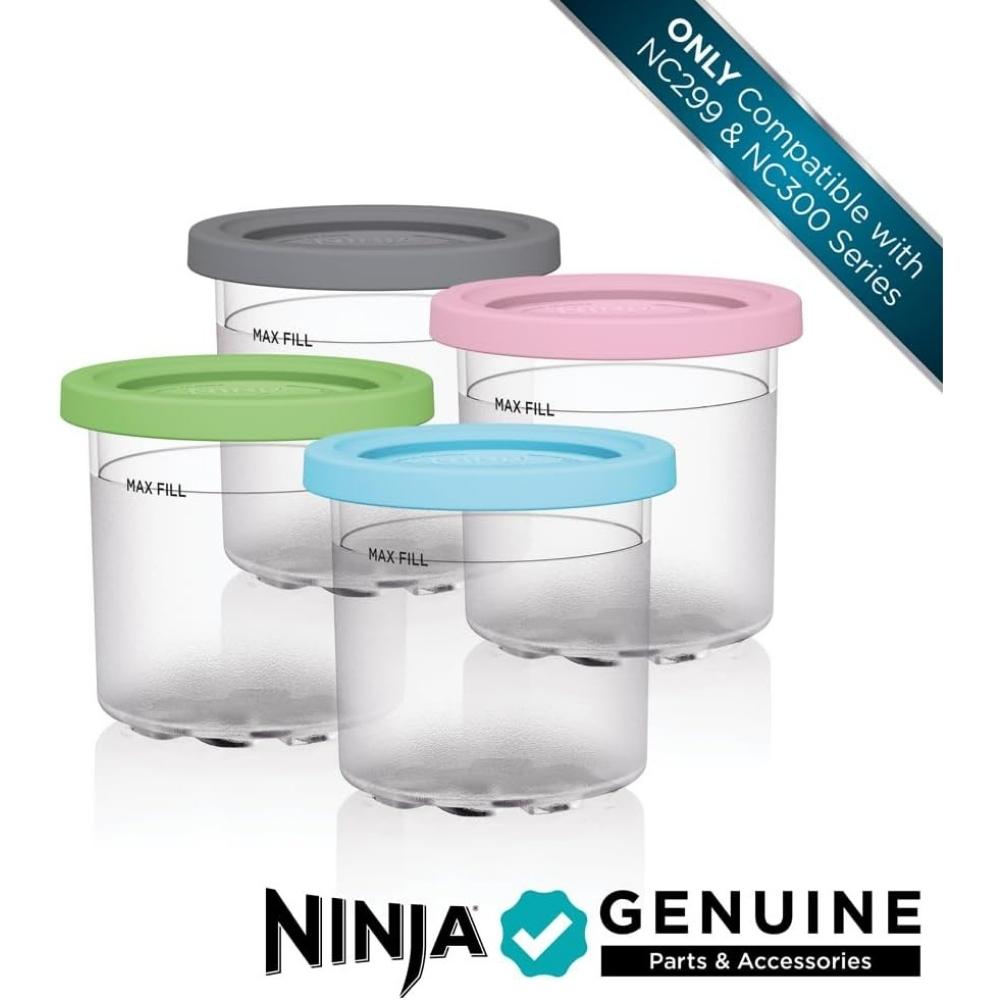
Extra Ninja Creami pint containers are a lifesaver if you’re making ice cream regularly. I always keep a few in the freezer so there’s something ready to spin.
BUT, beware, not all compatible Ninja Pints are actually “compatible”, I tried some and they did not fit properly, started spinning the intire container and nearly burnt my motor. I only use Ninja Creami Genuine pint containers from now on.
But if you already have all this stuff, then let’s get into the recipes.
As an Amazon Associate, I earn from qualifying purchases. This means that if you click on an Amazon link and make a purchase, I may receive a small commission at no additional cost to you. I only recommend products I genuinely believe in and personally use or have thoroughly researched.
How to Use This Ninja Creami Recipes Guide
This page isn’t a giant recipe dump. It’s a roadmap that not only will teach you how to make the best homemade ice cream, but also give you full recipes that will fit your dietary needs and lifestyle. All the answers are here!
Instead of forcing you to scroll through everything, I’ve organized my Ninja Creami recipes into clear collections based on what people actually want:
💚 Healthy ice cream recipes the whole family can enjoy
💪 High-protein options, including protein-packed treats and protein ice cream recipes
🌿Dairy-free Ninja Creami recipes that are vegan-approved
🍨 Ninja Creami Frozen yogurt recipes
🍉 Ninja Creami sorbet recipes
🍦Vanilla ice creams, including traditional dairy style, high protein, and vegan versions to suit all dietary needs
Pick the category that fits your goal, then click through to the dedicated post with full recipe cards, step-by-step instructions, and tips for getting the best texture every time.
Below you’ll find all my Ninja Creami recipes organized by category, so you can quickly find the flavors and styles that fit your needs. Whether you’re looking for everyday healthy ice cream, high-protein treats, or dairy-free options, start with the collection that makes the most sense for you.
Healthy Ninja Creami Recipes (Family-Friendly Ice Cream)
This is my “make it often, serve it proudly, everyone’s happy” collection.
These healthy Ninja Creami recipes focus on creamy ice cream texture, simple ingredients, and just enough sweetness to feel like actual dessert. No protein powder here — if you want high protein, that’s a separate collection.
You’ll see ingredients like whole milk, a little cream, fruit, dates, maple syrup, cocoa powder, peanut butter, and vanilla.
Flavors you’ll find in this collection include:
🍓Ninja Creami strawberry ice cream
🍦Classic vanilla
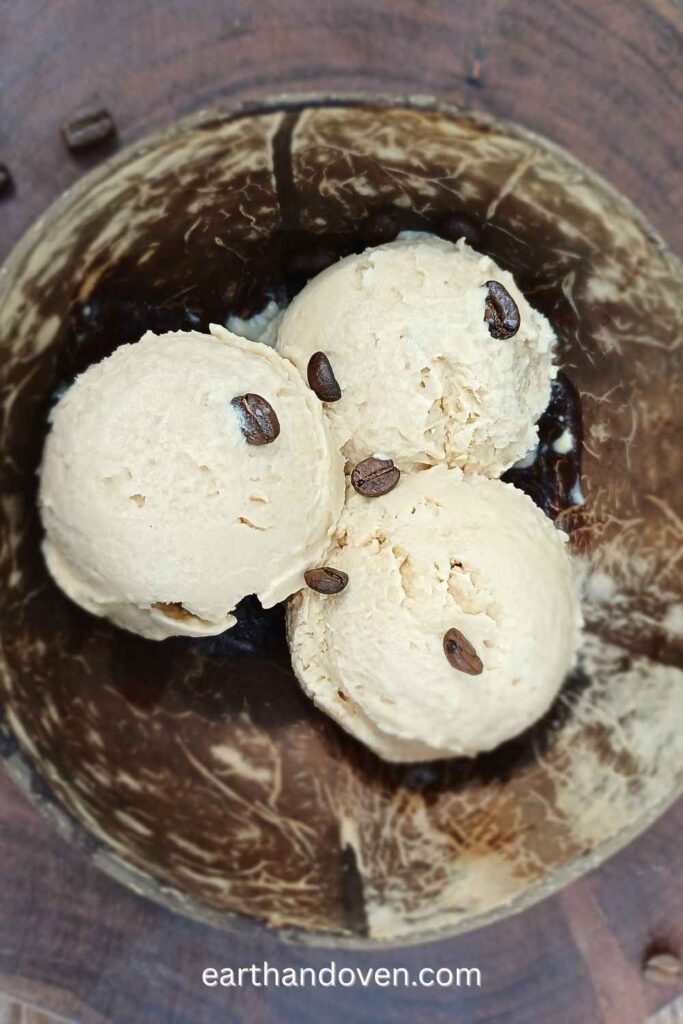
☕Creamy coffee ice cream
🍌🍫Banana chocolate ice cream
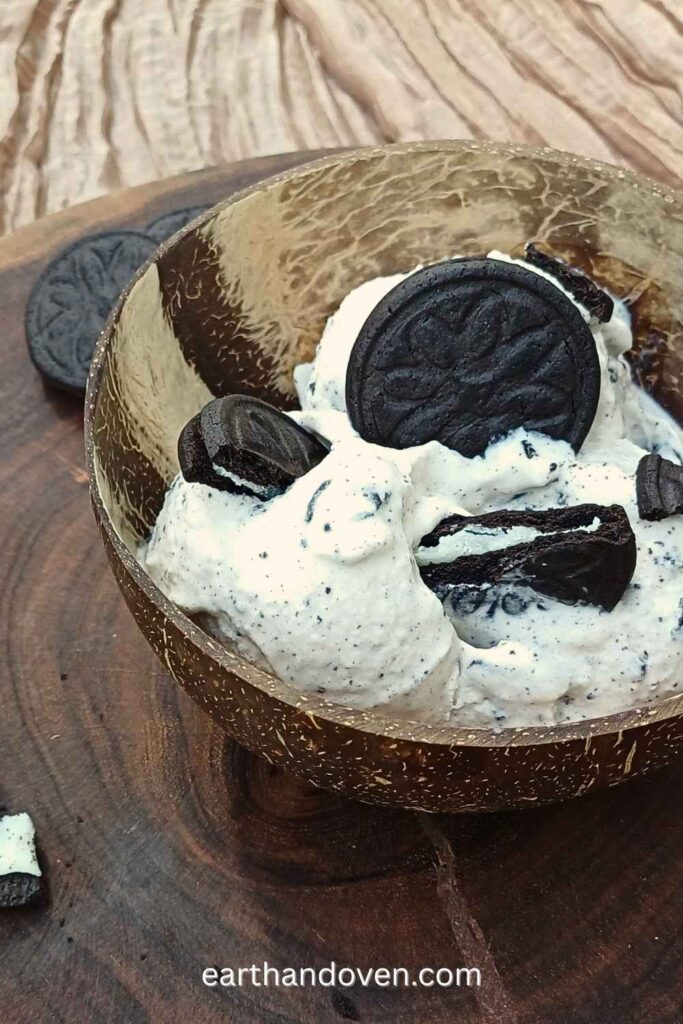
🍪Cookies and cream (with chunks of low-sugar sandwich cookies)
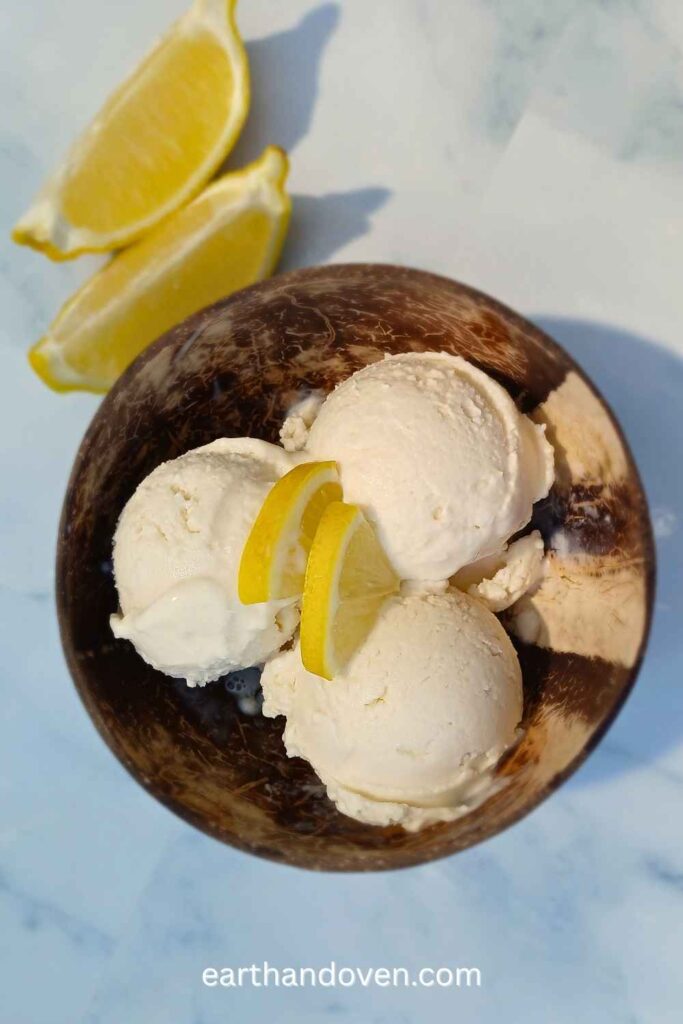
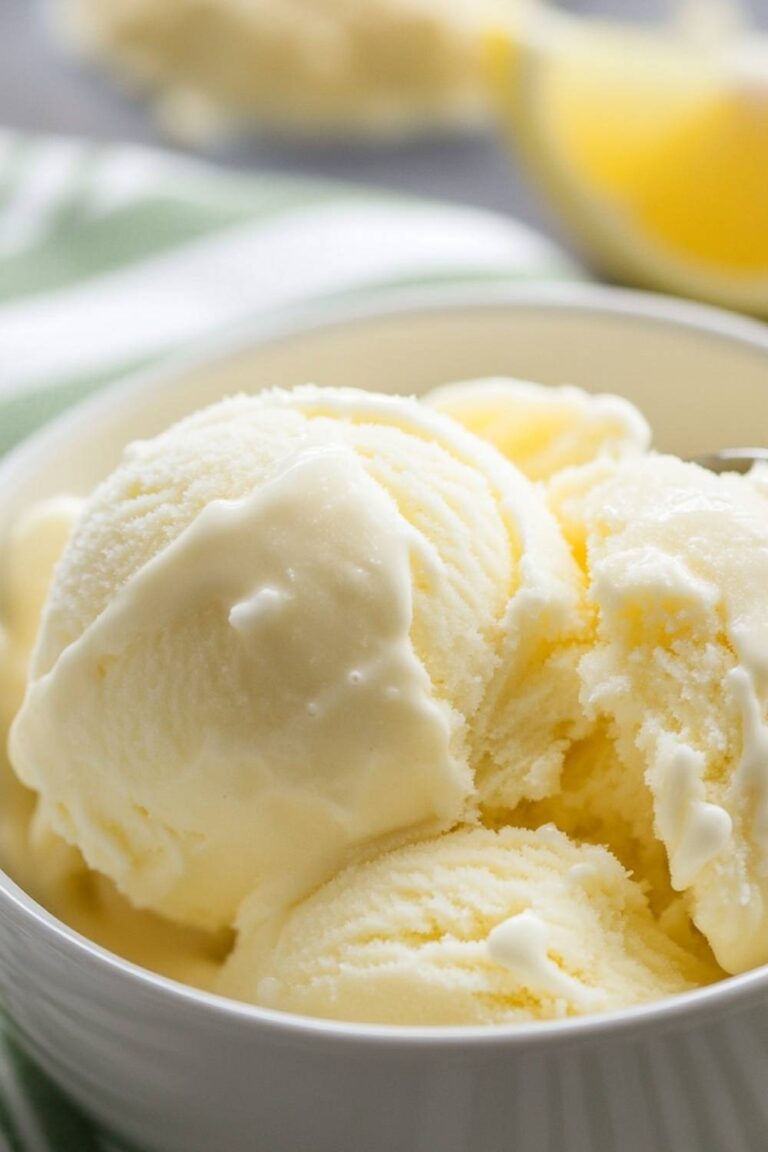
🍋Lemon ice cream
🌳Pistachio cranberry
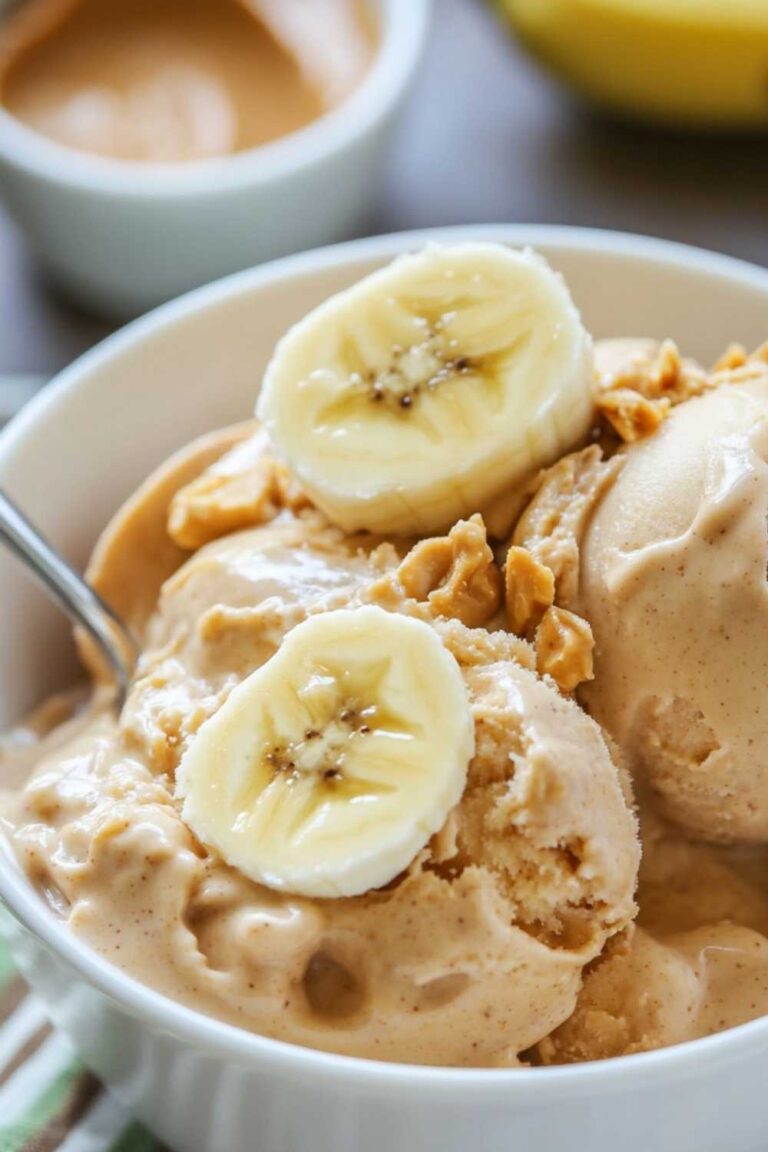
🥜Date + peanut butter
These are great recipes if you want a creamy texture, familiar flavors, and “this tastes like the real thing” energy — without the ingredient list you’d see on store-bought ice creams.
Ninja Creami Frozen Yogurt Recipes
If you love the idea of ice cream but want something a little lighter, a little fresher, and naturally higher in protein, frozen yogurt in the Ninja Creami is such a good option.
This collection is all about creamy, scoopable frozen yogurt made with real yogurt, simple ingredients, and no protein powders. It’s family-friendly, kid-approved (my daughter is obsessed with the strawberry one), and perfect when you want a sweet treat that still feels like a smart choice.
You’ll find flavors like:
🍫Chocolate frozen yogurt
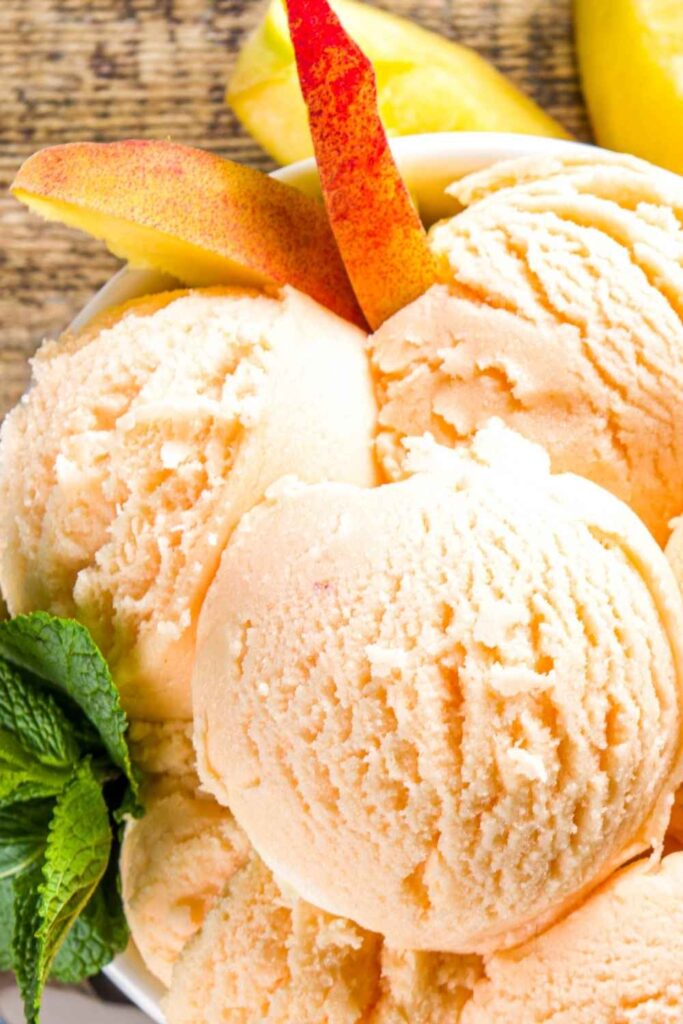
🍑Peach frozen yogurt
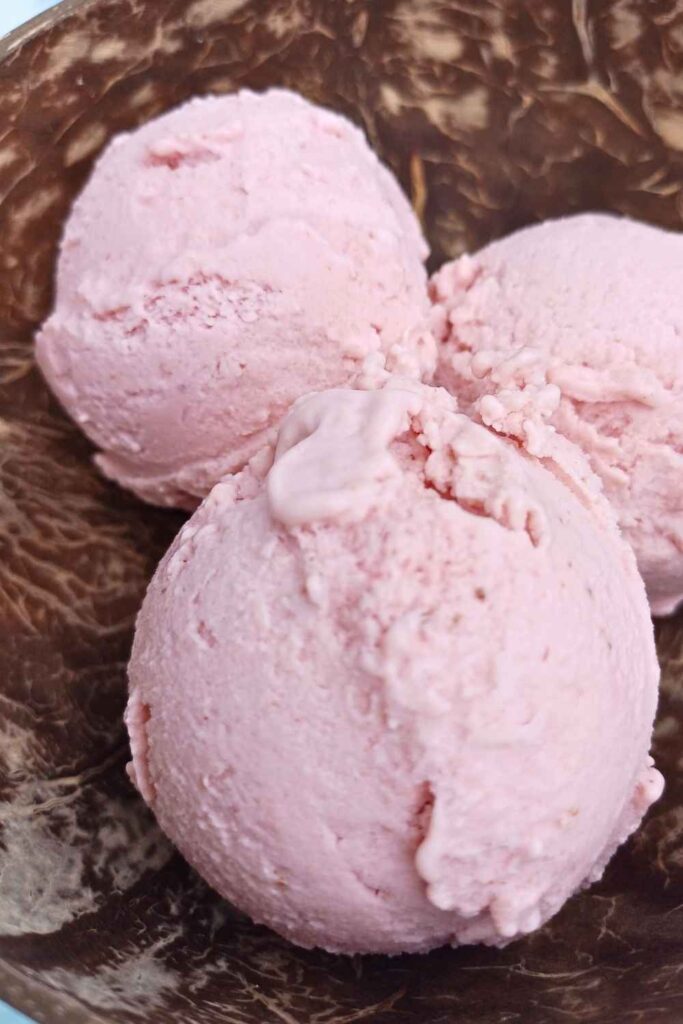
🍓Strawberry frozen yogurt
🐝Honey Greek frozen yogurt
🍦Vanilla frozen yogurt
All designed to spin beautifully using the Lite Ice Cream setting on the Ninja Creami ice cream maker.
Ninja Creami Sorbet Recipes
I have been experimenting a lot with Nina Creami Sorbets lately, so I present to you my new collection. This one is perfect for anyone who wants the most refreshing and cooling sweet treat.
The easiest recipes to make as it require no milk or cream. If you have some fruit lying around the kitchen that needs to be used up, this is perfect.
Flavors you’ll find here include:
🍋 Lemon sorbet
🥭 Mango sorbet
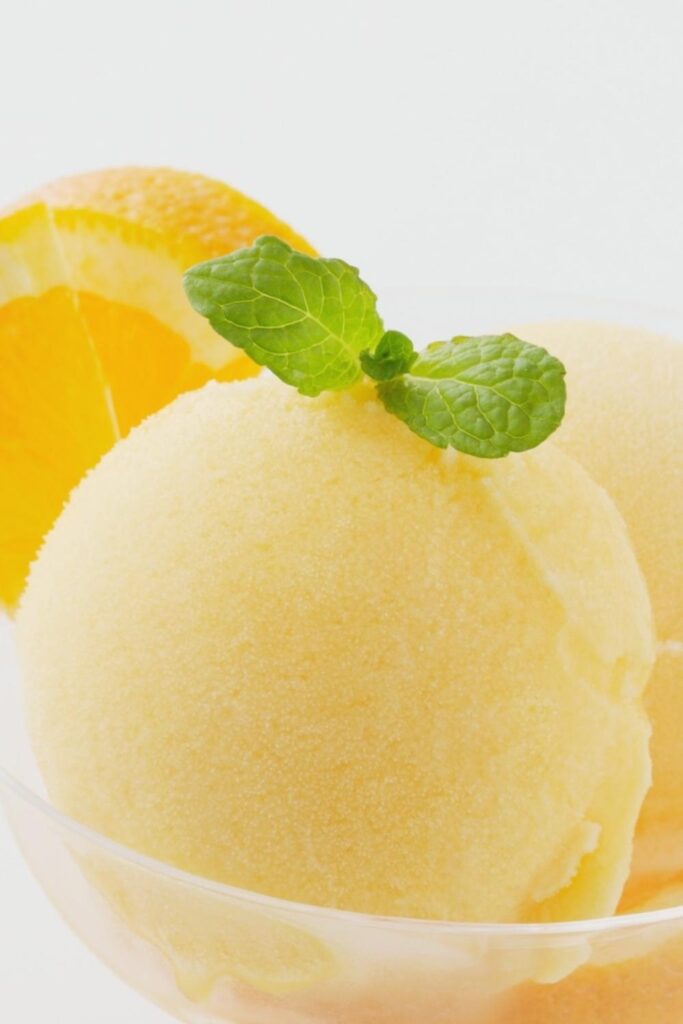
🍊 Orange sorbet (made with fresh orange juice)
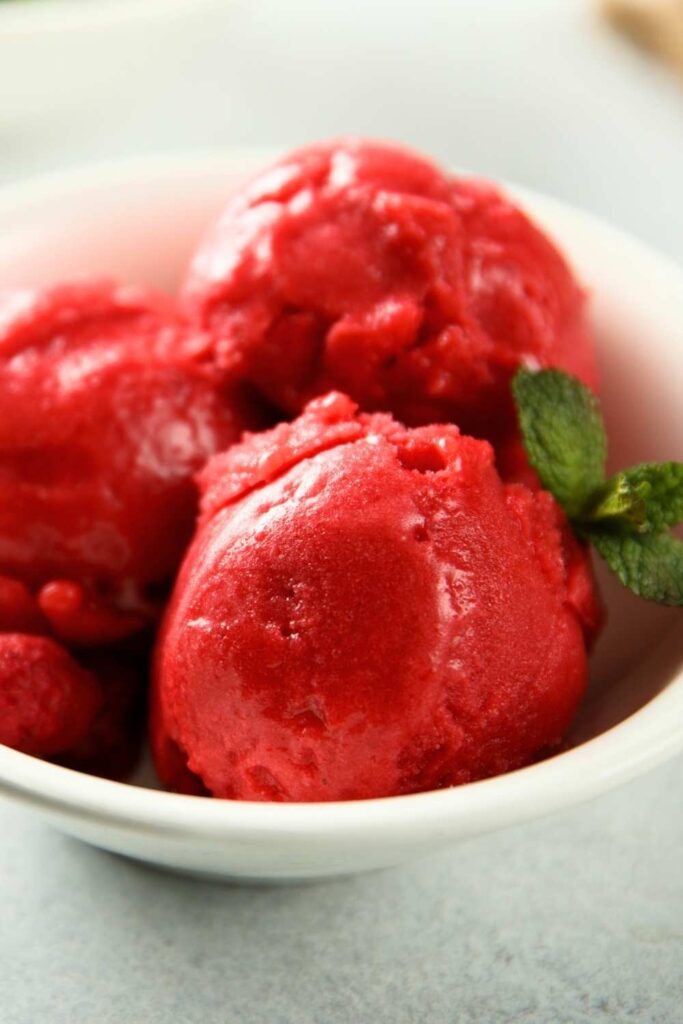
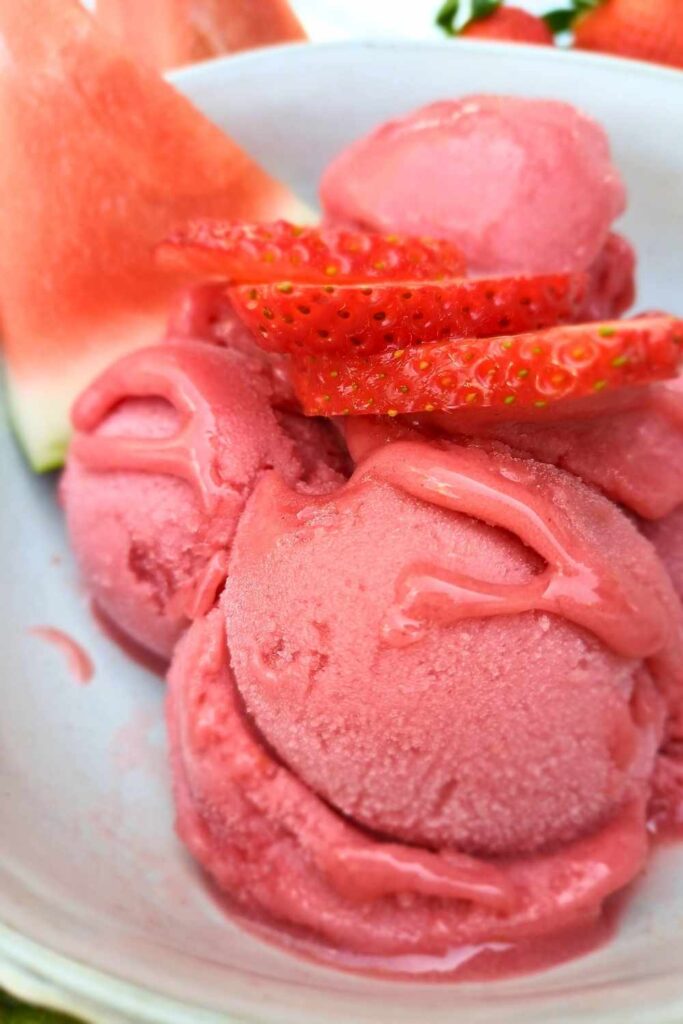
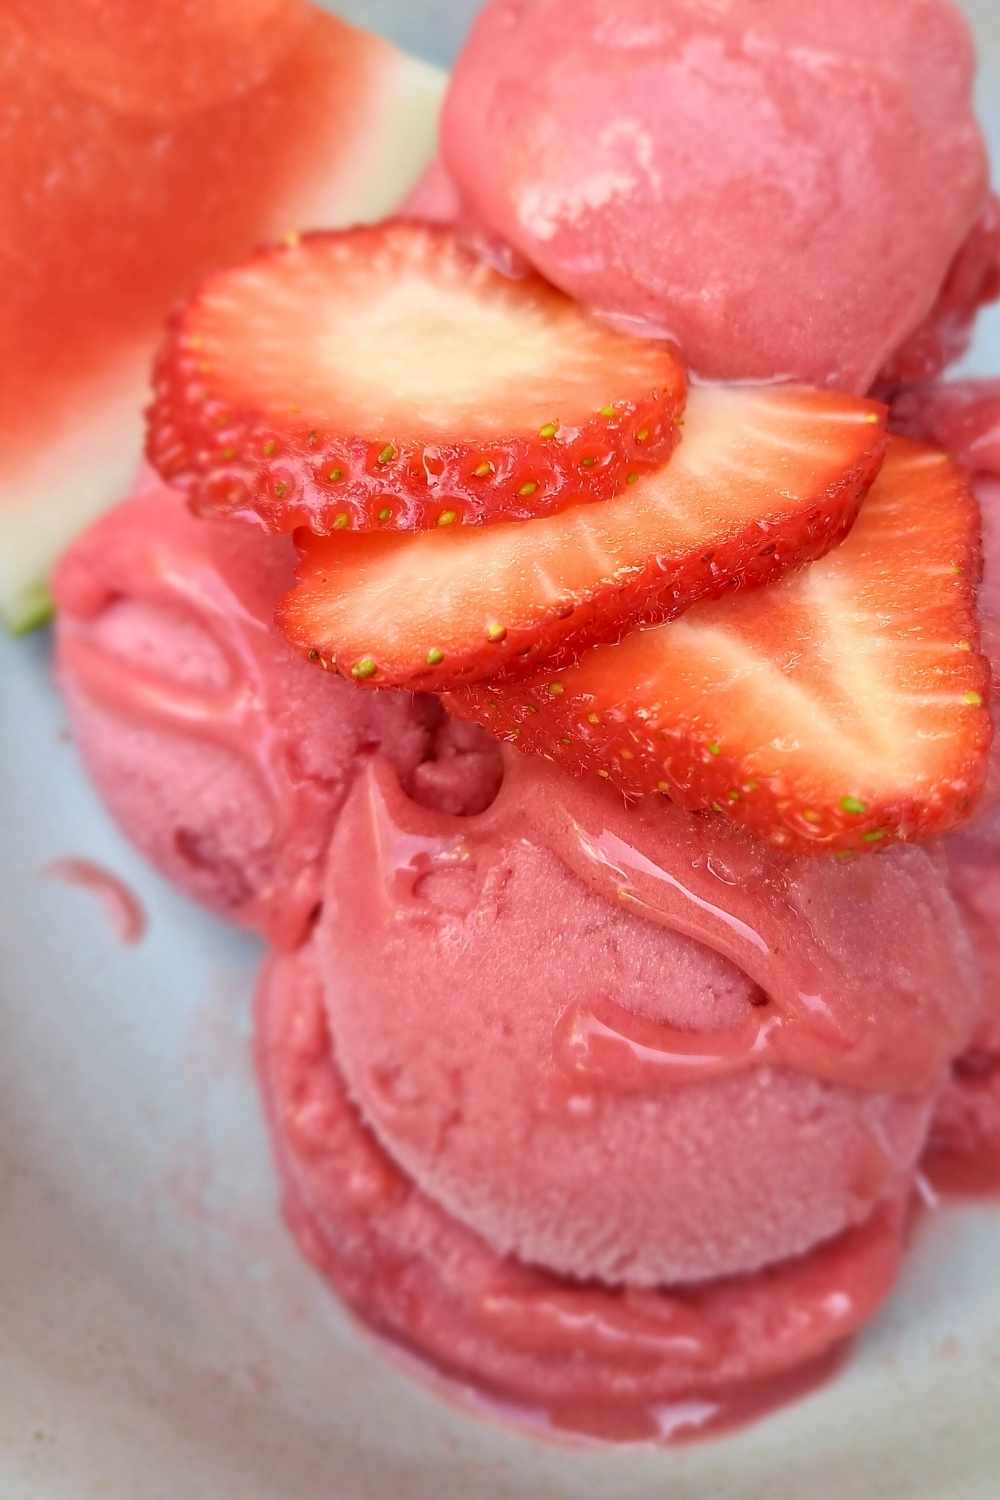
🍉🍓 Strawberry Watermelon Ninja sorbet
🍏 Apple sorbet
🍒 Cherry sorbet
Ninja Creami Protein Ice Cream Recipes
This is where dessert meets gains.
If you’re trying to increase your protein intake but still want something that feels like a proper treat, these Ninja Creami protein ice cream recipes are for you. They’re thick, creamy, and genuinely satisfying – not chalky, not icy, and definitely not “diet food” vibes.
I created this collection because sometimes I don’t feel like a full meal on a hot day… and going straight to dessert just feels right 😅 At least this way, I know I’m still getting my protein in.
These recipes are perfect for:
-
post-workout treats 🏋️♀️
-
busy days when you don’t feel like cooking 🍽️
-
or when your sweet tooth is louder than your willpower 🍫
Flavours you’ll find in the protein collection include:
🍦 Vanilla
🍫🌿 Choc Mint
🍯 Salted Caramel
🍋 Lemon Cheesecake
🍌🥜 Banana Peanut Butter
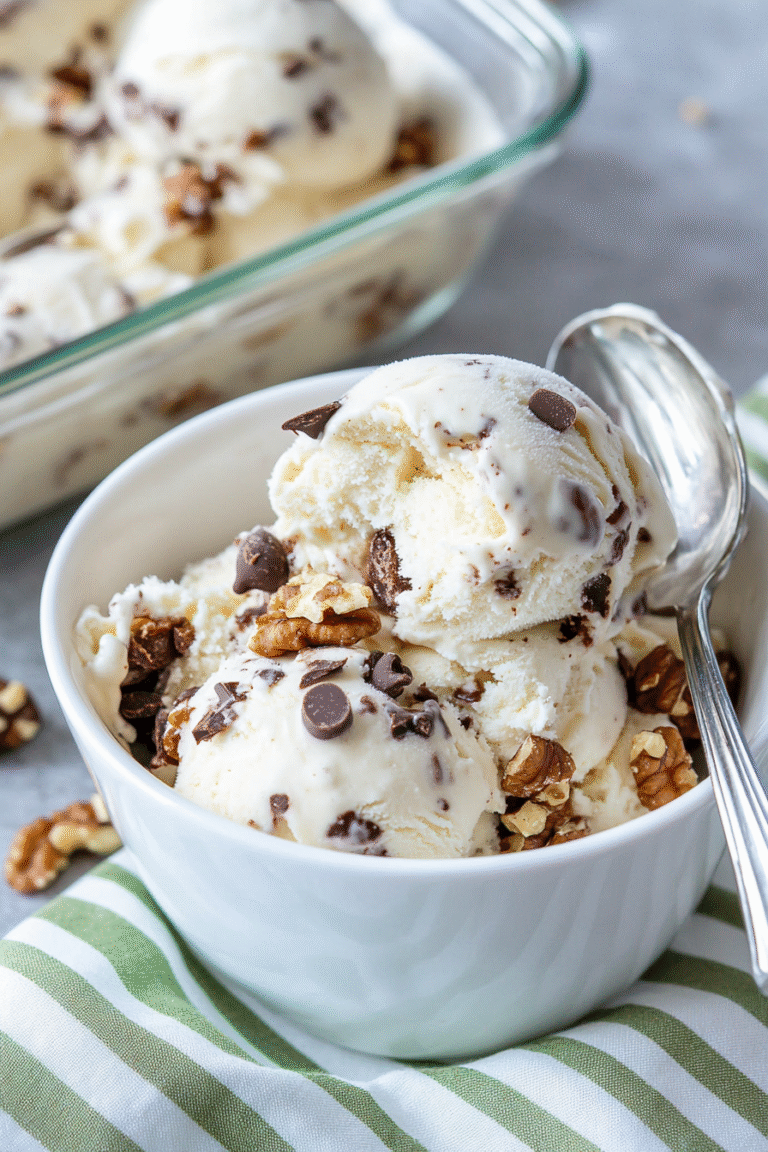
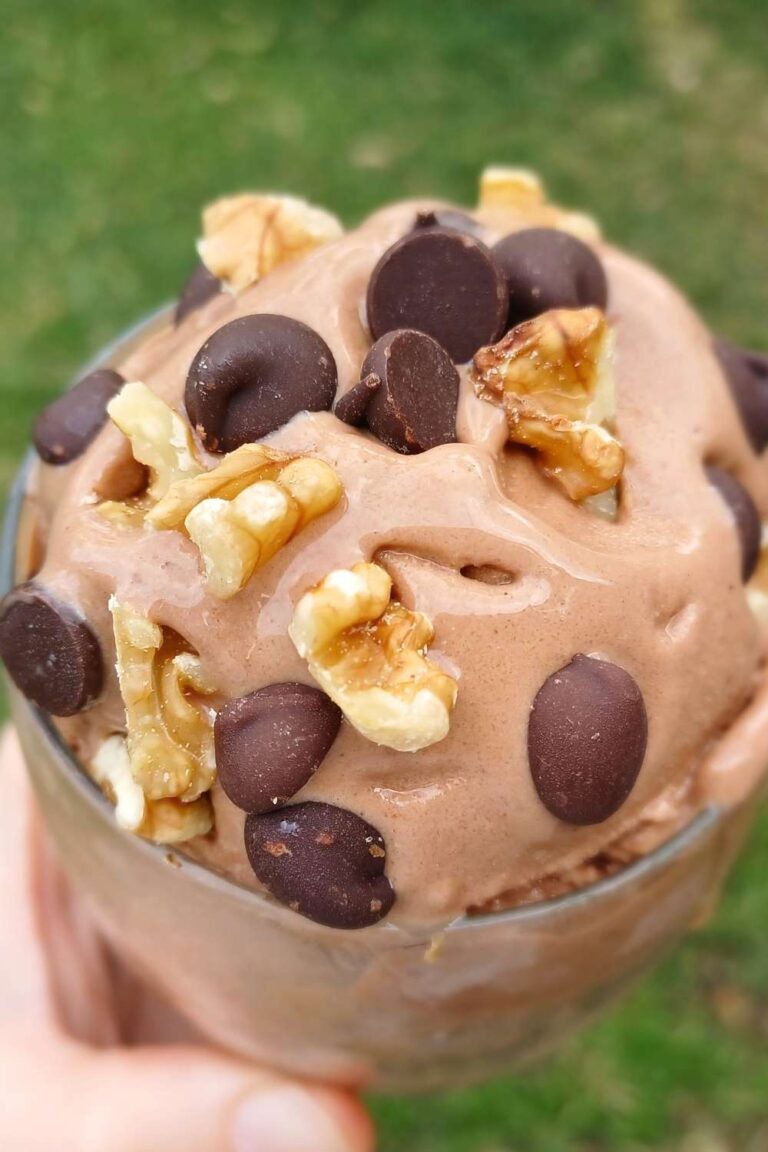
🍁 Maple Walnut
🍪🍫 Half Baked
🍌🐒 Chunky Monkey
All made with clean protein powders, simple ingredients, and zero refined sugar. Just stevia, monk fruit, or natural sweetness from fruit.
Dairy-Free Ninja Creami Recipes (100% Vegan Ingredients)
The Ninja Creami machine is surprisingly good at dairy-free ice cream — and in this fully vegan Ninja Creami recipe collection, I created a few options. Some with vegan (not coconut) cream and oat milk and some using coconut cream. You will understand why I don’t use coconut cream for all of the dairy free Ninja Creami recipes once you check them out. It has a lot to do with the flavors.
If you’re dairy-free, vegan, or just love tropical flavors, this is where you go. Coconut milk creates a naturally creamy ice cream texture that the Ninja Creami handles beautifully.
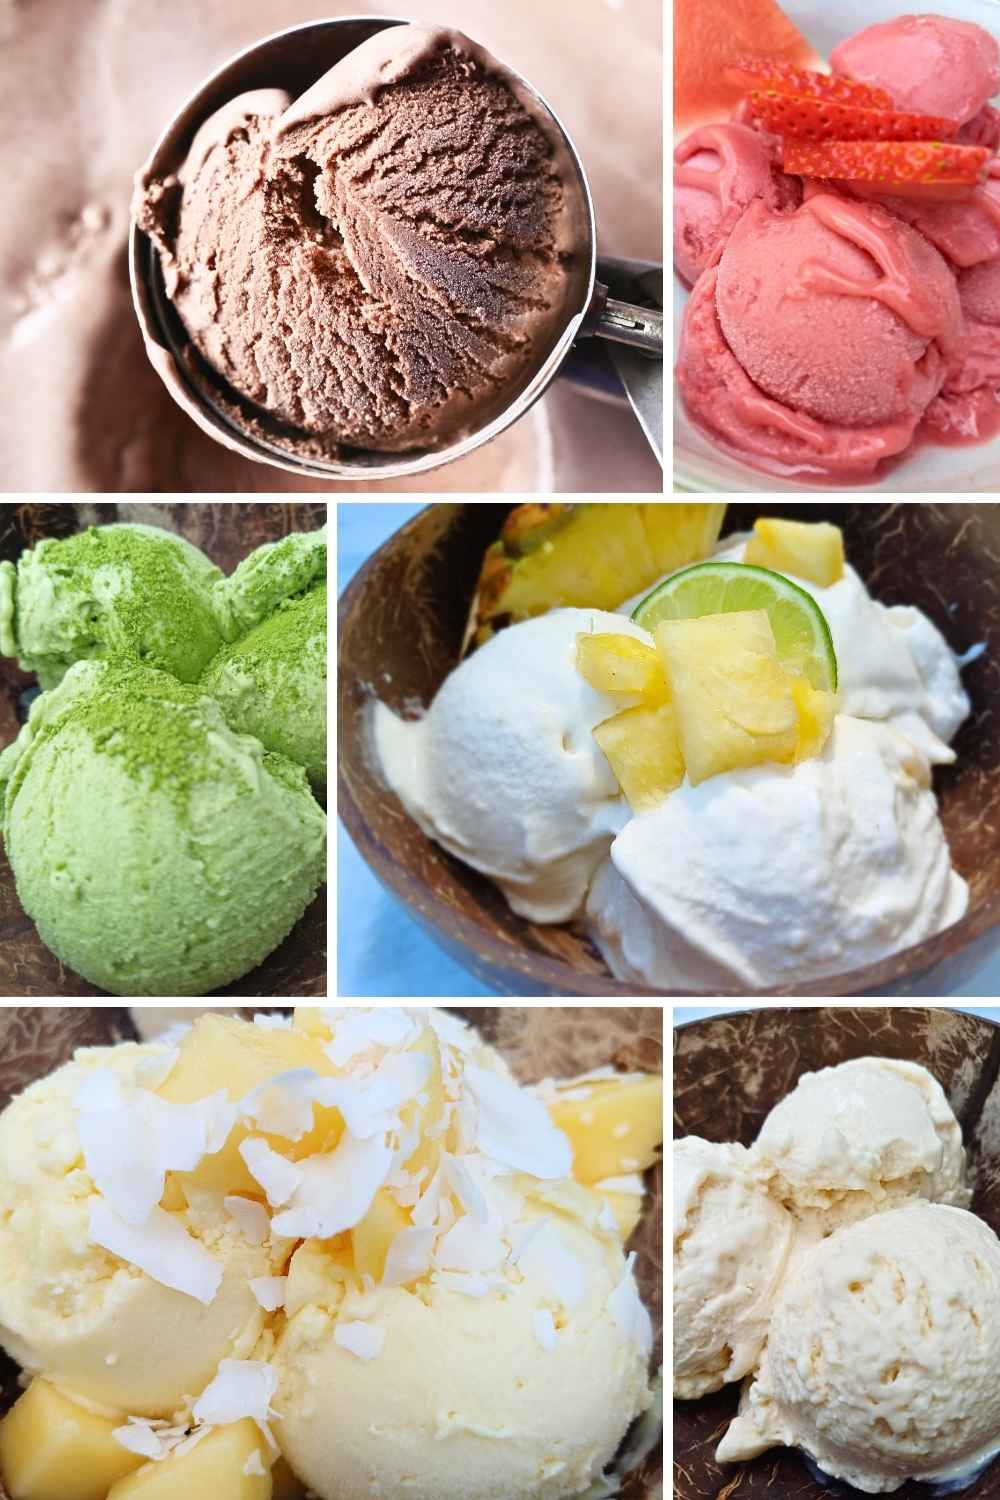
Flavors you’ll find in this collection include:
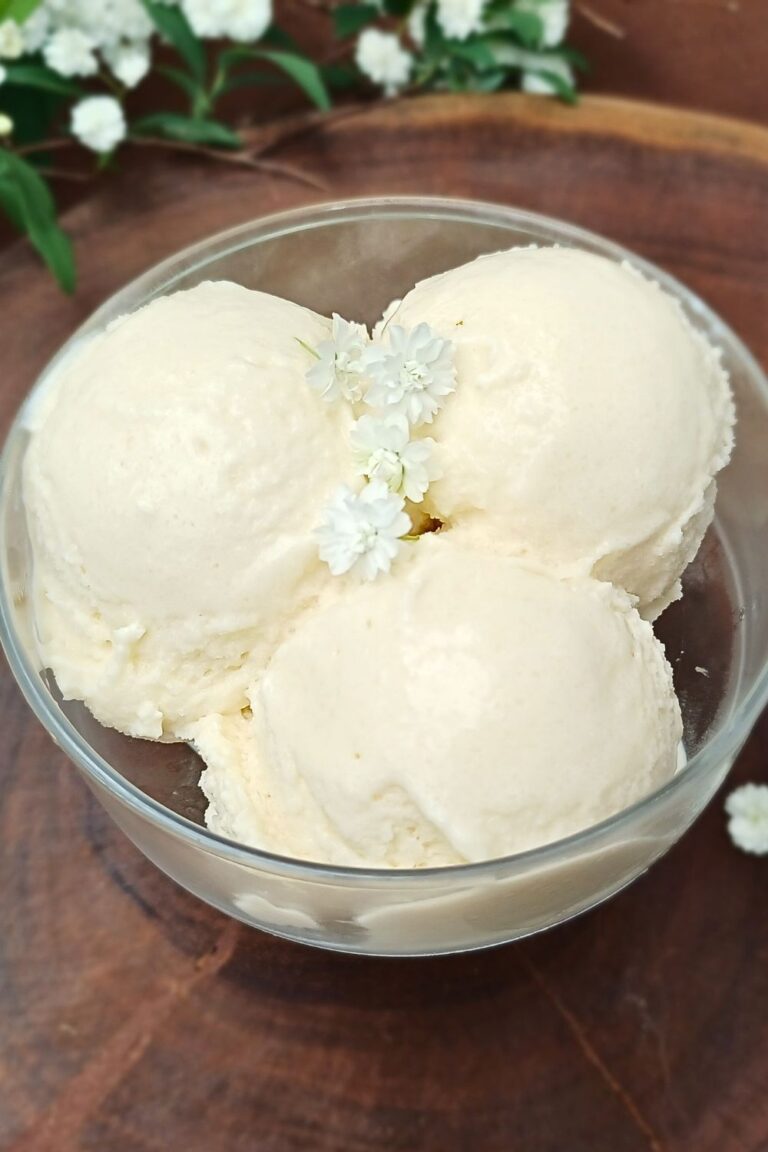
🍦Dairy-free vanilla Ninja Creami ice cream (not based on coconut cream)
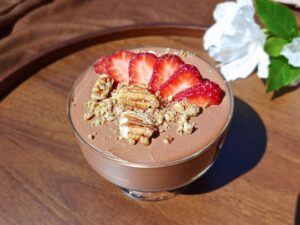
🍫Chocolate coconut (rich chocolate flavor, dairy-free)
🍉Watermelon strawberry sorbet
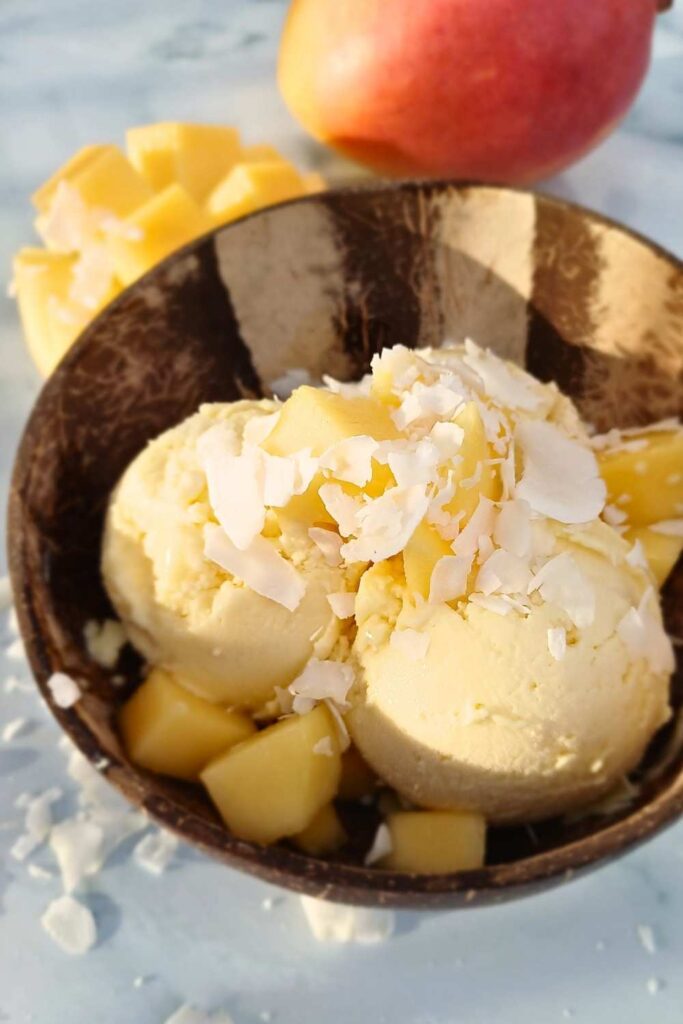
🥭Mango coconut summer dream
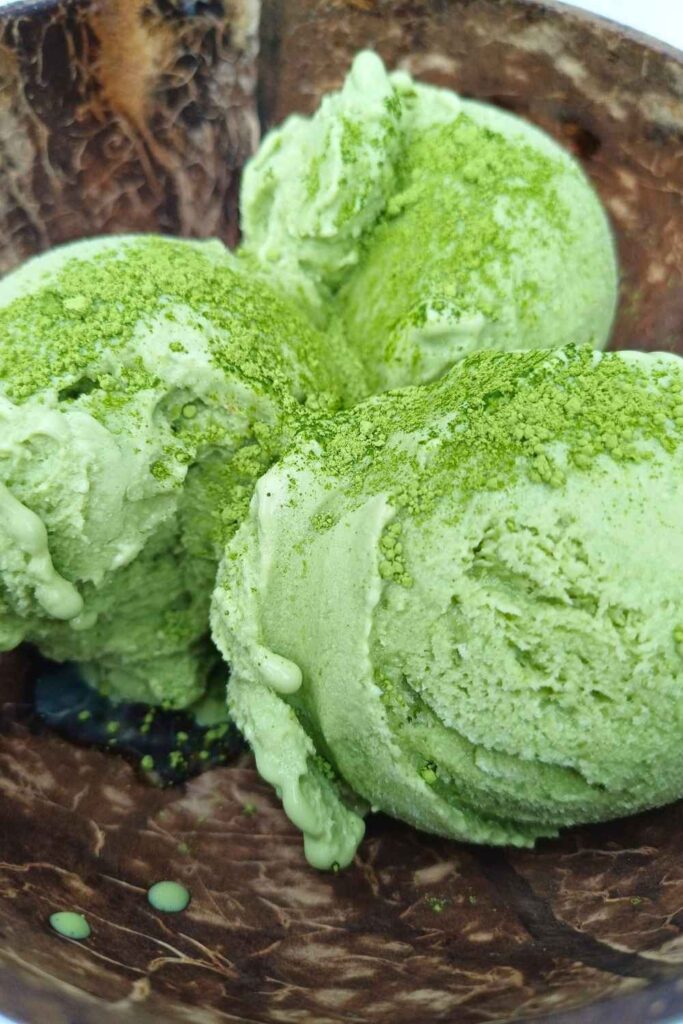
🌿Creamy matcha
🍍Pina Colada with lime, pineapple and coconut
If you’re new to dairy-free ninja creami recipes, start with coconut milk. It’s the easiest plant-based base to get creamy ice cream without weird workarounds.
Classic Ninja Creami Vanilla Ice Cream Recipe (No Refined Sugar)
A strong vanilla base recipe is the secret weapon behind most great Ninja Creami recipes.
If you’re a beginner, I recommend starting here because it teaches you how your machine behaves. Once you have a reliable ice cream base, you can riff endlessly.
Ways people use the vanilla base:
- cookies and cream
- chocolate chip
- strawberry swirl
- peanut butter swirl
- brownie bits
- “birthday cake” style mix-ins
- caramel-style flavors
- fruit-based variations
If you just bought the Ninja Creami ice cream maker and you’re wondering where to start, this is it.
Ninja Creami for Beginners: What TikTok Doesn’t Explain
The Ninja Creami community is huge, and TikTok is full of “just dump it in and spin it” videos. But here’s the reality:
I have observed from the comments and questions that most beginner failures happen for three reasons:
- The base wasn’t frozen correctly
- The wrong setting was used
- People skip the re-spin and assume the recipe is bad
Once you understand the machine, Ninja Creami recipes become incredibly consistent.
Beginner Checklist (The stuff that saves you from icy edges)
- Freeze on a flat surface so the pint freezes evenly
- Freeze at least 20–24 hours until fully solid
- Don’t overfill the Ninja Creami container
- Run the first spin, then expect to use the re-spin function, maybe even twice
- If it’s crumbly, add 1–2 tablespoons of milk and re-spin
- If you’re using a lower-fat base, start with Lite Ice Cream
- Not all ice creams will need a re-spin; it will depend on the ingredients. The creamier the bases, the less likely you will need to re-spin.
This is not a “you did it wrong” moment — it’s just how the machine is designed. First spin + second spin is normal.
Understanding the Settings: Lite Ice Cream, Ice Cream, Sorbet, and More
One reason Ninja Creami recipes are so fun is the settings let you tailor texture. Here’s the simple version:
Lite Ice Cream
Use this when your base is lower fat or higher protein. It’s a great option for:
- frozen yogurt bases
- protein bases
- lower-cream bases
Ice Cream
Use this for classic creamy ice cream made with whole milk + cream. Perfect for:
- vanilla base
- chocolate ice cream
- cookies and cream style recipes
Sorbet
Best for fruit-heavy, dairy-free, or juice-based frozen desserts.
Mix-In
This is where the magic happens. Add mix-ins after the first spin. Don’t forget to shape out a hole in the center of the ice cream after you’ve already creamified it, do it using a spoon, and then add in your mix-ins. Don’t just dump them on top of the ice cream.
- chocolate chips
- chopped cookies
- chopped nuts
- brownie pieces
- peanut butter cups (if you’re feeling dangerous), make sure to chop them up though
The Ninja Creami is built for mix-ins, so use that feature instead of trying to blend everything from the start.
Ice Cream Bases Explained (And Which Ones Make the Creamiest Ice Cream)
A lot of people search “Ninja Creami recipes” expecting one universal formula, but the truth is: the base matters and it will depend on flavor you want to use.
Here’s the quick, practical breakdown.
Whole Milk + Cream (Classic Ice Cream Base)
This gives you the most “traditional ice cream maker” result — creamy, rich, familiar.
Best for:
- vanilla
- chocolate
- cookies and cream
- coffee
- anything dessert-forward
But, there is one important thing to remember: commercial ice creams have additives, and that’s what helps them become thick and creamy.
And guess what? We will add additives too, just not the artificial type; we will use natural thickeners, like xanthan gum and guar gum.
I explain them in a bit more detail, like what they are and how they affect the texture further down.
But first, let’s talk about the milk and cream types.
Coconut Milk or Oat Milk (Dairy-Free Creaminess)
Coconut milk is naturally creamy and plays nicely with the Ninja Creami machine. It’s one of the easiest dairy-free bases to get right.
I choose these for:
- tropical flavors
- chocolate coconut
- fruit blends
Oat milk or macadamia milk is great for vanilla and matcha in my opinion, because it does not overpower the flavors like coconut might.
Greek Yogurt (Frozen Yogurt)
Greek yogurt gives you tang, thickness, and a slightly lighter finish. It’s perfect for frozen yogurt and bowls.
Best for:
- berry flavors
- cheesecake-style flavors (raspberry cheesecake ice cream vibe)
- acai bowl recipes
- honey-vanilla combos
How to Make Ninja Creami Ice Cream Extra Creamy (Adding Natural Gums)
When you’re making homemade ice cream — especially lower-fat or dairy-free Ninja Creami recipes — texture matters just as much as flavor. That’s where xanthan gum and guar gum come in.
I use these very intentionally and very sparingly. Both are natural, plant-based thickeners, and when used correctly, they make the difference between icy, crumbly ice cream and that smooth, creamy texture we all expect.
Xanthan gum is fermented from plant sugars and is excellent at stabilizing liquids. It helps prevent ice crystals from forming and keeps the mixture smooth through freezing and spinning. I usually reach for xanthan gum first because it’s reliable and works well across dairy, dairy-free, and coconut-milk bases.
Guar gum, on the other hand, comes from guar beans and is much stronger. I only ever use a tiny pinch — around ⅛ teaspoon per pint, if that. It thickens quickly, which is great for creaminess, but if you use too much, the mixture can become overly thick and won’t blend or spin properly in the Ninja Creami.
So why use both instead of just one? Because they do slightly different jobs. Xanthan gum helps with stability and smoothness, while guar gum boosts body and creaminess. Used together in very small amounts — or sometimes just one, depending on the recipe — they create a more balanced, scoopable ice cream without heaviness or gumminess.
Both xanthan gum and guar gum are:
- naturally derived
- plant-based
- suitable for dairy-free and vegan recipes
- used in very small quantities
If you prefer not to use gums at all, you can still make these recipes — just expect a slightly firmer or icier result. For me, though, using the right amount take the texture to the next level.
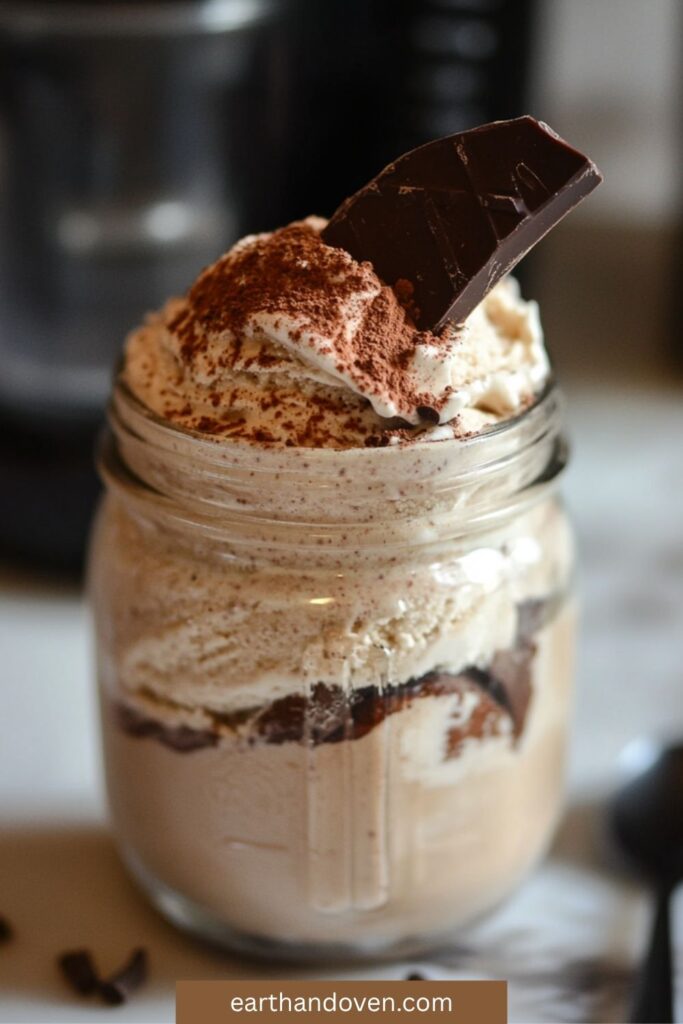
Sweetness: How I Get “Just Enough Sweetness” Without Overdoing It
Most people are used to ice cream being very sweet. If you go too low, it tastes like a “Healthy Dessert”, if you know what I mean, and your family will notice. You want it to taste like the ice cream you buy from the store, but even better. You want that wow reaction from your fam.
Here’s how I think about sweetness in Ninja Creami recipes:
- Maple syrup adds sweetness and a smooth flavor (great for coffee, chocolate, and peanut butter)
- Dates act like fruit-based caramel sweetness (perfect for peanut butter + date)
- Fruit adds natural sweetness but usually needs a little backup (especially berries)
- For lower sugar goals, monk fruit can work — but I keep that focus inside keto/low-carb style recipes
If you want your family to eat it happily, it has to taste like dessert. I’m not here to convince anyone that plain frozen banana is ice cream.
What Can You Use For Mix-ins?
Mix-ins are what make Ninja Creami recipes feel like the “expensive pint store” experience.
Some of my favorite mix-ins (that actually work)
- chocolate chips (mini chips distribute better)
- cookie pieces (low-sugar sandwich cookies, gluten-free options)
- chopped nuts of all kinds
- brownie bites (small pieces)
- peanut butter swirl (add after first spin)
- small pieces of cookie dough or even brownie bits (like I did in the Half-Baked Protein recipe)
What to Make When… (Quick Guide for Readers Who Can’t Decide)
If you want classic ice cream vibes
Start with the vanilla base, then start experimenting with adding some flavor into the vanilla base, like:
- cookies and cream
- chocolate chip
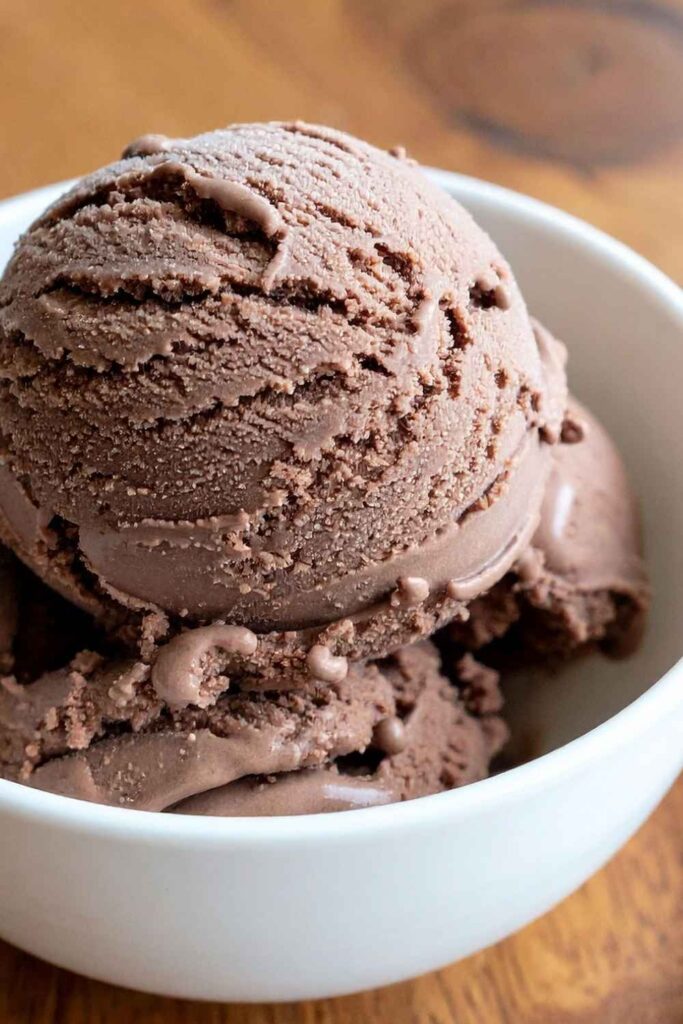
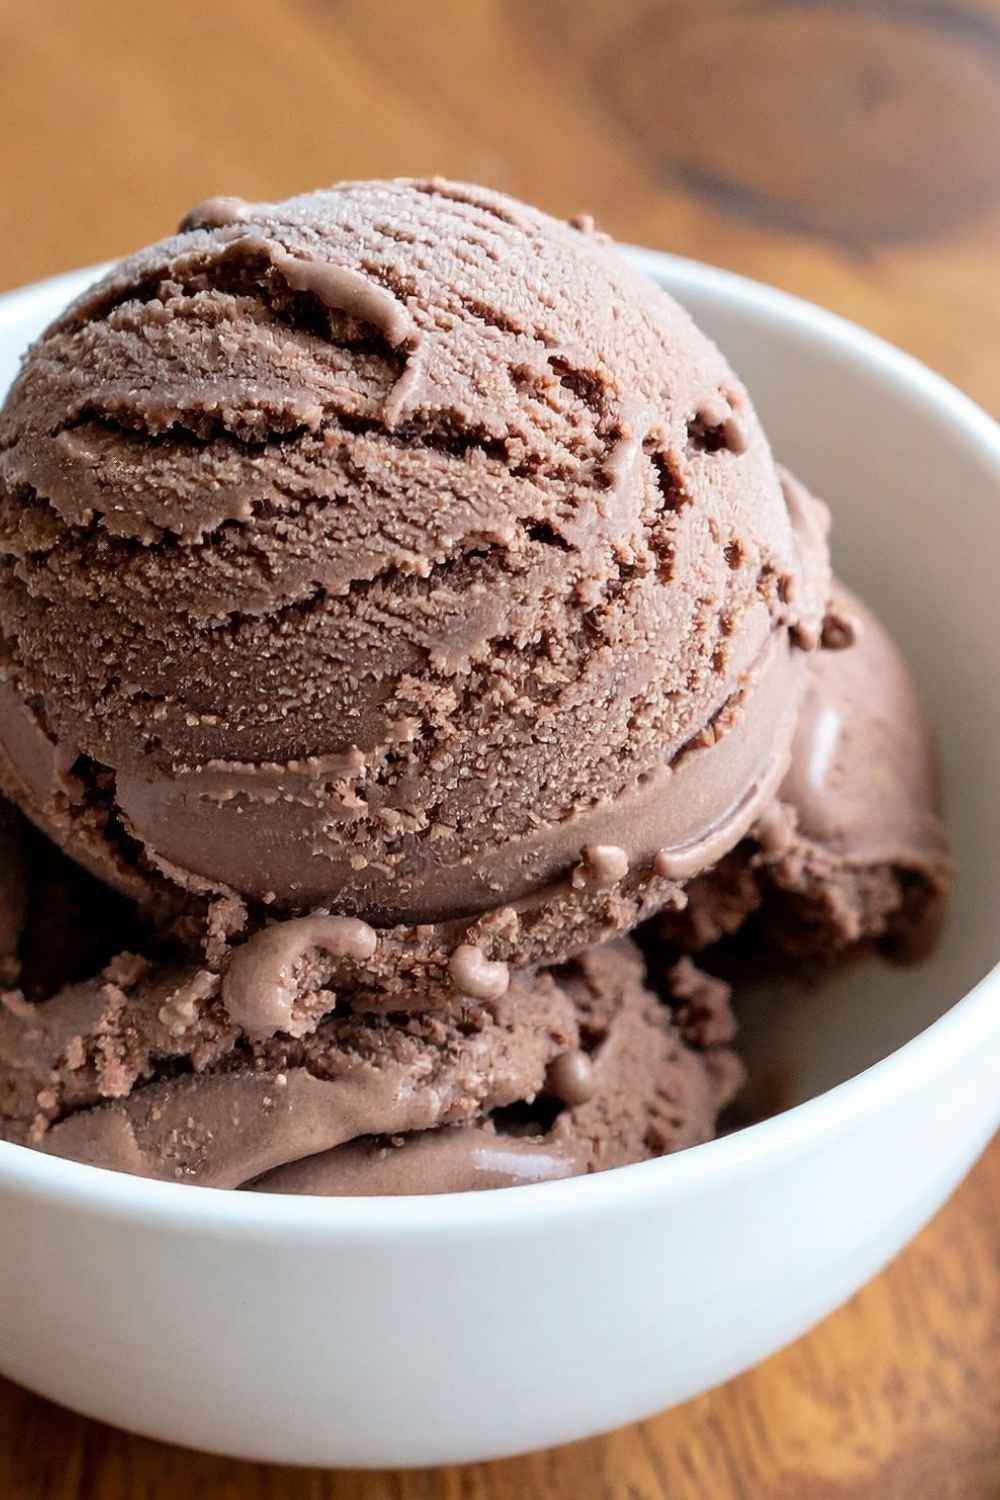
- chocolate ice cream (by simply adding cocoa powder)
- coffee (by simply adding a shot of black, freshly brewed coffee)
If you want a lighter frozen dessert
Go with frozen yogurt or bowls:
- strawberry plant-based ice cream
- watermelon strawberry sorbet
- My family’s fave, non-alcoholic Pina Colada (Pineapple, coconut and lime)
If you’re dairy-free
Go coconut milk:
- mango coconut
- plan-based classic creamy vanilla
- chocolate coconut
If you want high protein
Go protein Ninja Creami recipes:
- chocolate protein
- strawberry protein
- peanut butter protein
- cookies and cream protein
Why I Love the Ninja Creami as a Mom (And Why It Saves Me Money)
Store-bought ice cream adds up fast — especially if your family eats it regularly.
The Ninja Creami ice cream maker has been a game-changer because:
-
I control the ingredients
-
I can make a pint for less than the store (especially protein pints)
-
My family gets “fun dessert” without me stressing about what’s inside
-
It’s easy to keep a few bases in the freezer
-
Because they are healthy, we can enjoy a little more, maybe a second serve 😉
Also, my daughter genuinely knows how to run the machine. If she’s home, she’s in charge of the buttons. I just prep the base and freeze it. It’s like having a tiny ice cream manager who works for Sprinkles.
FAQs About Ninja Creami Recipes
Why does my Ninja Creami come out crumbly on the first spin?
Totally normal. Use the re-spin function. If needed, add a splash of milk and re-spin.
Do I need pudding mixes?
No. Some people use them for texture, but you can get creamy ice cream using proper bases, a little cream, and optional natural thickeners like xanthan gum or guar gum. I prefer not to add them as they have a lot of “not-so-healthy” additives. Defeats the purpose of making your own ice cream, in my opinion.
Can I eat the entire pint?
People do, and by people I mean myself. Especially with frozen yogurt and higher-protein bases. Portions depend on your goals, but many Ninja Creami recipes are built for “pint life.”
Is the Ninja Creami better than a regular ice cream maker?
For home use and variety, yes. It’s better for frozen bases, mix-ins, and quick experimentation.
What’s the best base for beginners?
Whole milk + cream vanilla base. Then you can start experimenting with chocolate, berries, and various fruits.
Why do I get icy edges?
Usually, uneven freezing or not using a flat surface. Freeze the pint level and give it the full 24 hours if you can. If the edges are a little frozen, scrape them with a spoon after the first spin, then re-spin again.
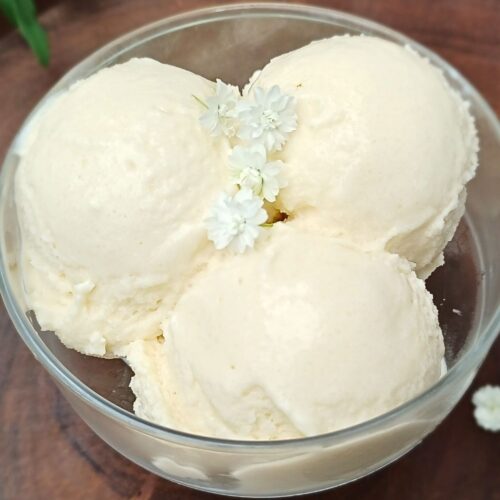
🍦 Basic Ninja Creami Ice Cream Base (Healthy, No Refined Sugar)
Because this is a Ninja Creami recipe roundup, I wanted to include one simple, foundational ice cream base right here on the page. This basic Ninja Creami base shows how I build creamy ice cream at home using whole milk, a small amount of cream, and unrefined sugar — without protein powder or artificial ingredients.
Think of it as the starting point. You can enjoy it as-is, or use it as a flexible base to create different flavors by adding vanilla, cocoa powder, coffee, fruit, or other mix-ins. I have so many Ninja Creami recipes for you to choose from.
Click on the links below to see specific types of recipes that suit you best:
Healthy (No Refined Sugar) | Protein Ice Cream | Dairy-Free | Vanilla Base | Tips & FAQs
Ninja Creami Recipe Base
Ingredients
- 1/2 cup heavy cream
- 1 cup whole milk
- 3 tablespoons unrefined raw sugar or coconut sugar
- ¼ teaspoon vanilla extract optional, for balance only
- your choice of flavoring or mix-ins, see the collections to choose what you like this is a simple base only
Instructions
- In a bowl or directly in your Ninja Creami pint container, whisk together the heavy cream, whole milk, unrefined raw sugar, vanilla extract (if using), until the sugar is fully dissolved.
- Make sure the mixture is smooth and well combined, then secure the lid on the pint container.
- Freeze on a flat surface for approximately 24 hours, until completely solid.
- Remove the pint from the freezer.
- Process using the Ice Cream setting on your Ninja Creami.
- If the texture looks crumbly after the first spin, use the Re-Spin function once to achieve a smooth, creamy texture.
Notes
Nutrition
Final Thoughts
If you’ve been searching for ninja creami recipes that are organized, realistic, and actually work — bookmark this page.
This hub is your “choose your own adventure” guide to:
- healthy ice cream recipes
- protein ice cream recipes
- dairy-free coconut milk ice cream
- frozen yogurt and bowl-style treats
- the vanilla base that starts everything
Come back anytime you need inspiration, because we’re building this Ninja Creami community one pint at a time.
Comment below, which one are you going to start with?
Want More Healthy Desserts? Try These!
-
Liv Banks
- Created: December 10, 2024
- Updated: January 13, 2026






23 Responses
My wife and I love your recipes Liv, we’ve been following you for a white. We are glad that we found your ice cream flavors
So glad I stumbled upon this collection of Ninja creami flavors, I’ve already tried a few and loved them.
Glad to hear you are enjoying them Marcelle. Which one is your favorite?
The cookies and cream ice cream was so good. I want to try the ones with collagen next, what a great idea instead of drinking collagen on it’s own.
Thanks Ari, I like adding crunchy things in too. Try the ones with walnuts or pecan if you can have nuts.
These are YUMMY! Thank you for helping me to make this purchase worthwhile and exceptional!
Glad to hear Barbara. We eat ice cream every day in my household now. 😋
I’ve tried 5 recipes now from the list and they all turned out great. Thanks for the tip on using the re-spin funchion a couple of times, it helps get read of the crumbs.
Thanks Dana. I will be adding more flavors soon. Dubain chocolate ispired ice cream is coming soon.
OMG, lemon ice cream was the best. I am going to try coffee one next time.
Thanks Lilly, glad to hear you are enjoying the ice cream flavors.
Thanks for all the recipes for the ice creams. I was stuck making borring vanilla and chocolate for months, now I am excited to try so many differrent flavors.
Awesome Nerida. Which one will you try next?
I am diabetic and love ice cream. So excited that I can across all these flavors. I bought ninja creami a couple of months ago and have been trying your sugar free recipes, they are so good.
Glad to hear George. Check out other sugar free desserts on my dessert menu tab, I always make sugar free treats.
Love, love, love. Coffee, tiramisu and cookies cream my faves. I want to try all of them. Thanks LIv.
I’m with you Lorkita on the coffee flavors for sure.
The tiramisu flavor was really good, I used monk fruit sweetener instead of stevia and it worked well. Goint to try the watermelon sorbet next.
I am so excited I came accross your ice cream recipes, I was looking for healthy ways to use my Ninja Creami and found other recipes came out crumbly, I now know why. You use xanthan gum and cream cheese in some of them and I noticed this made a huge difference in consistency. Thanks for this tip.
Yes, I had to play around with the ingredients. My first few batched came out so crumbly too, but xanthan gum fixed it, but I found about 1/2 teaspoon per pint is the right amount. I added more before and it turned out too thick and strange tasting. Cream cheese helps a lot too, but not too much. So glad you enjoy these recipe Michaela.
Great recipe, I just added a teaspoon of cocoa powder as well to make it like moccha and it was great.
The Refreshing Lemon Ninja Creami recipe is a duplicate of the Cookies & Cream recipe. Can you post or send me the Lemon recipe? I was excited to try it! Thanks
So sorry Jean, all fixed now, the correct recipe is updated, thank you for taking the time to let me know. Let me know how you go with it.